Checked against the product’s code on 7 November 2026.
Learn how to make a page for a sale or edit an existing page in Composer in the site admin. Create a draft, change its headline, remove sections you do not want or put words and a picture into two columns. Preview it before publishing. The sale page steps below use ordinary page creation with your own facts.
Before you start, open your site’s admin as described in Getting started. Your role must allow publishing to complete the final step; see team roles.
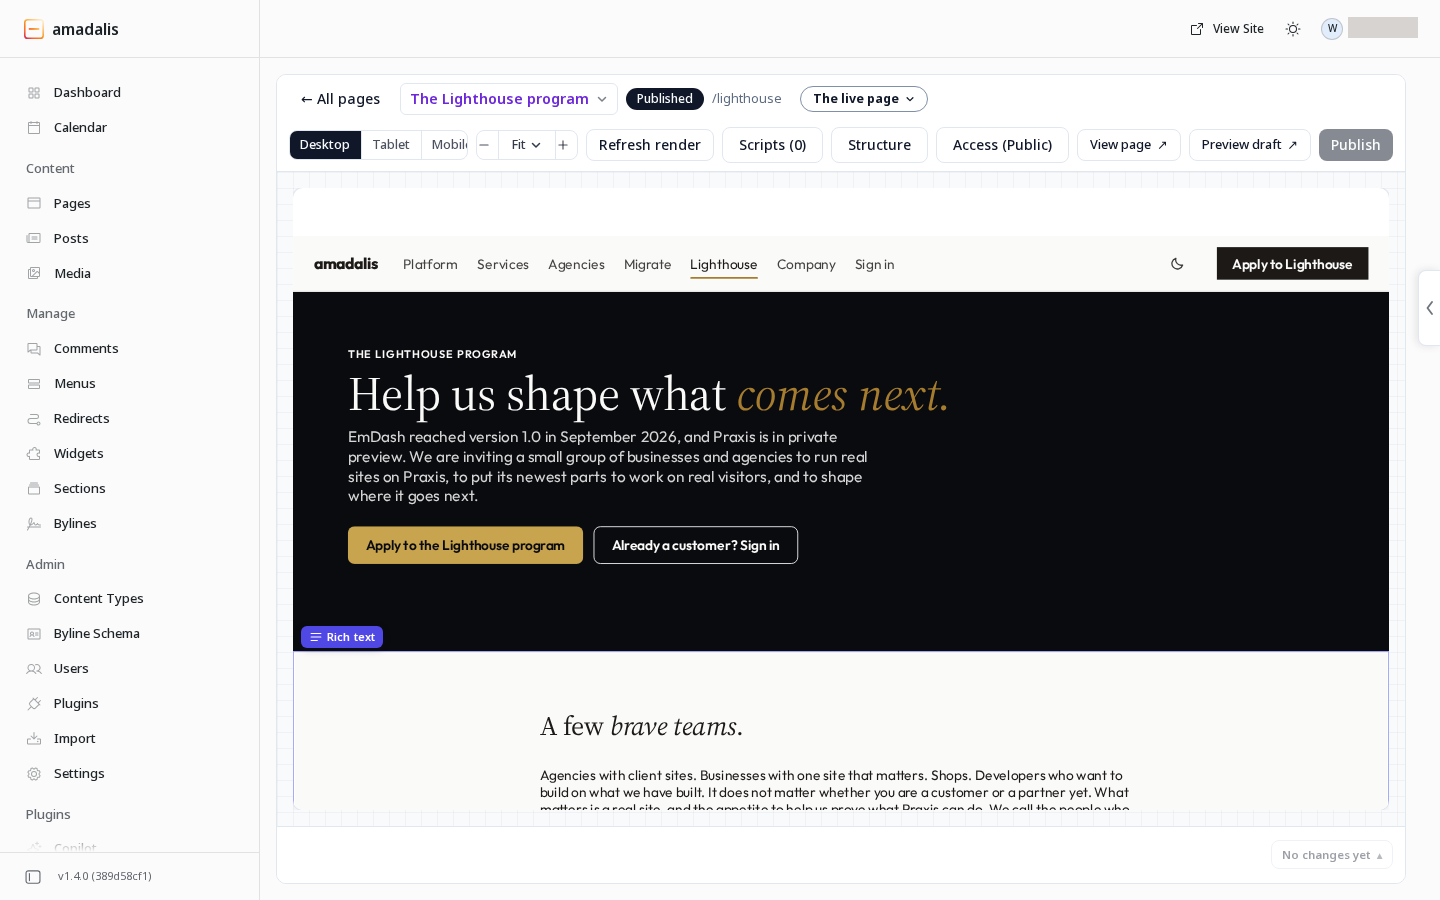
The Composer lets you edit a preview of the page rendered by your site. Select a section on the canvas, change it, then review the result. Applied page edits save to a draft.
Find or create a page
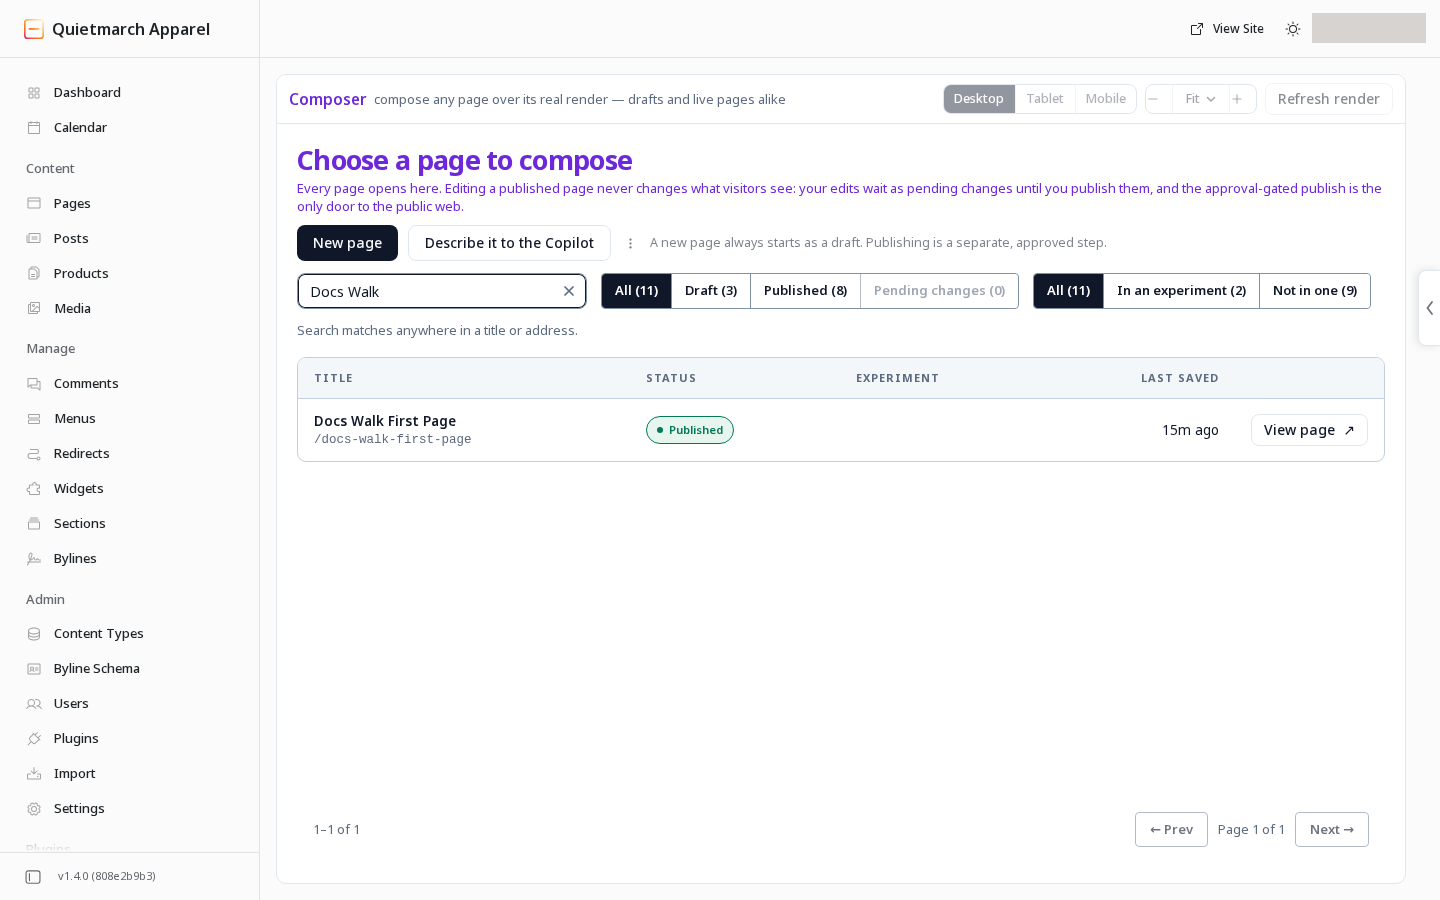
Section titled “Find or create a page”- Open Composer. The chooser says Choose a page to compose.
- Open an existing page to edit it.
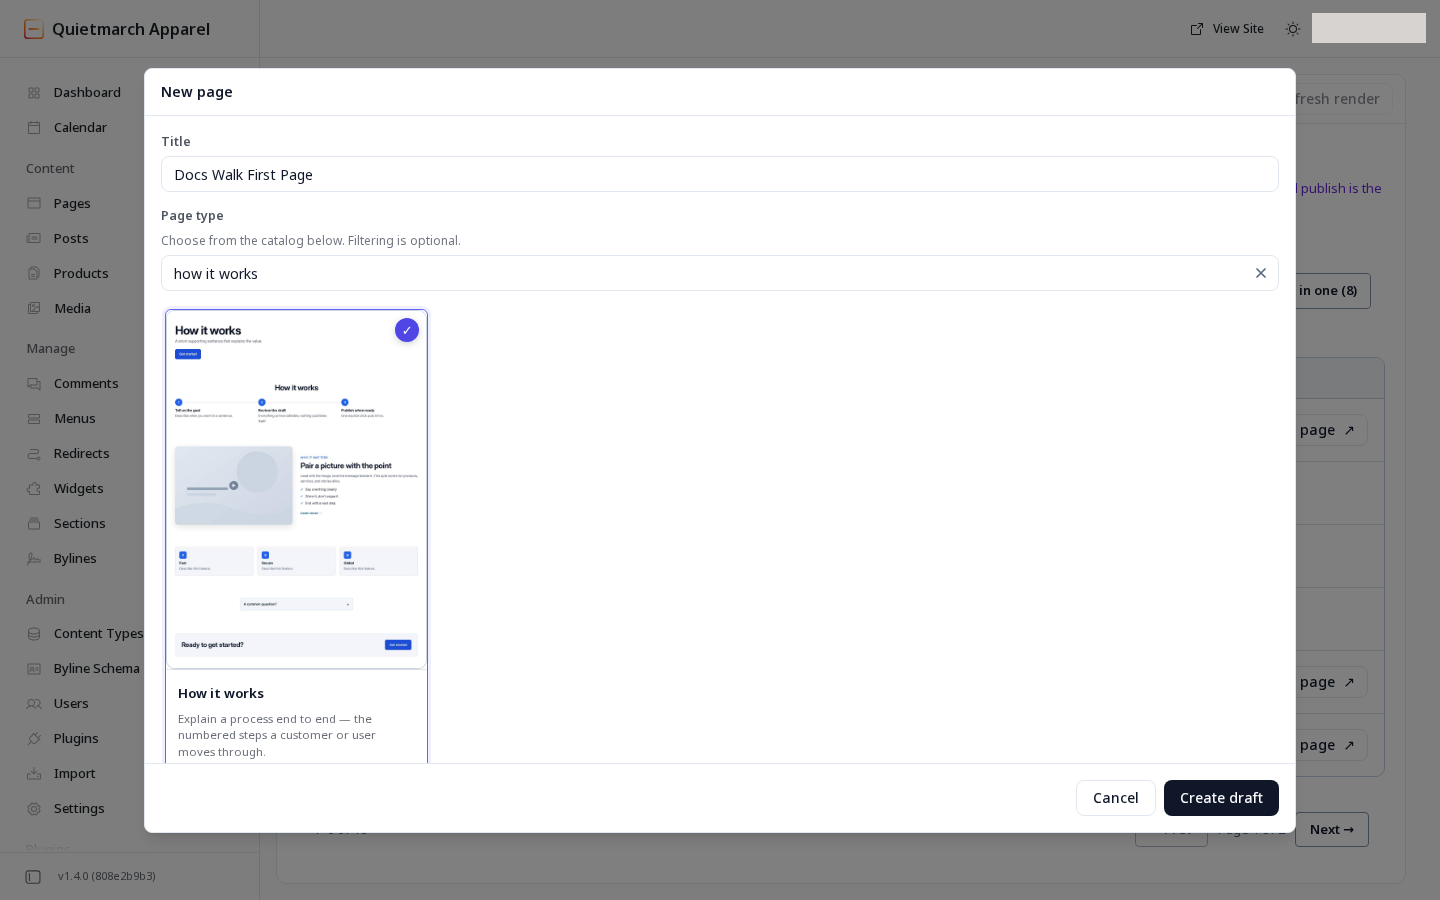
To create a page instead, follow Make a page for a sale below. The same steps work for another purpose. Create draft starts the page with the chosen type’s starter sections; replace their words with your own facts.
Choose Collection index to start a page that lists an existing collection. Its page type starts five basic sections; the designed page template and paged list preset are separate choices.
Who can see the draft
Section titled “Who can see the draft”The status tells you who can see the page and whether its latest changes are public. A draft is not public; visitors keep seeing an existing published version while you work on later changes:
| Status | Meaning |
|---|---|
| Draft | Nothing of this page is on the public web. A page you took offline is a draft again. |
| Published | The published version is live, with no unpublished edits. |
| Published · changes pending | The published version stays live while your newer edits wait. |
A valid draft-preview link can show unpublished content. Keep preview links private.
Use All pages to return to the chooser. The page switcher lets you open another page.
Make a page for a sale
Section titled “Make a page for a sale”- Open Composer.
- Choose New page.
- Enter the page’s Title.
- Choose a Page type with the sections you need.
- Choose Create draft.
- Edit the headline with the sale’s real facts.
- Edit the introduction.
- Give each button its intended destination.
- Repeat the text edit for each remaining section so it uses the sale’s real facts.
- Check the draft preview at desktop width.
- Check it at phone width.
- Choose Publish.
- Read the approval card.
- Confirm only when the page is ready.
If publication is refused, correct the named problem first.
The draft and the published page are separate. Creating the sale page does not publish it. If you need a product or checkout, follow the store guide for that separate setup.
If you saved a change and a colleague still sees yesterday’s words, check the page’s status. Published · changes pending means your saved edits are still in the draft. Review and publish when they are ready.
Publishing changes to a live page saves them now. Visitors see this within the hour, usually much sooner. While the site’s server is down, visitors may see the previous version of a page for up to a day.
Select and edit a section
Section titled “Select and edit a section”To change a headline:
- Click the section that contains it on the canvas. Its outline and toolbar show what you selected.
- Choose Edit text when it is offered, or double click editable text.
- Change the headline.
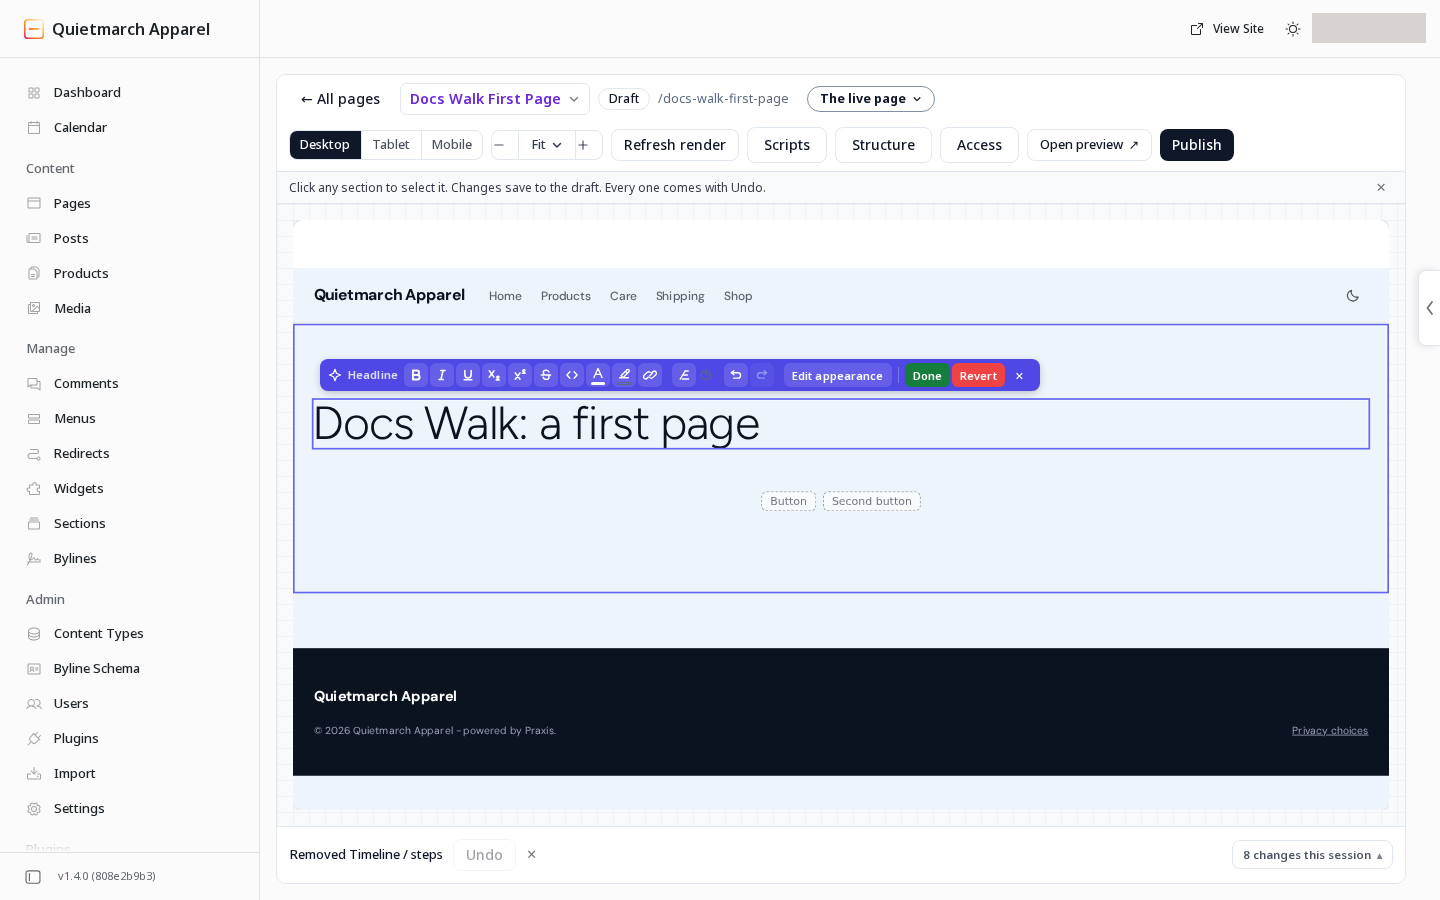
Press Escape to finish and apply an in place text edit to the draft. Use the formatting controls offered for that field. The receipt provides Undo after the edit is applied.
In a narrow preview, the section bar shortens or hides extra labels before its controls wrap. The text editing bar can wrap too.
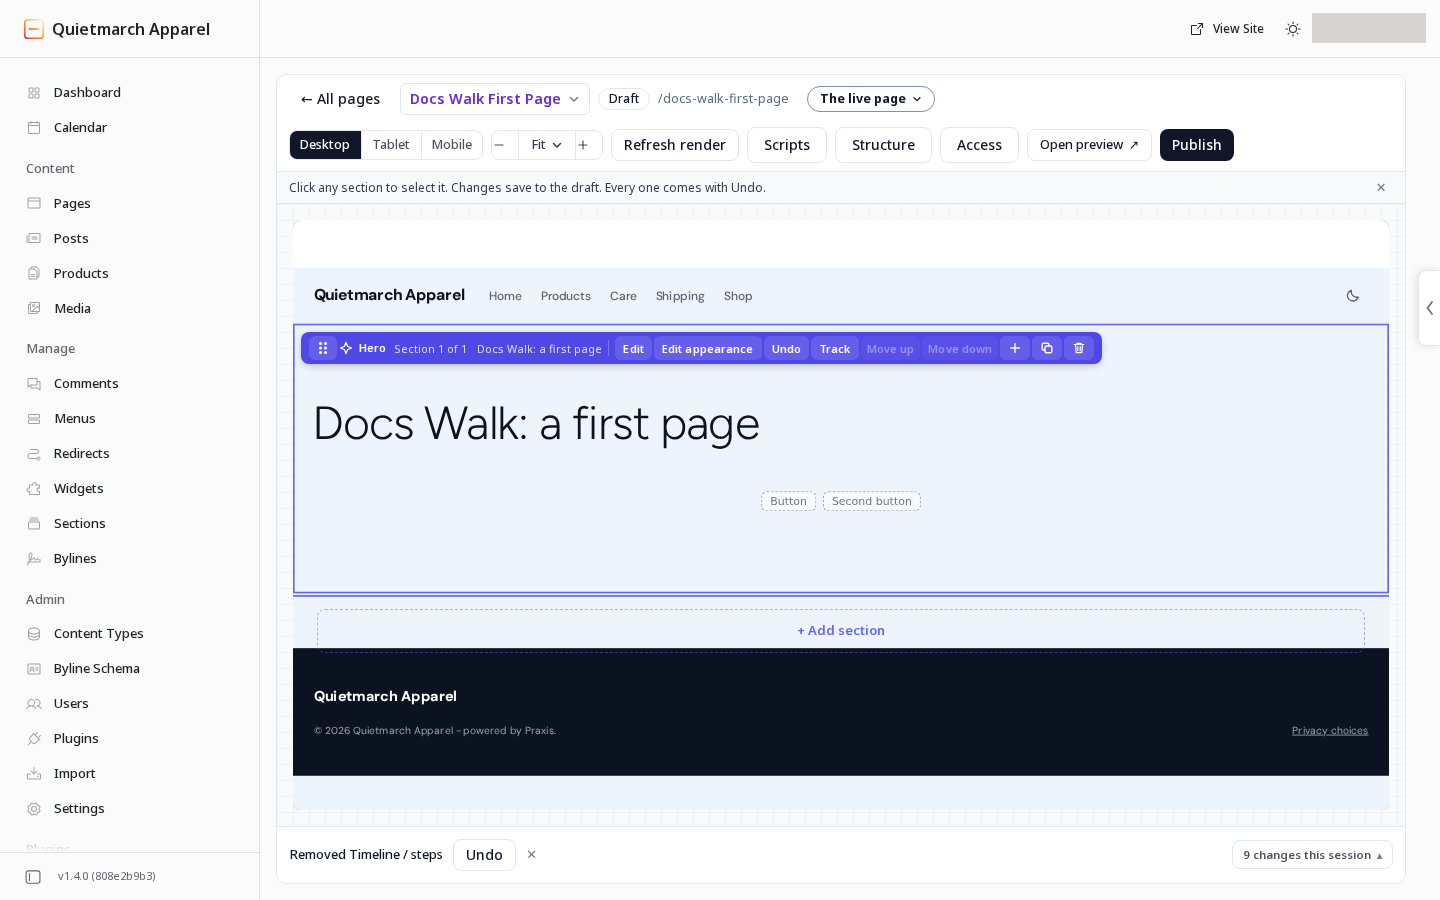
For the selected section’s other fields:
- Open Settings.
- Change the words, entries or layout you need.
- Choose Apply changes before leaving that selection.
A value you have only typed into the panel is not the same as an applied change.
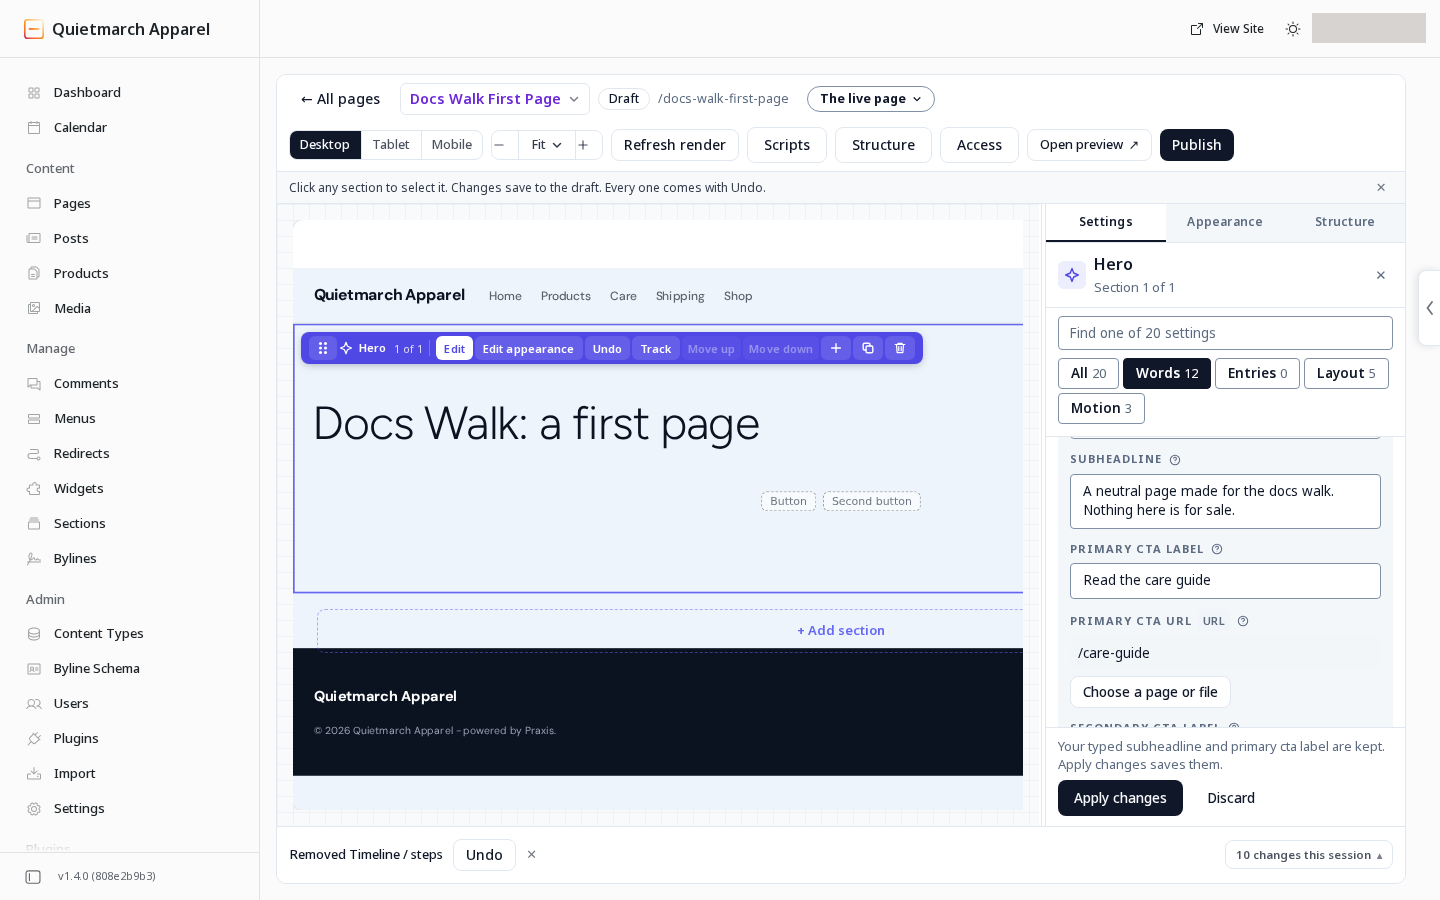
The selected Hero’s editable fields are on the right, with Apply changes at the bottom of Settings.
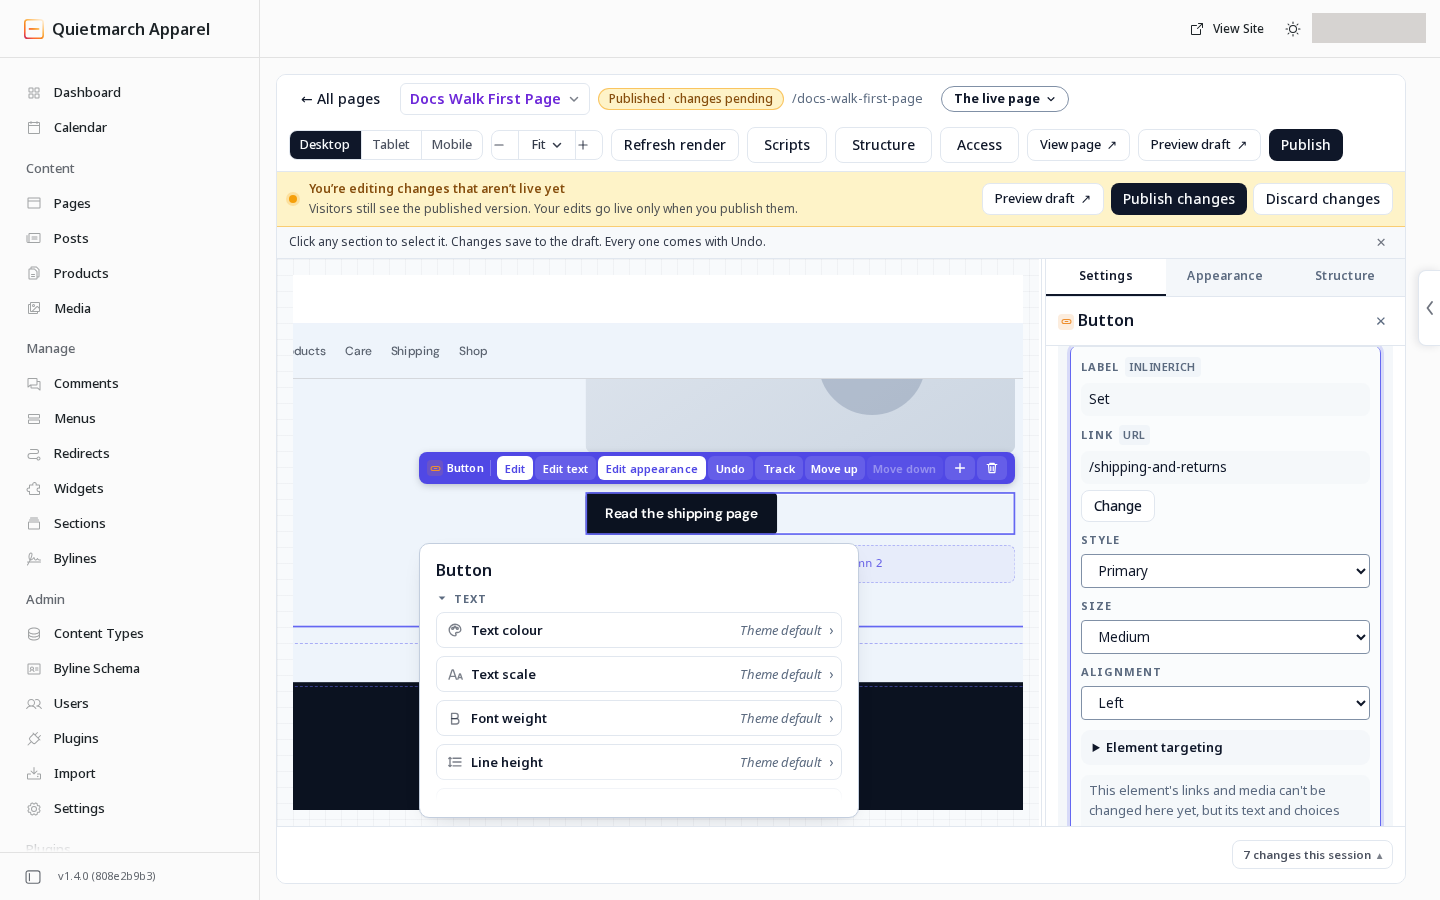
Add and arrange content
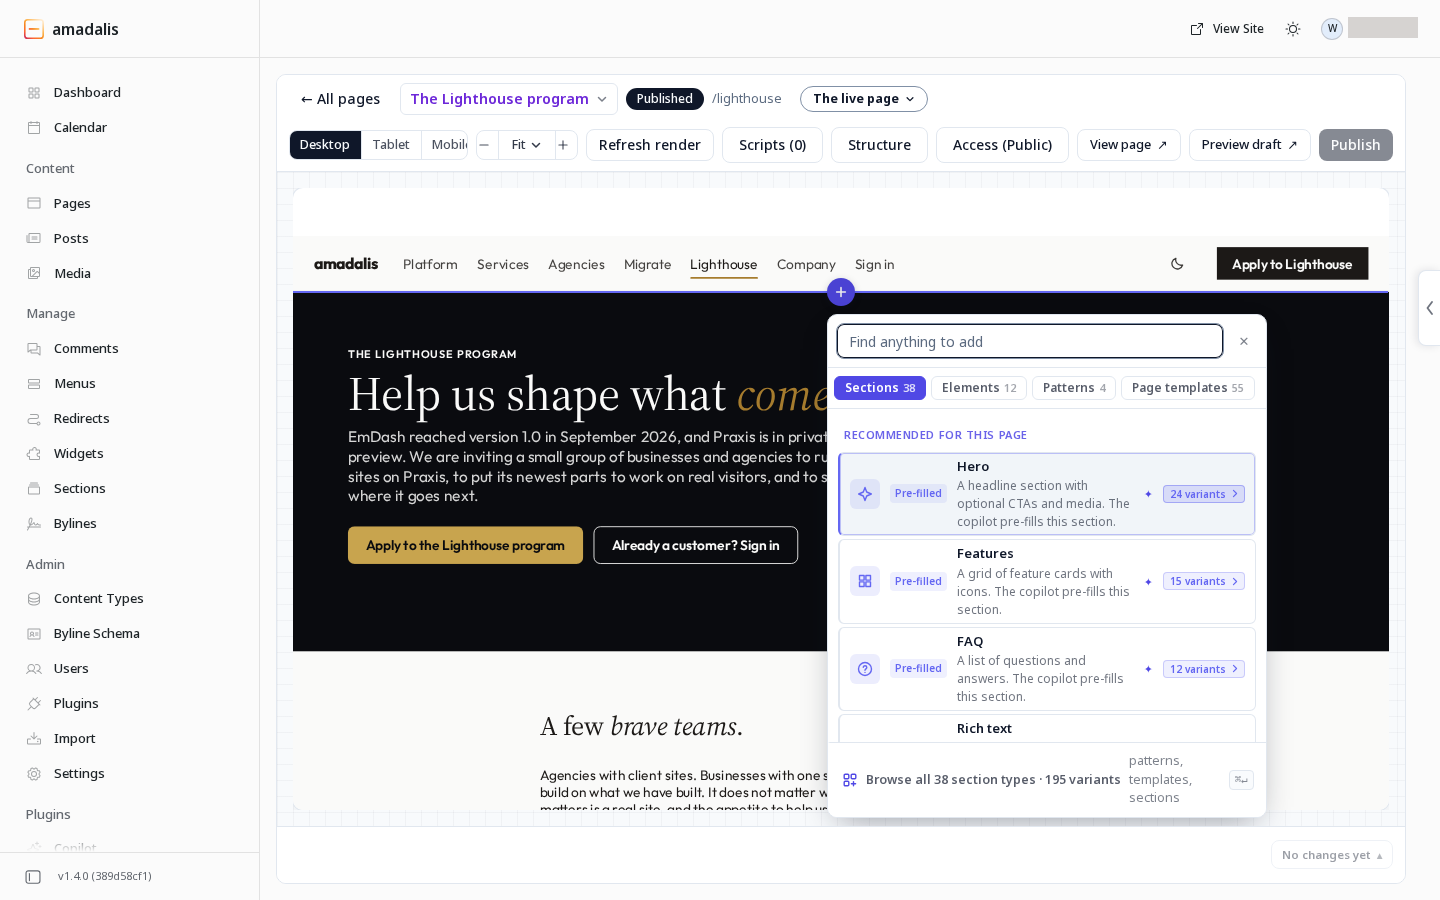
Section titled “Add and arrange content”- Use the add control near the selected section to open Add to the page.
- Search with Find anything to add, or browse a kind your catalog offers, such as Sections, Elements, Patterns or Page templates.
If your catalog offers sections only: its controls read Add a section and Find a section instead.
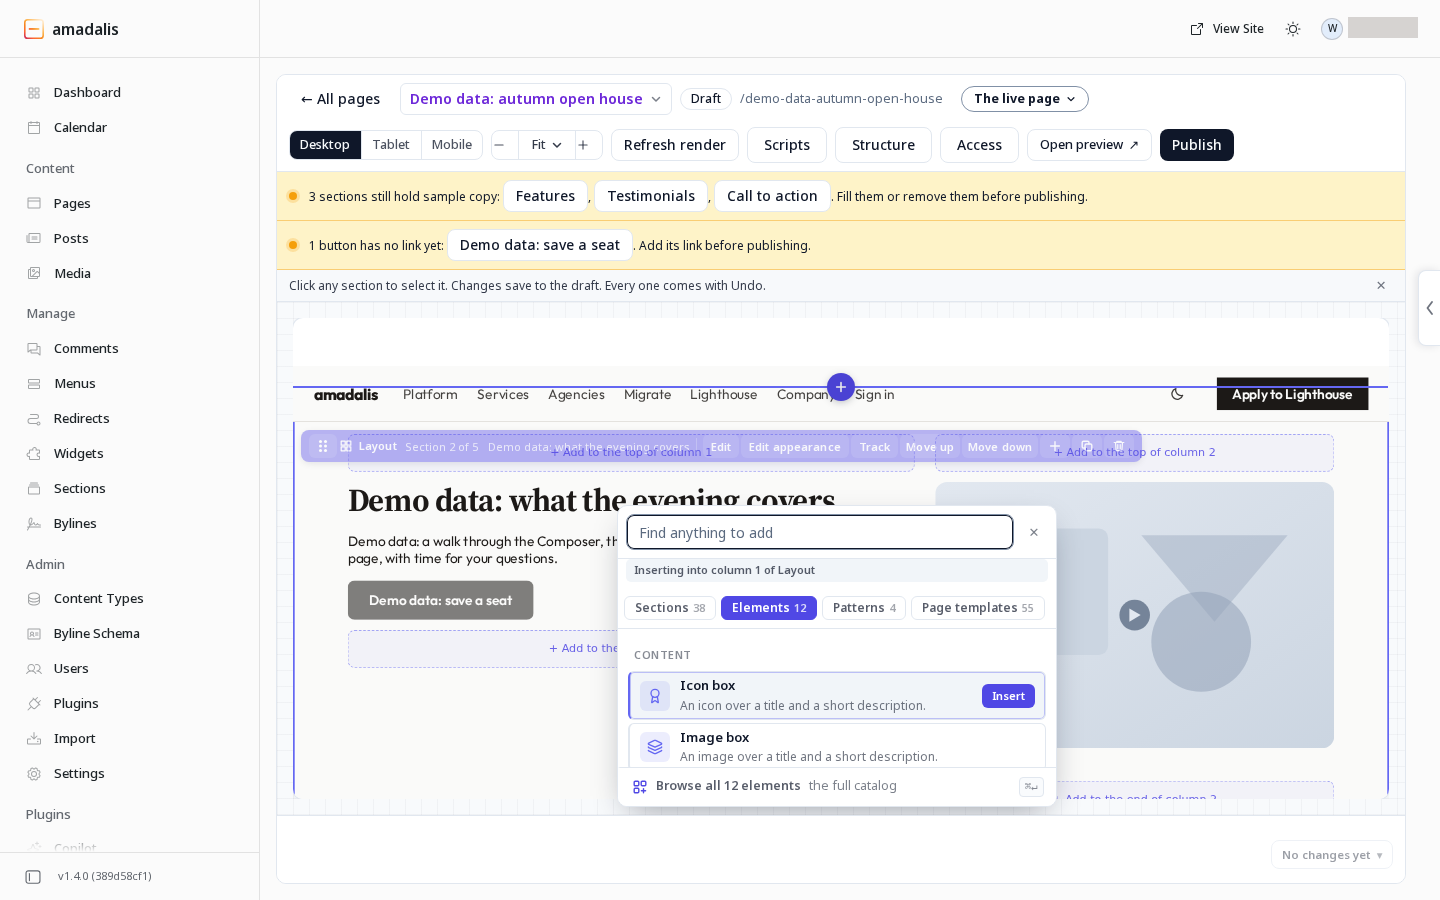
A section is a larger part of the page, such as a hero or a form. An element is a smaller item inside a layout, such as a heading, image or button. The picker lists the whole catalog and can mark items Recommended for this page. Elements go inside a column of a layout.
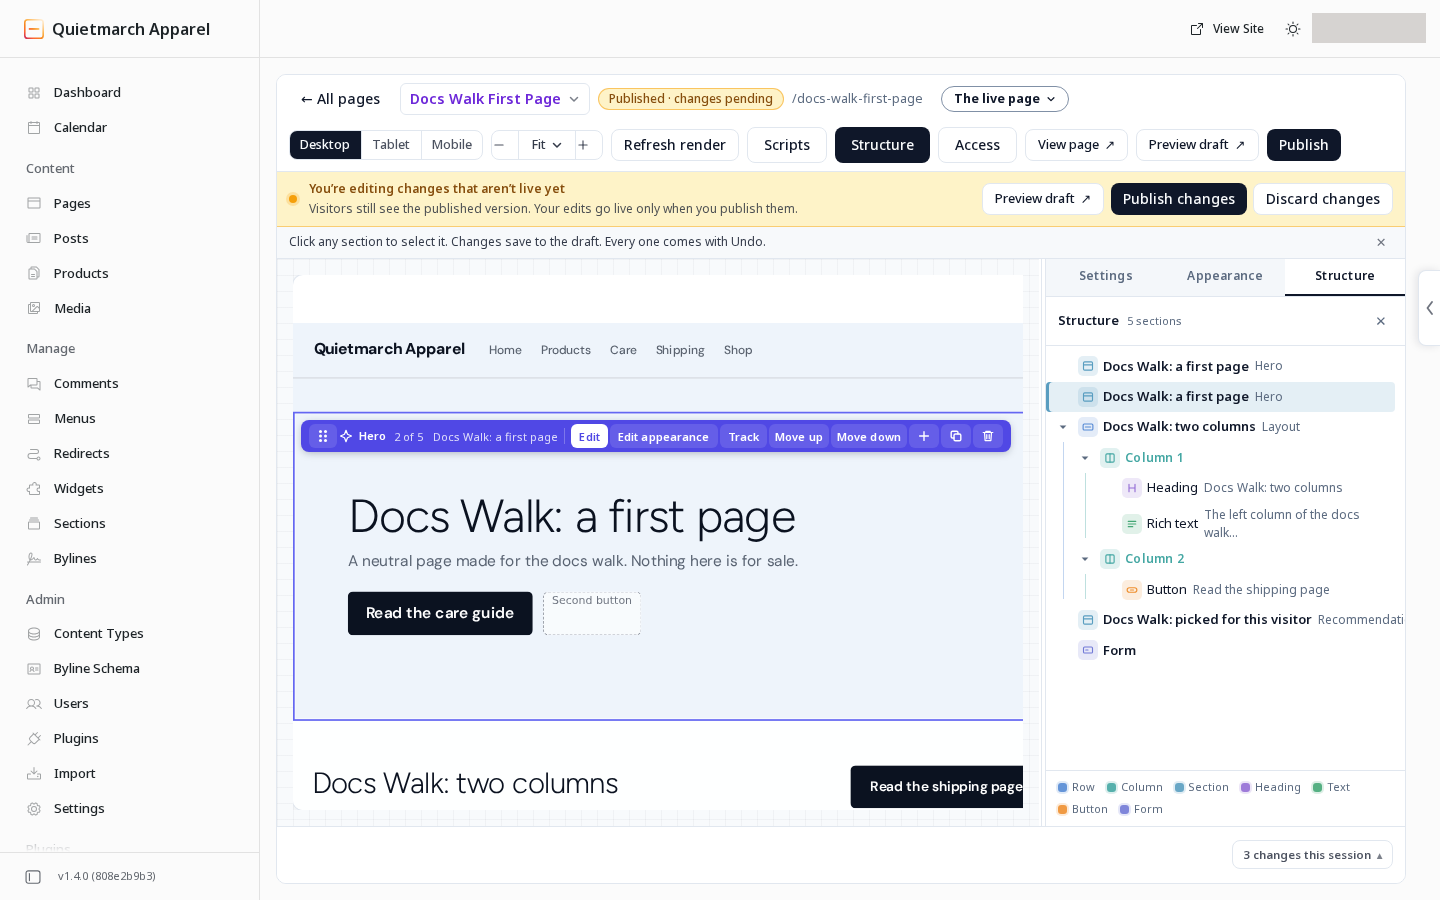
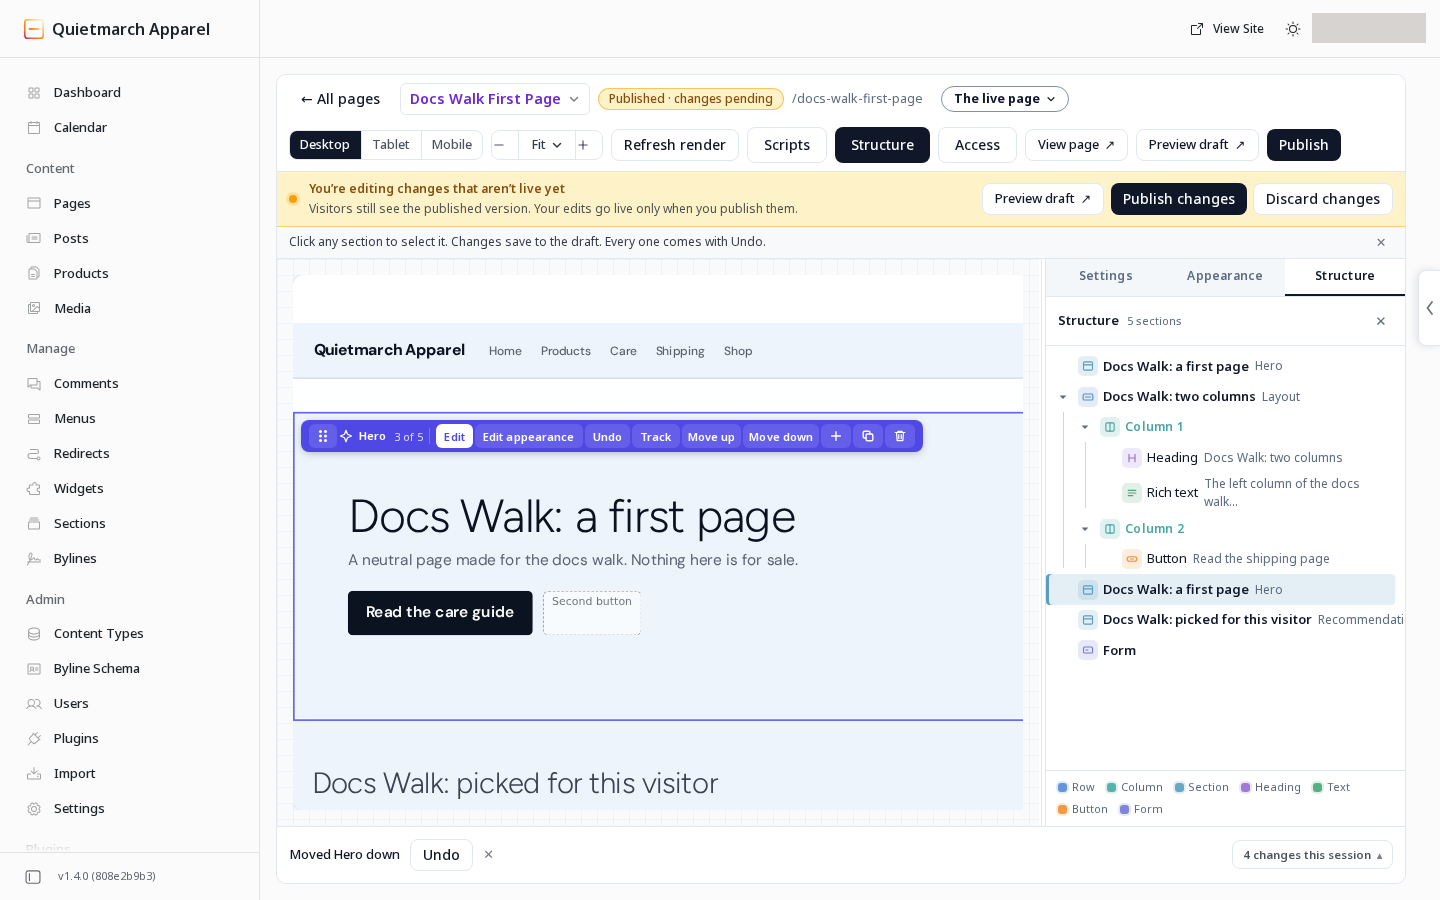
Use Move up, Move down or the drag handle to change a section’s order. Move up places the selected section higher on the page. An element inside a column has Move up and Move down but no drag handle. The toolbar offers duplication for a section and deletion for both. Read the confirmation before deleting an item.
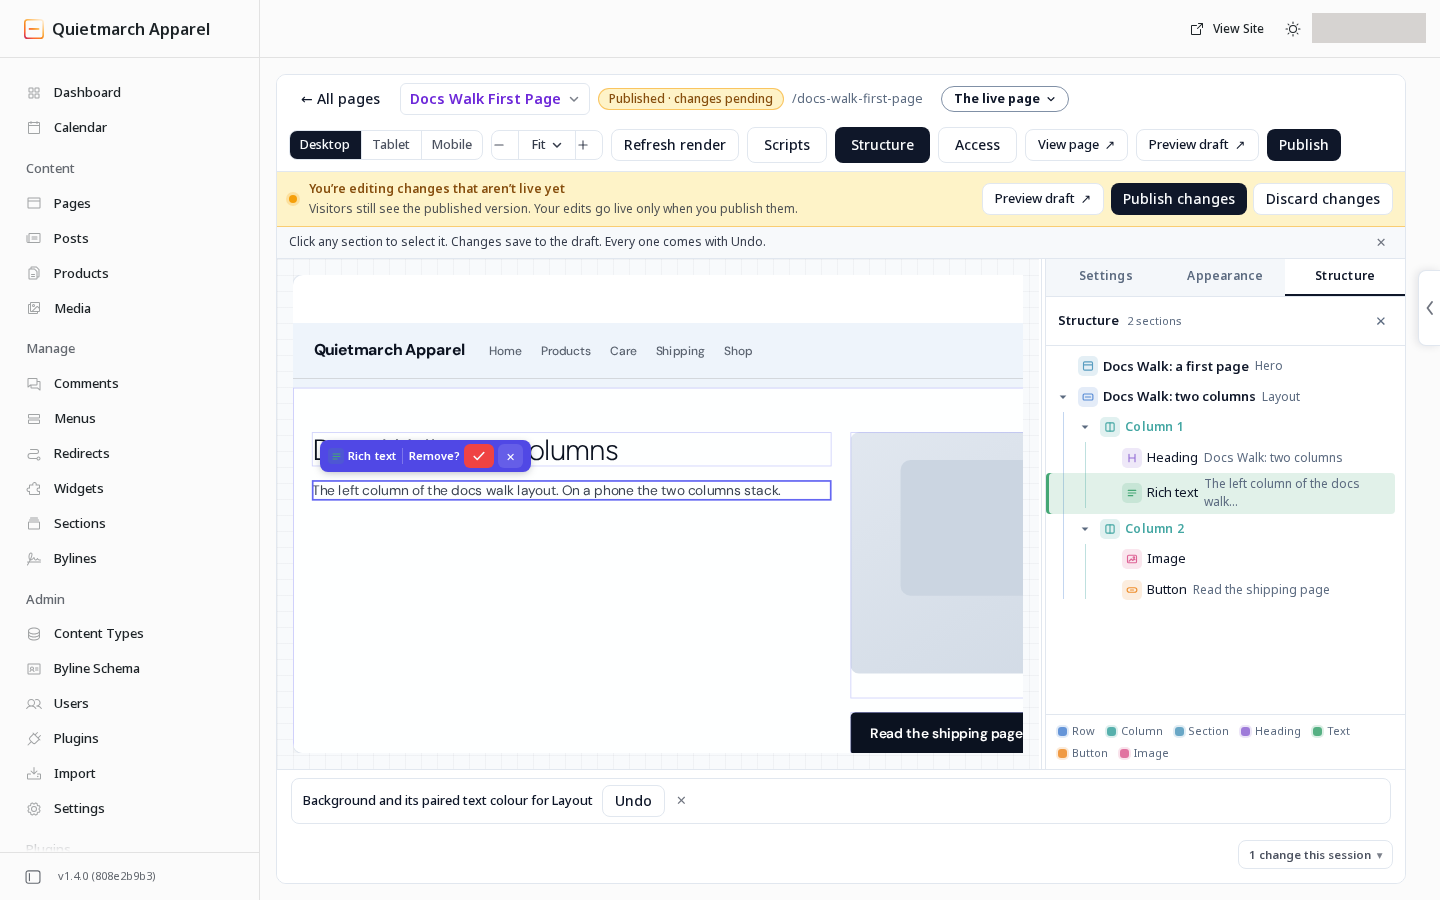
Work with columns
Section titled “Work with columns”- Select a layout that contains columns.
- Open Columns in its settings. The row diagram shows the columns and any unused space.
- Select a column in that diagram to edit it.
Widths can differ for desktop, tablet and phone screens. A column’s width is its share of the row. Giving one column half the width does not add a second column. Add that column separately, then place content inside it.
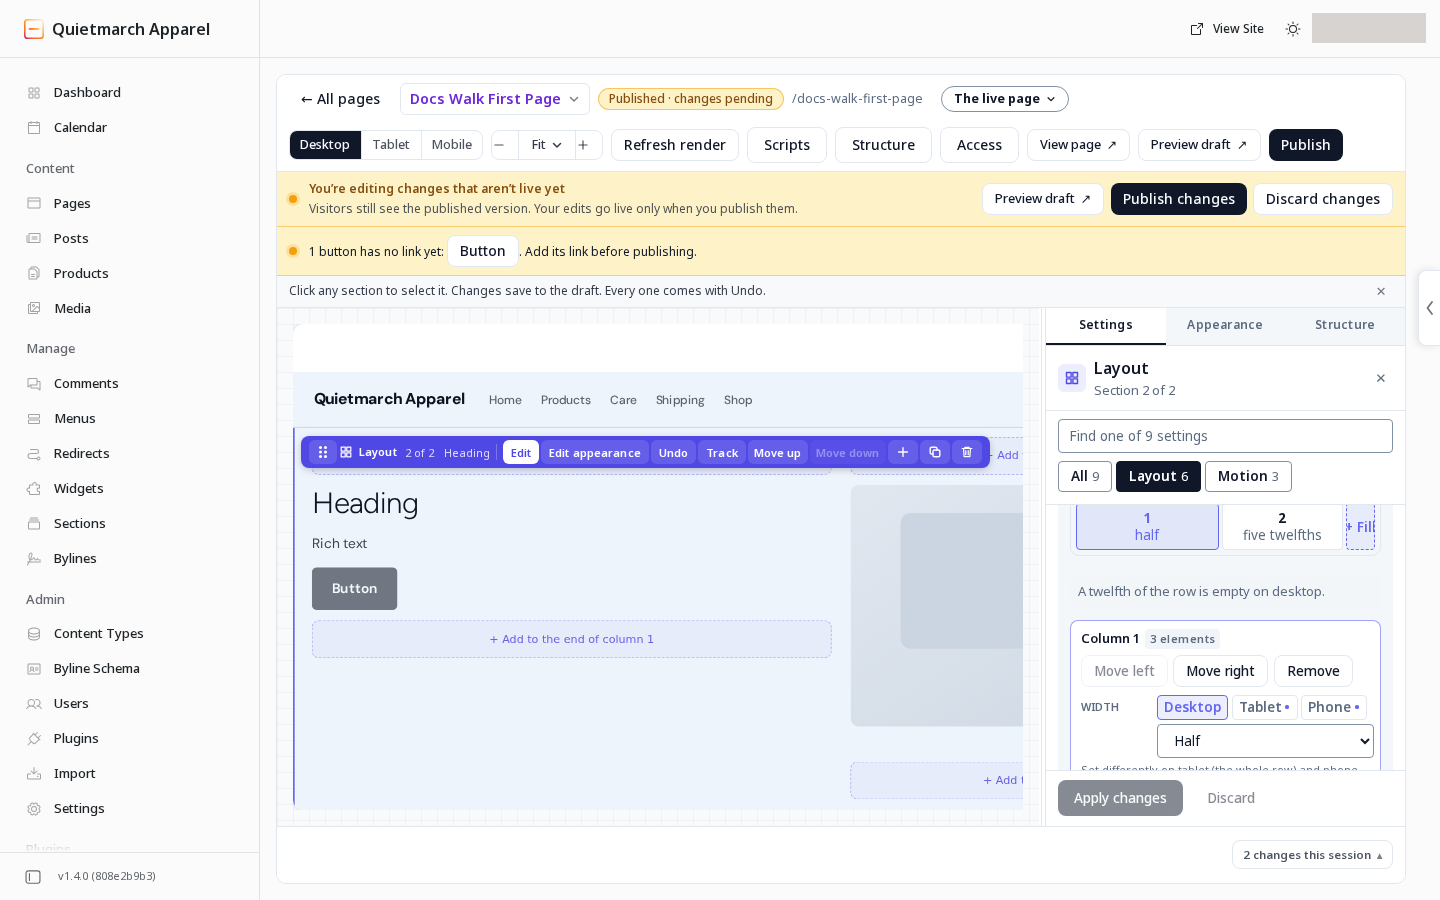
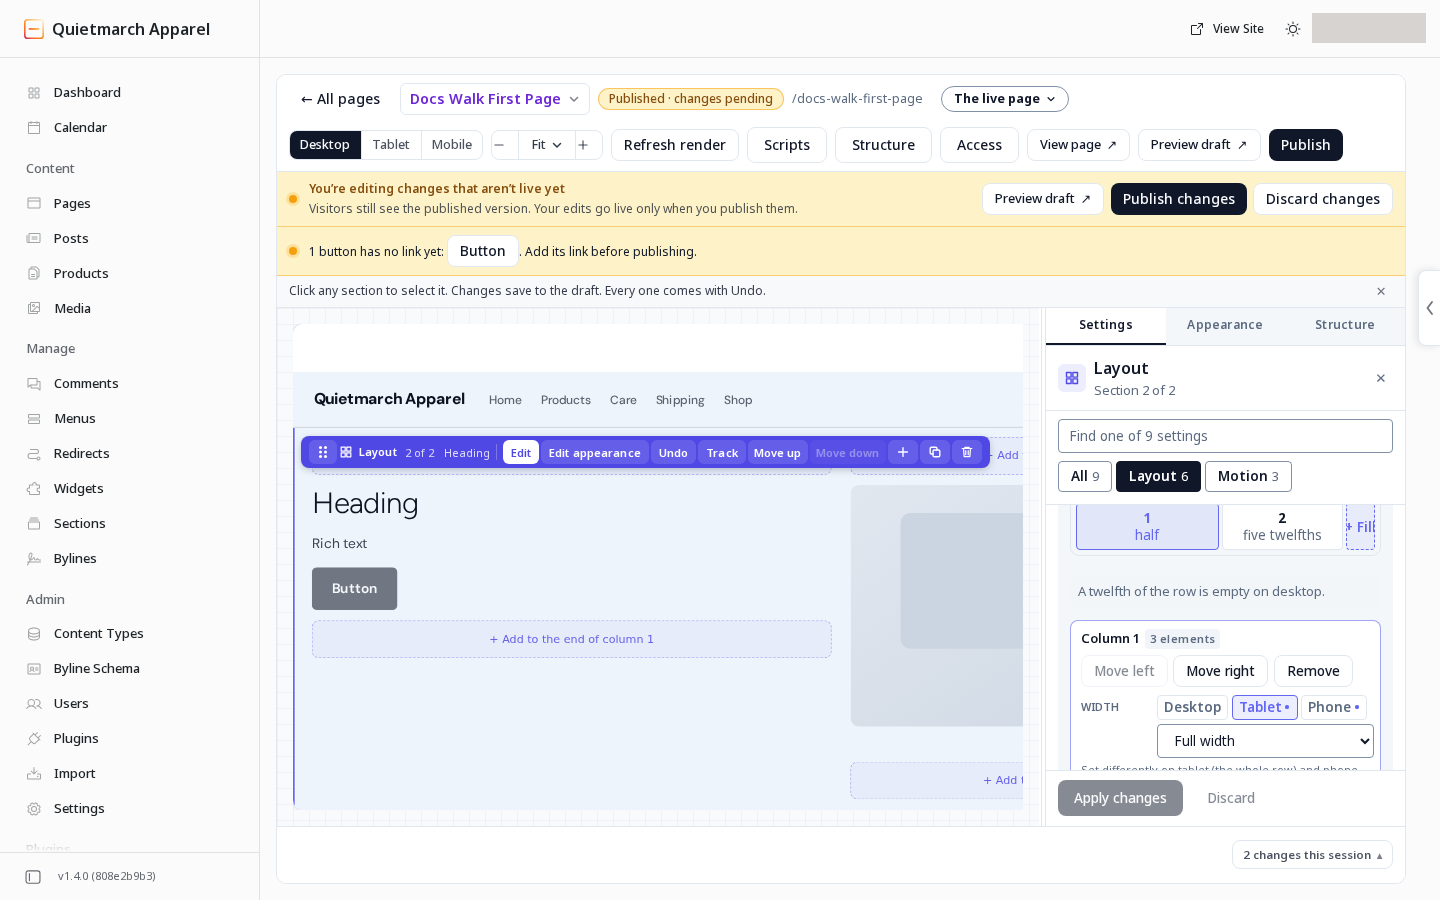
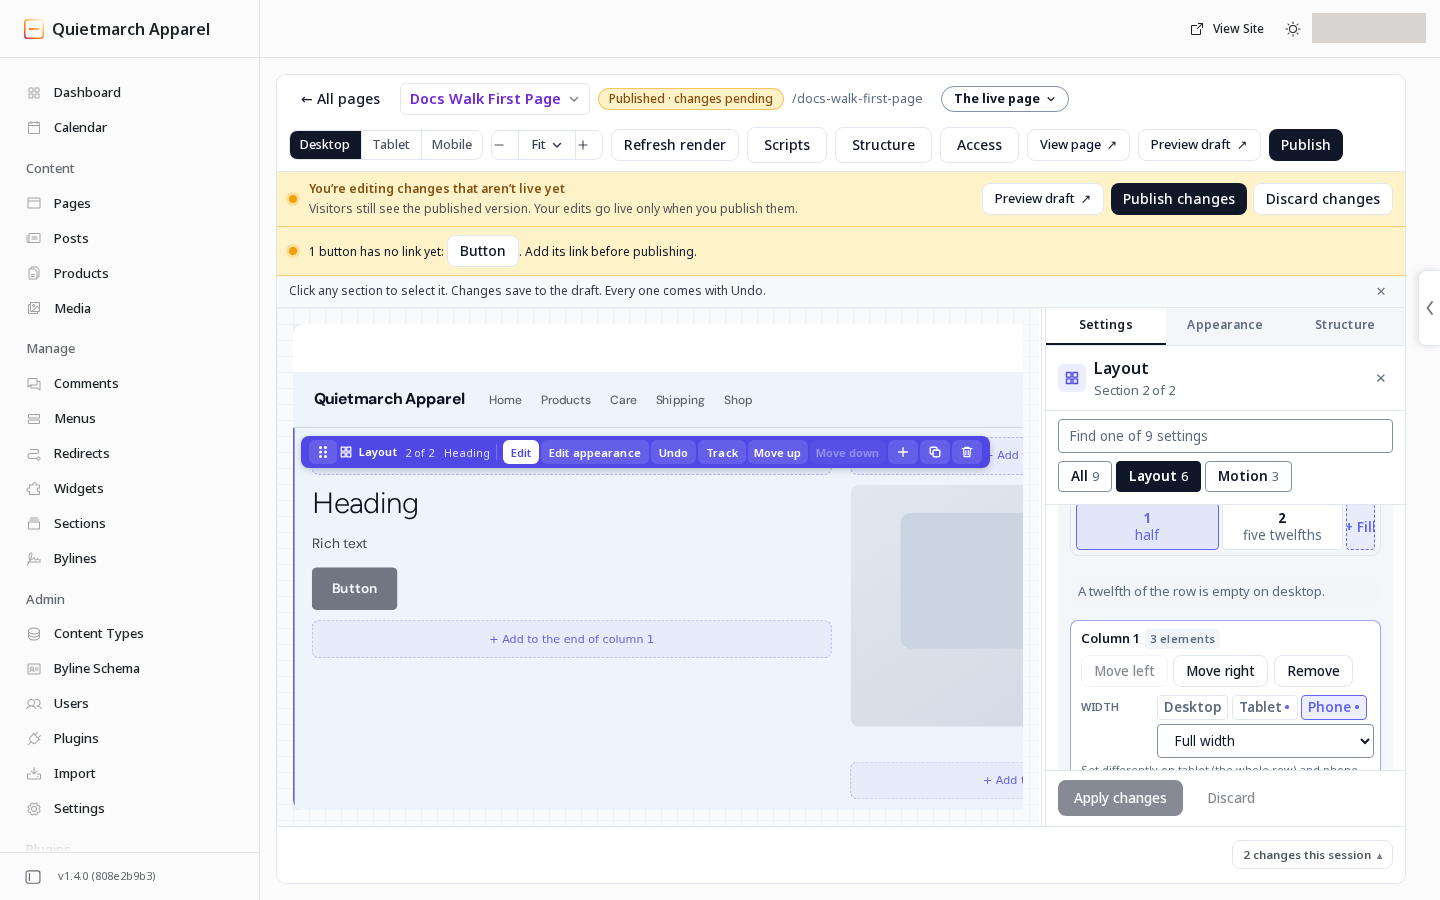
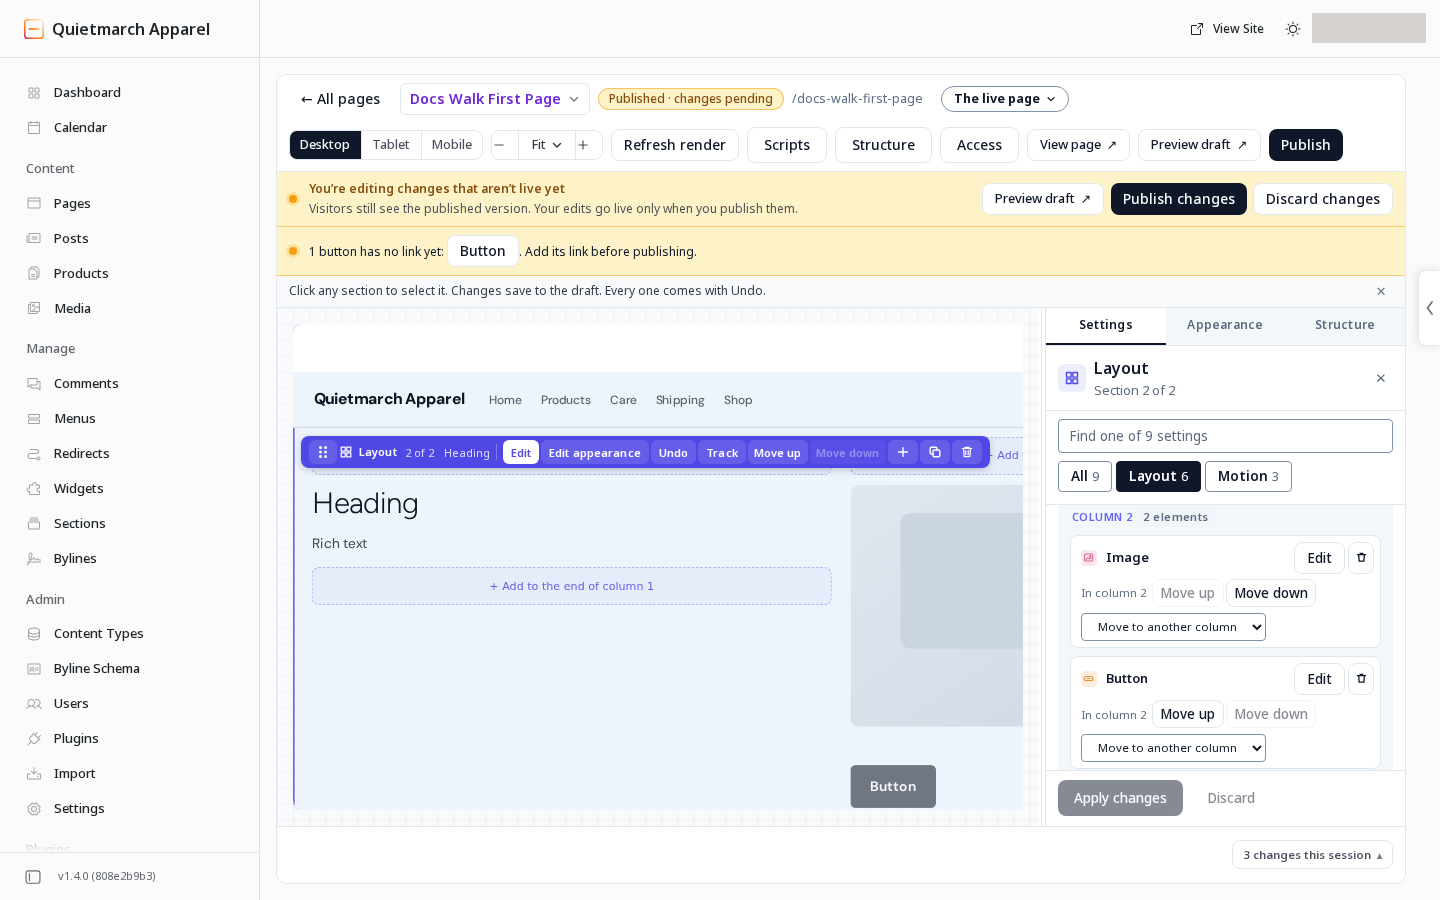
Check the canvas at desktop, tablet and phone widths. The canvas and column controls use different names for the smallest width. At narrow window widths, the page toolbar wraps its control groups onto extra rows.
Change appearance
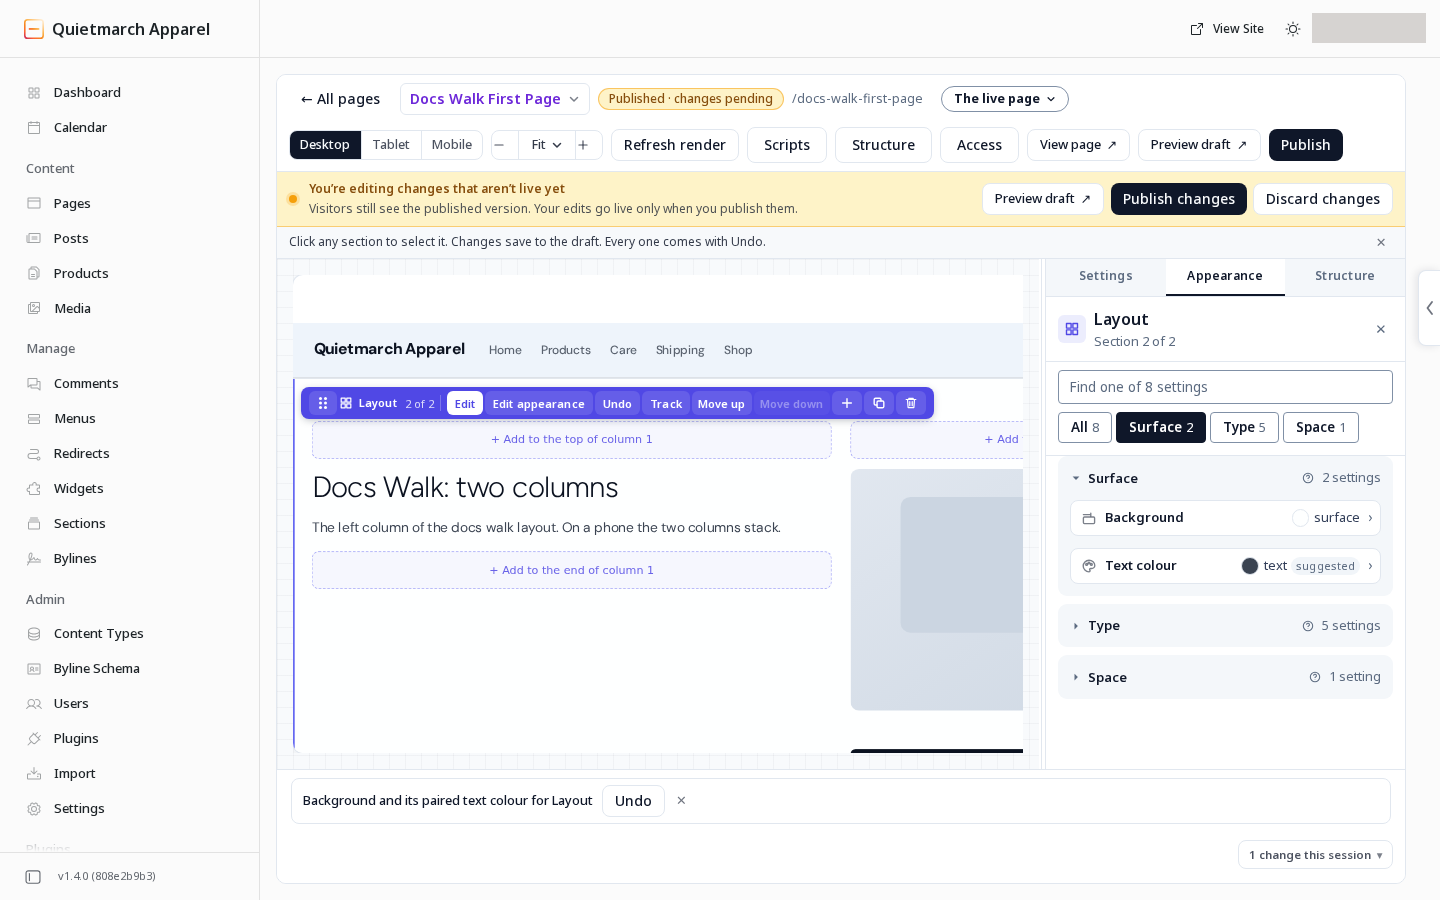
Section titled “Change appearance”Open Appearance for the selected item. It groups its controls under Surface, Type and Space. Surface holds background and text colour. Type holds text scale, font weight, line height, letter spacing and alignment. Space holds padding.
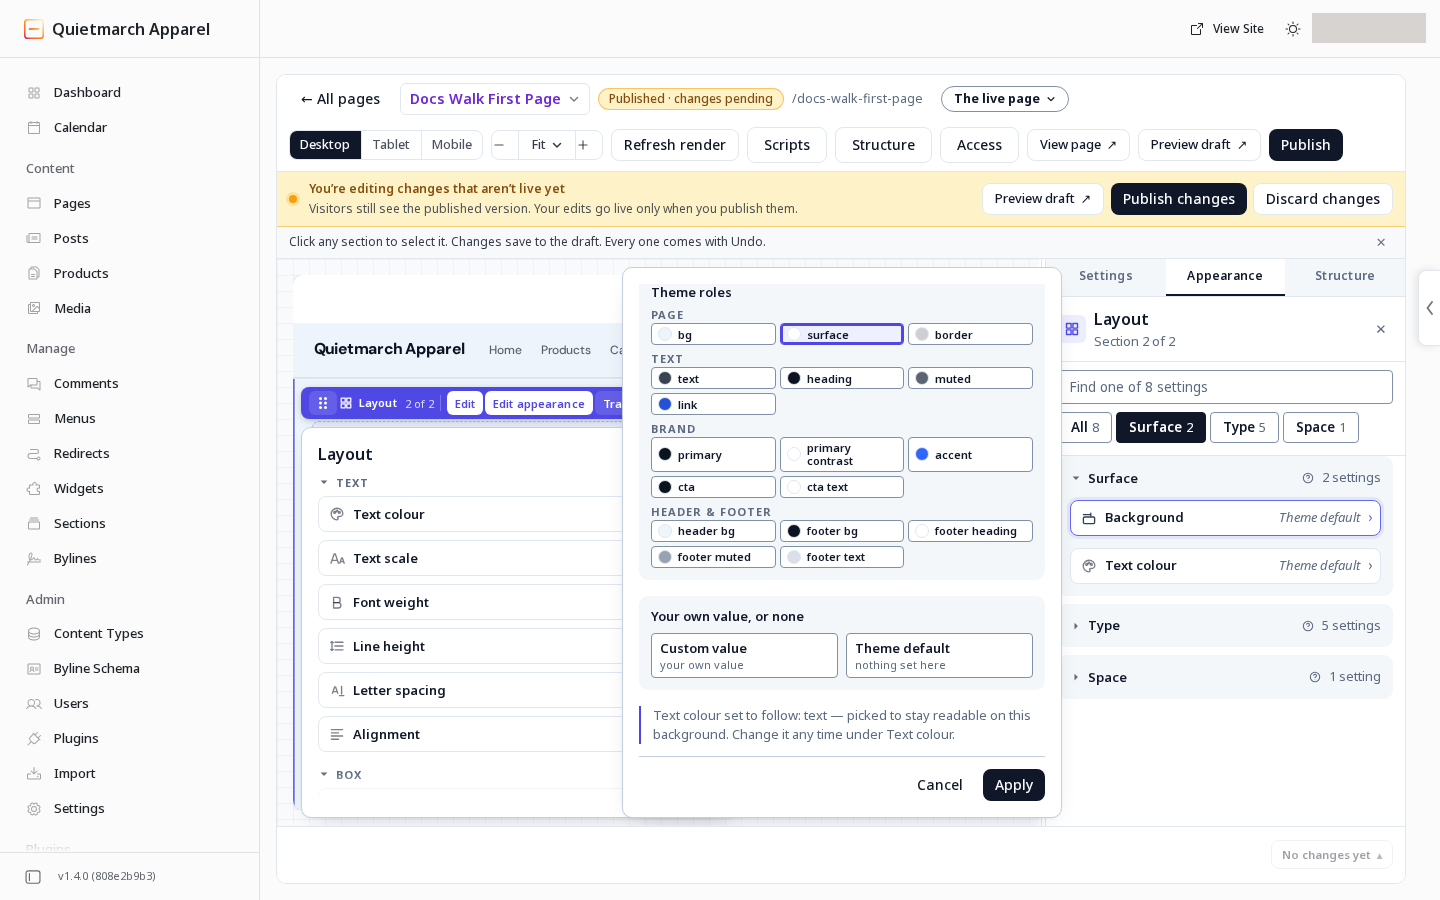
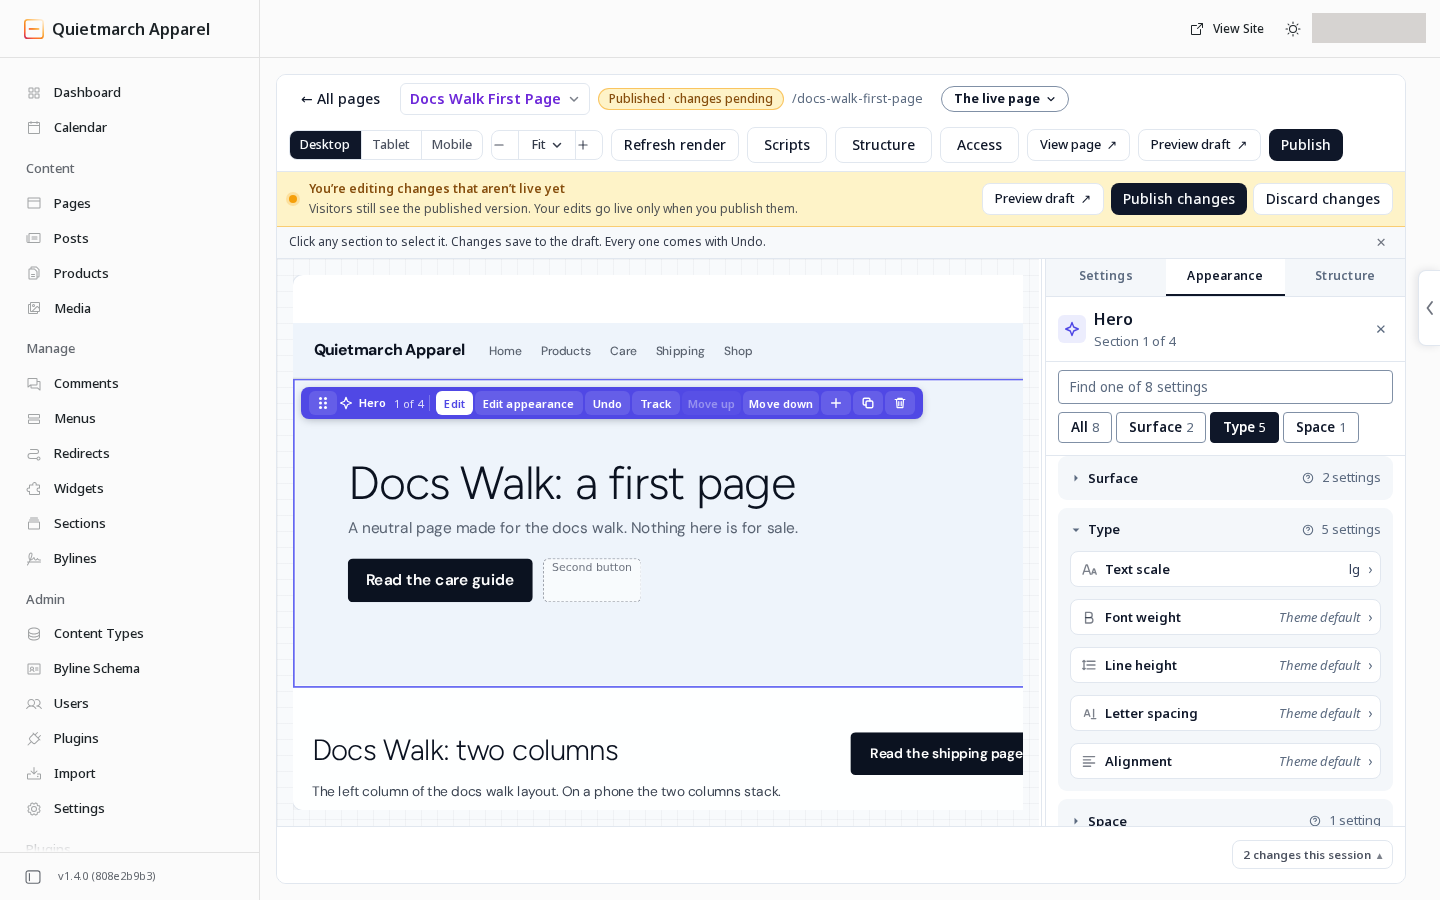
Here lg means the large text size for the selected section.
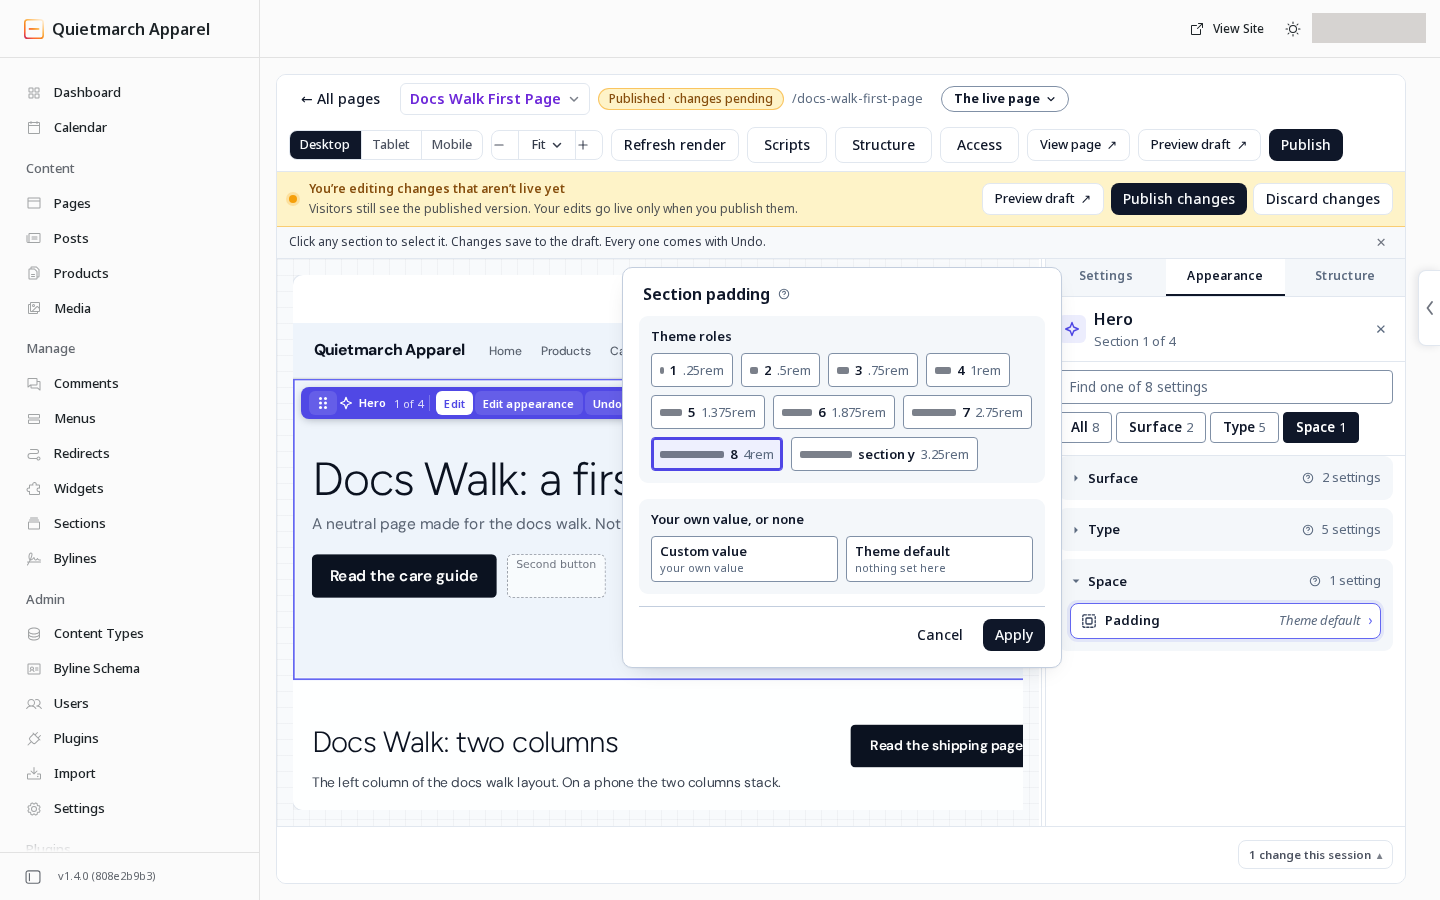
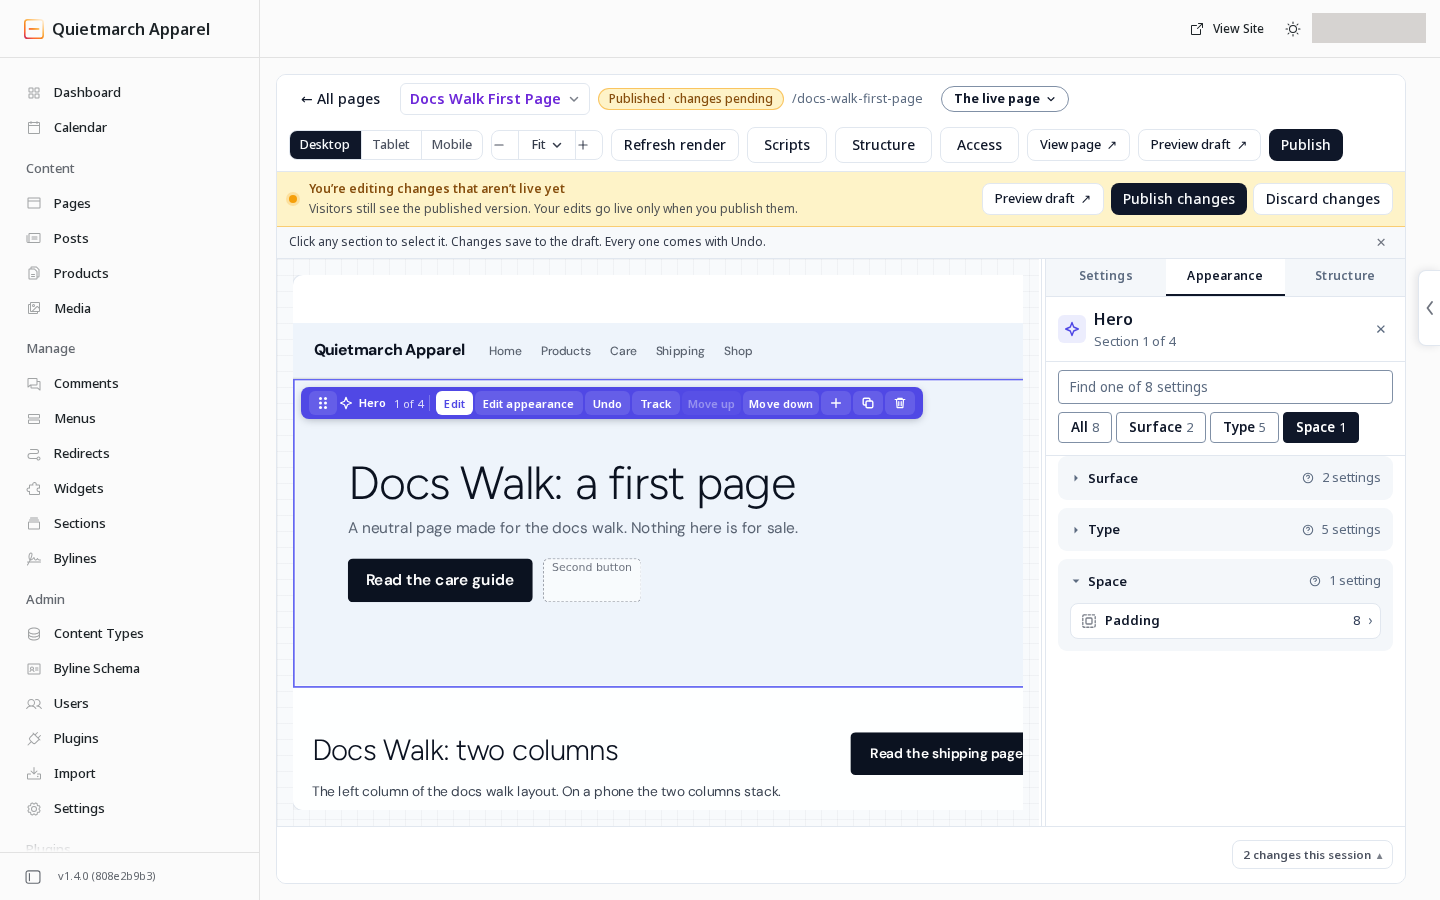
Prefer the theme’s named roles when they fit. That lets the site use a consistent set of colours and type choices. See Themes and tokens for changes to the whole site’s design.
Use the page structure
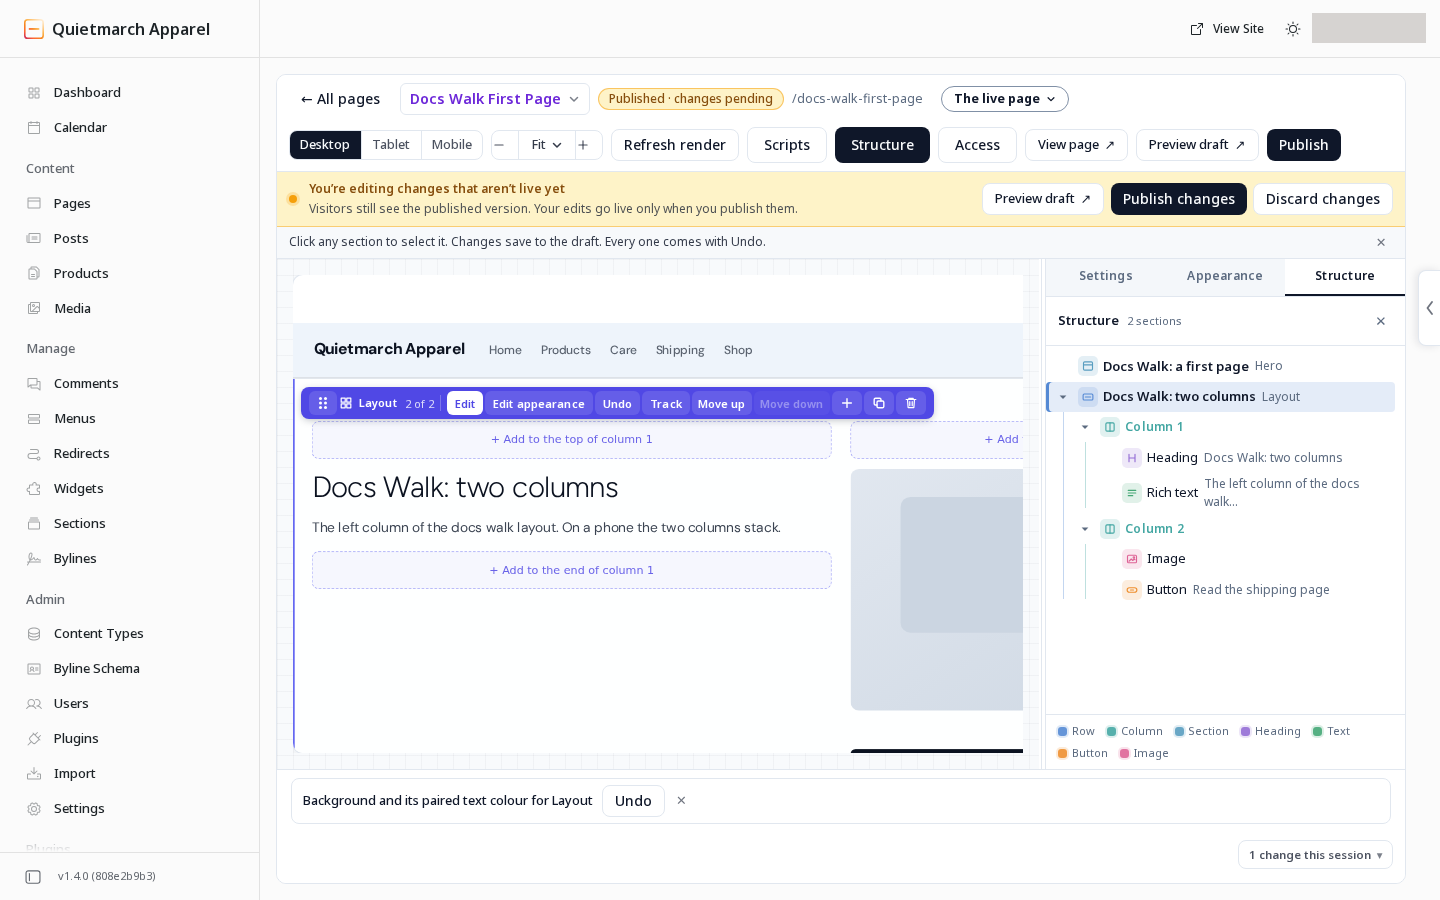
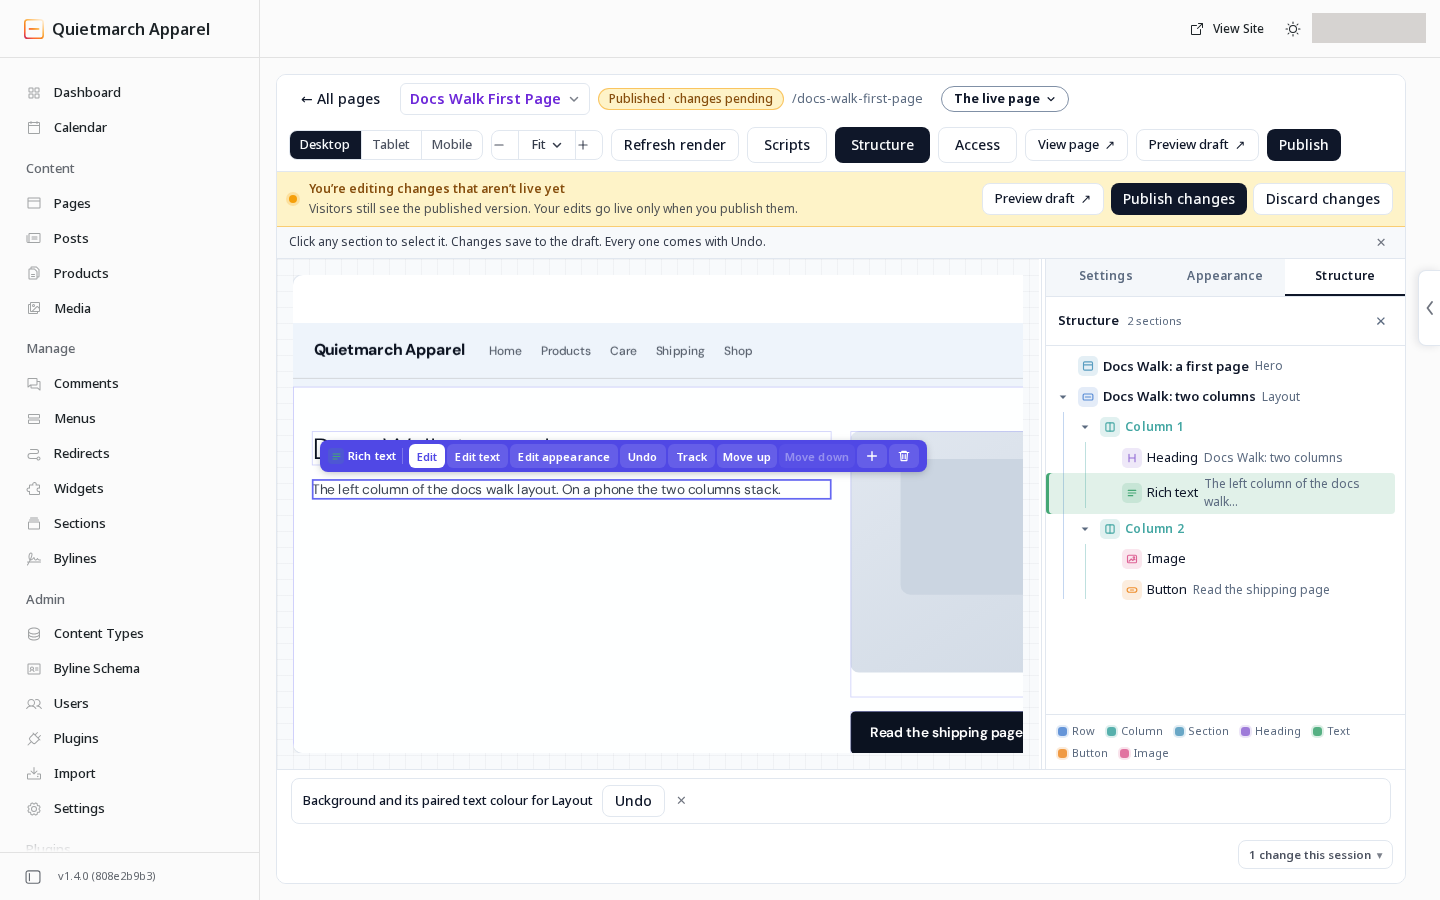
Section titled “Use the page structure”- Open Structure to see the page as a tree.
- Select a section or an item inside it in the tree. It is selected on the canvas and scrolls into view.
Use this for items inside a layout or sections outside the visible preview.
Review and publish
Section titled “Review and publish”Use Open preview for an unpublished page. When a page is already published, View page opens the published page and Preview draft opens your unpublished changes.
- Choose Publish, or Publish changes in the bar above a published page with pending edits.
- Read the approval card. It can name new or changed scripts, tracking and form recipients, along with sample copy and links to unpublished pages or missing places on this page. Review those notes before deciding.
- Choose the approval or decline action for your case in the table below.
The card can say that a form’s recipients, the live version or some links could not be read. Link warnings do not block publication and do not check outside sites or the shared menus and footer. Review the page yourself.
If there is nothing new to publish: Publish is unavailable when everything on the page is already live.
| What you are publishing | Approve | Decline |
|---|---|---|
| A first publication | Publish this page | Keep as draft |
| Changes to a live page | Publish the changes | Keep them unpublished |
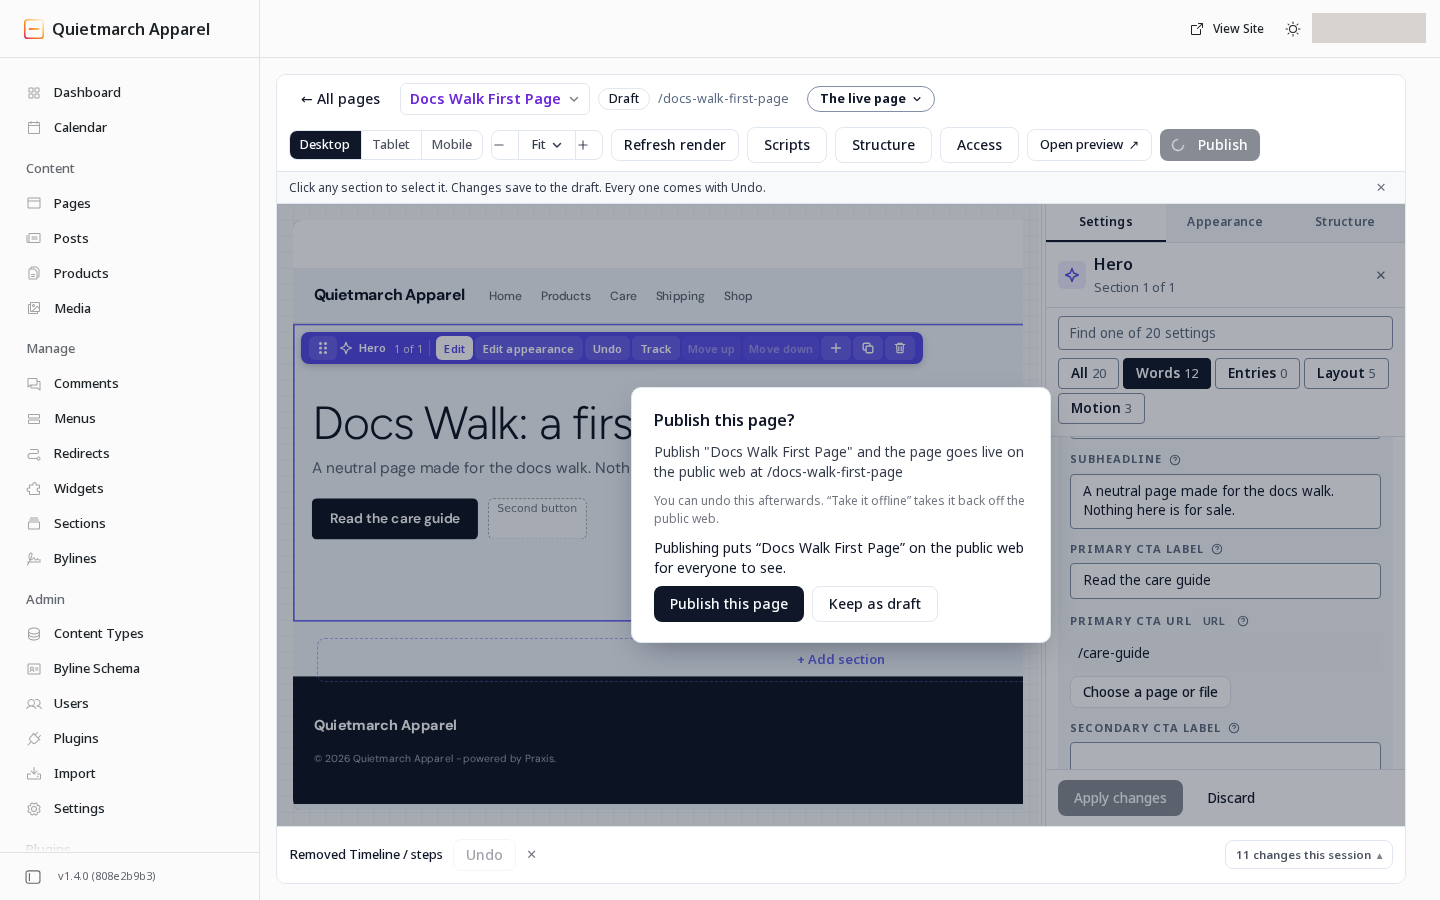
The card names the page and its public address before you choose Publish this page or Keep as draft.
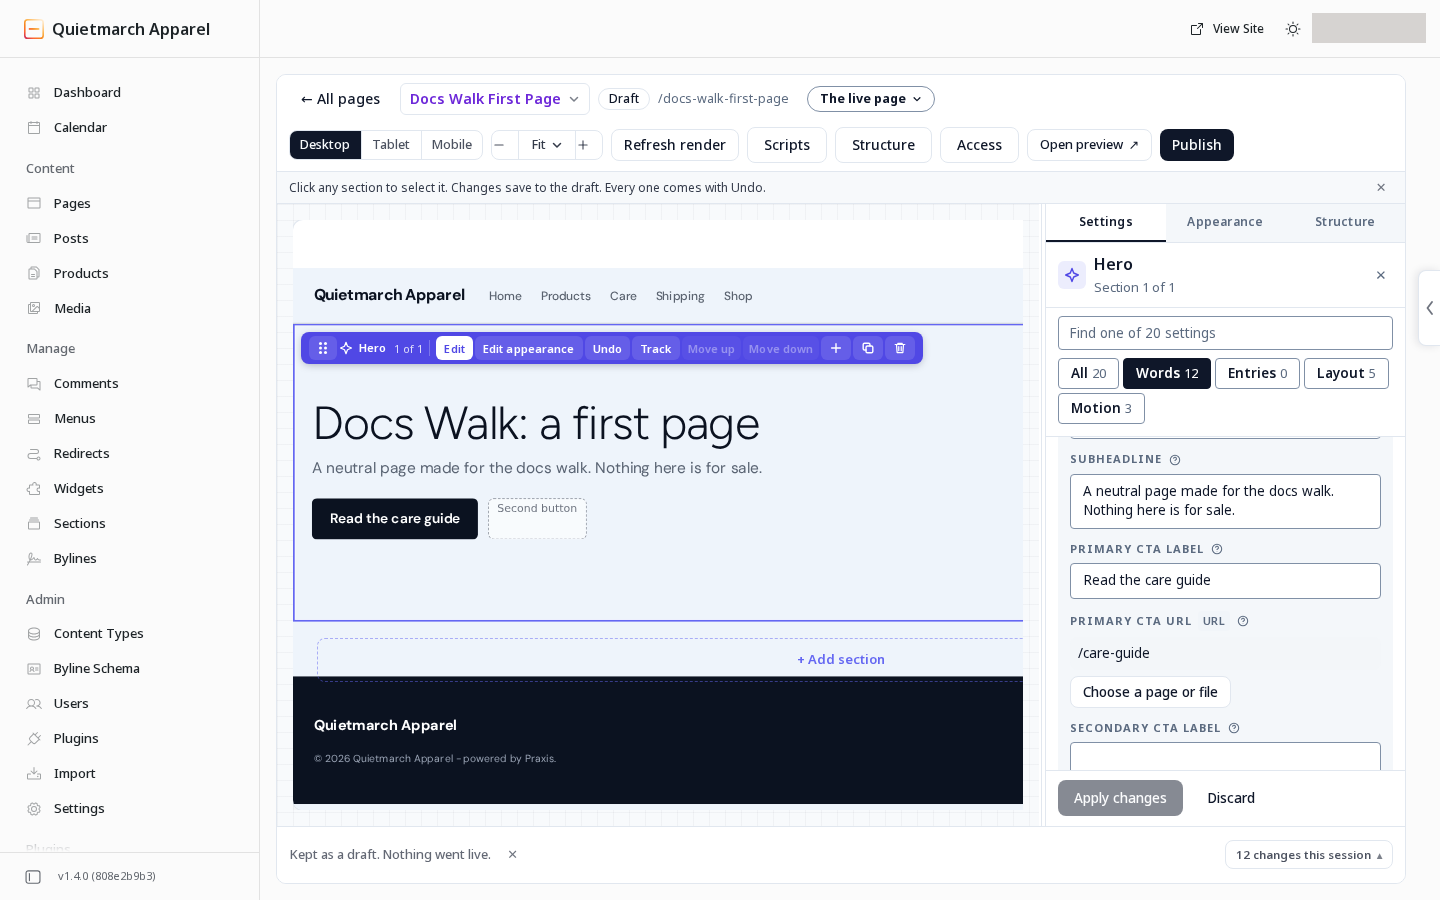
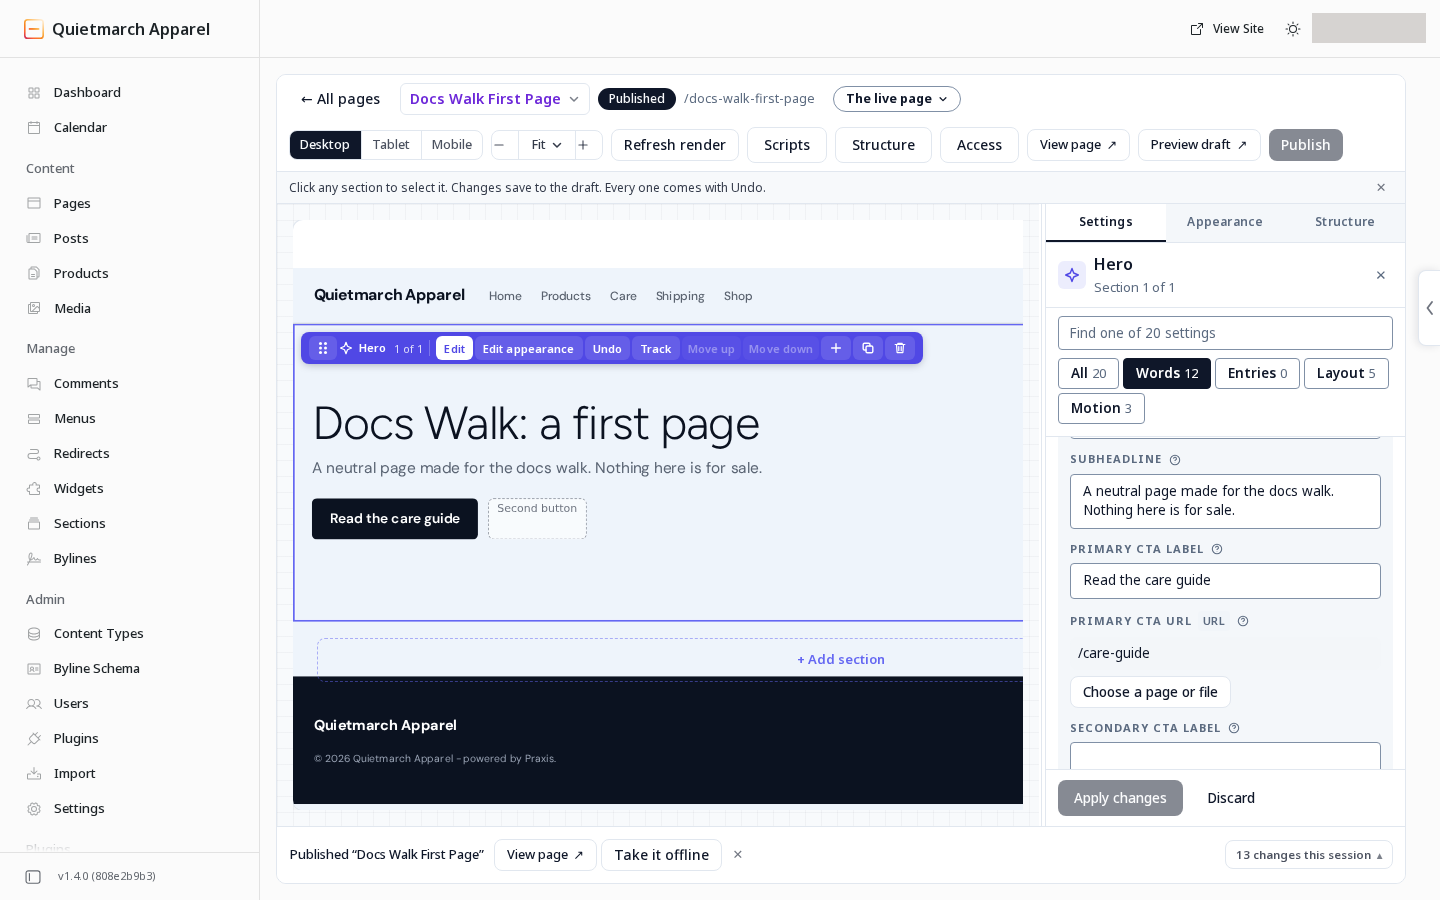
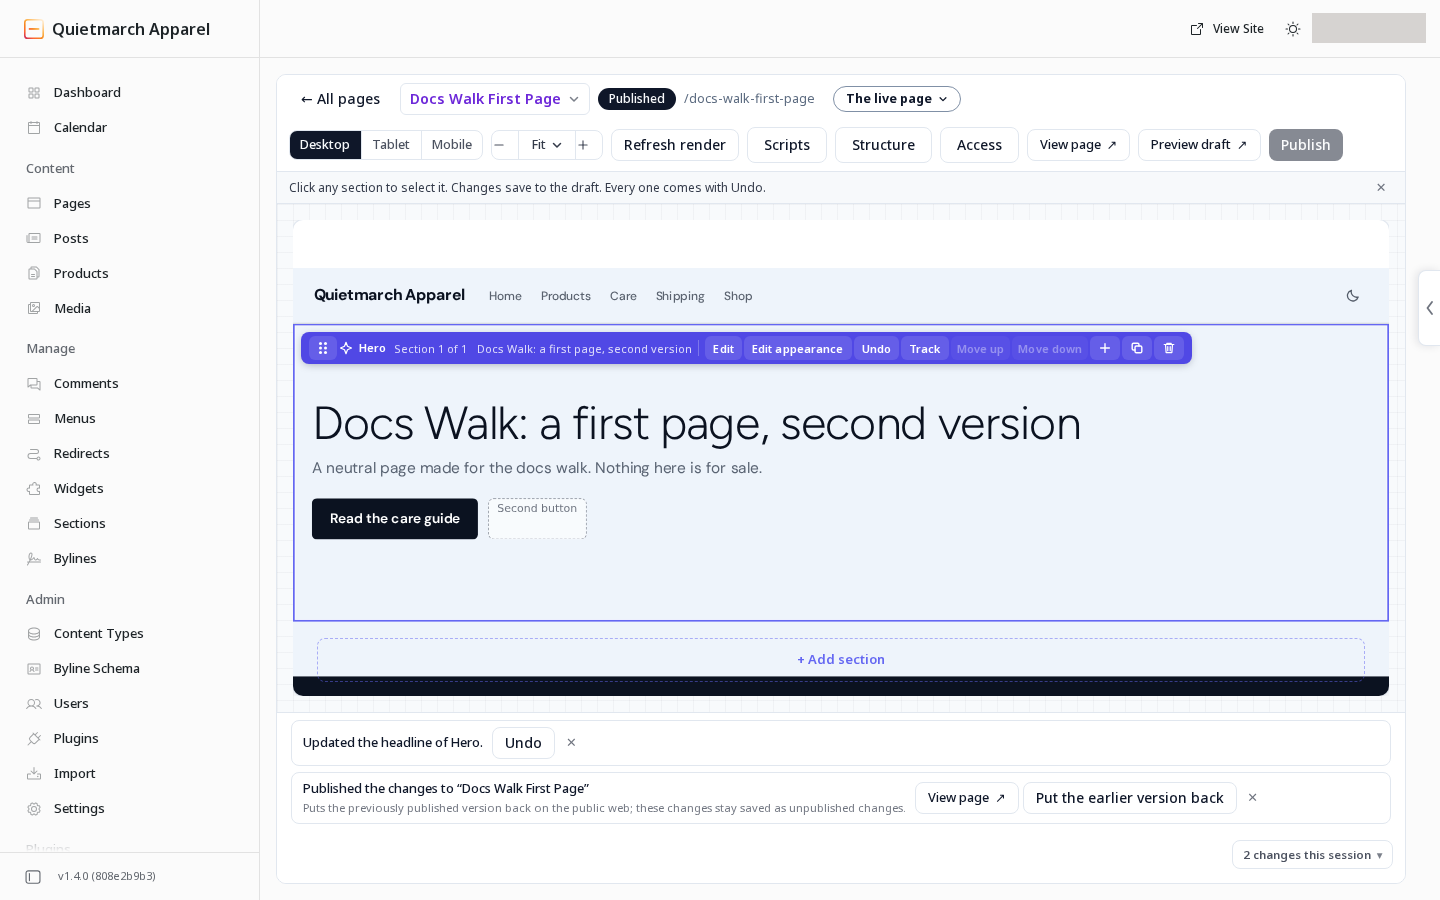
The page now has Published status, and the bottom receipt offers View page and Take it offline.
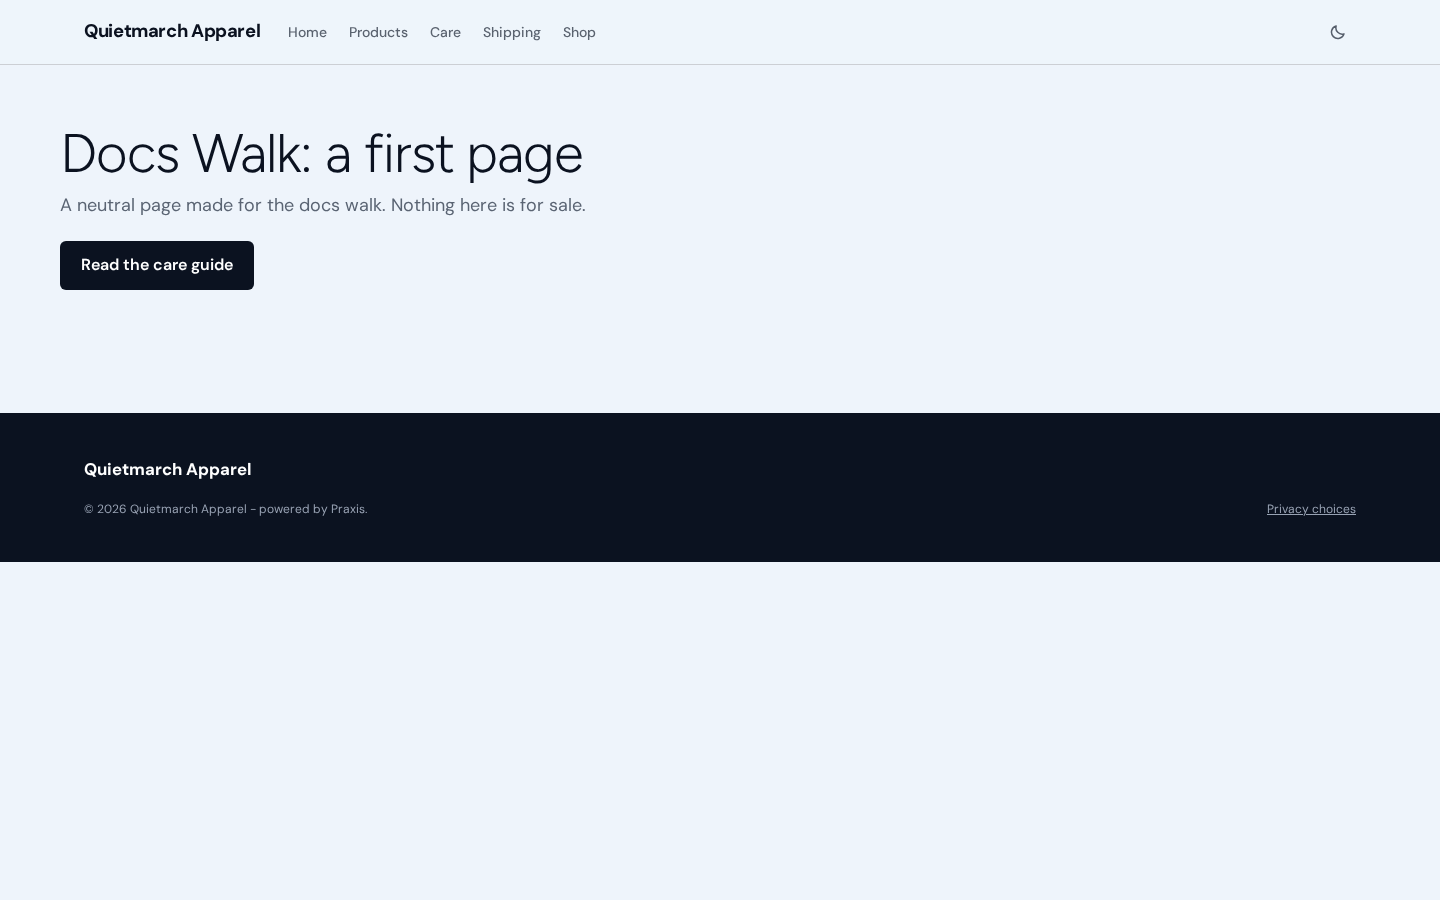
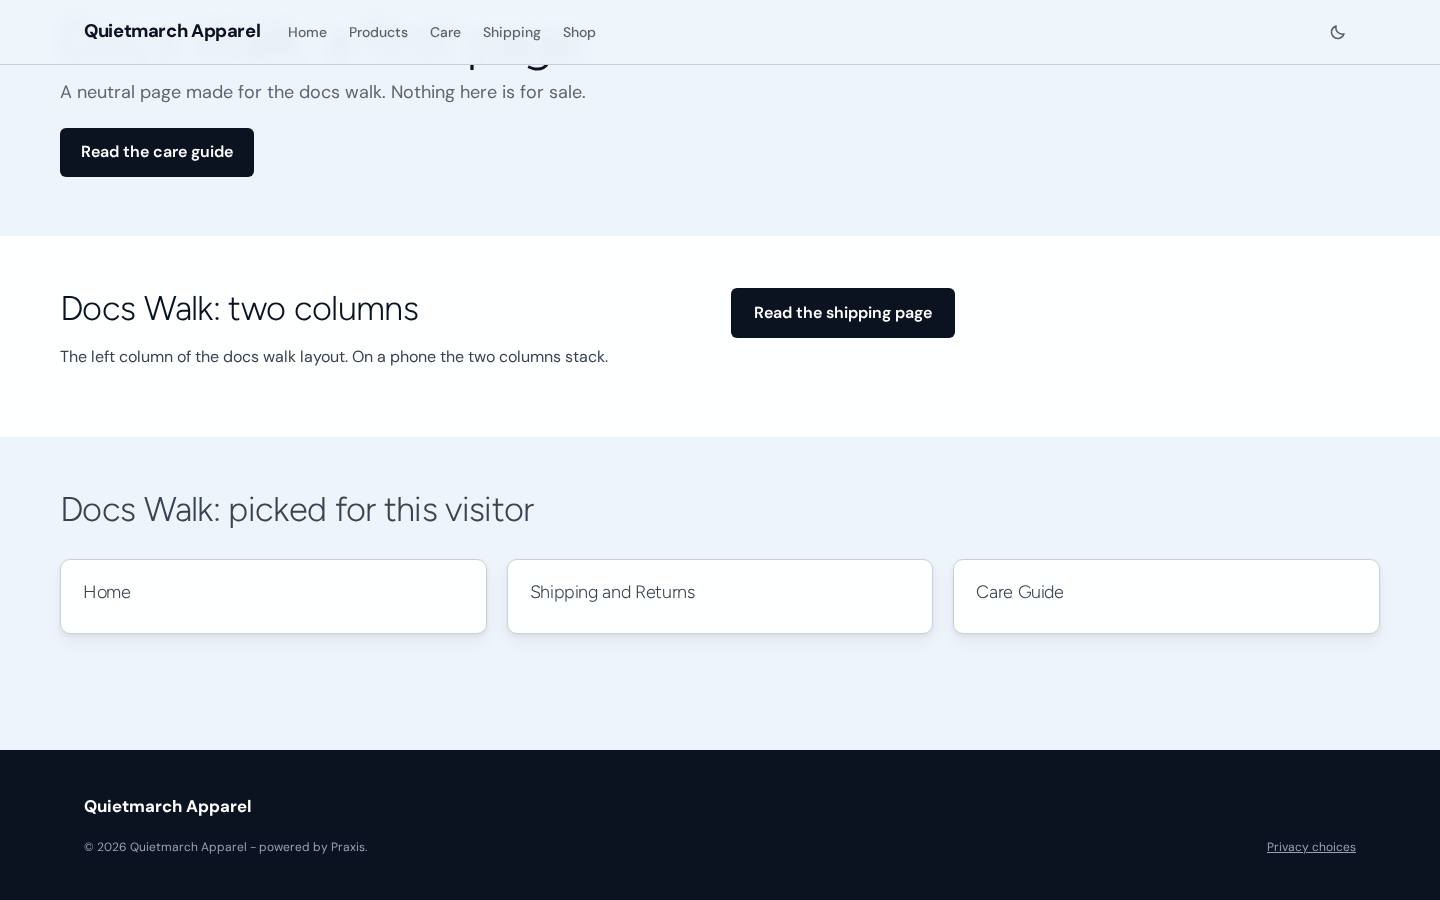
The public page shows the approved heading and care guide button beneath the site header.
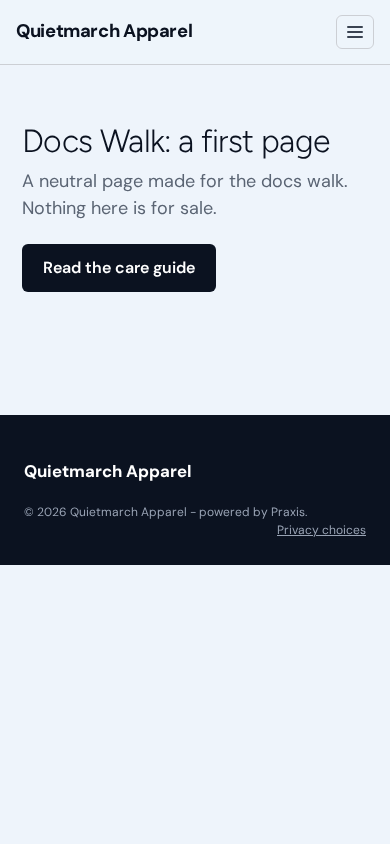
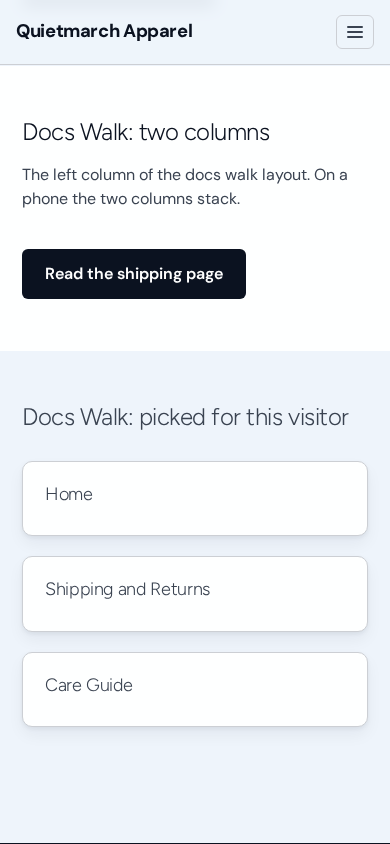
On the phone, the public header uses a menu button and the page’s heading and introduction wrap to fit the narrower screen.
Why a page did not publish
Section titled “Why a page did not publish”Some problems stop publication before a card opens. Read the refusal, fix the named field or section, and try again.
The Composer names sections that still need your facts. Choose a name, fill its note or remove the section, then try again. Other sample words are named separately; their advisory note does not let a page with a facts note publish.
For saved versions from earlier sessions, use History beside Layout. It is separate from the session receipts below. See Restore an earlier revision for restoring a saved draft and its schedule limits.
Draft preview links belong to their own site. If the site’s preview signing key cannot be read, the Composer reports that the preview cannot be shown instead of opening an unsigned draft address. Keep preview links private.
Undo or discard a change
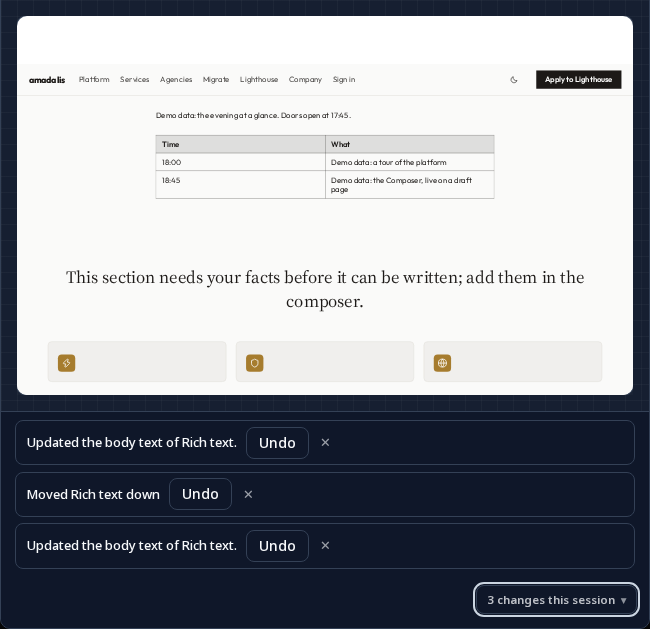
Section titled “Undo or discard a change”- In the footer, open the change count, such as 3 changes this session, to see this session’s history.
- Choose Undo on a recorded change to take that applied edit back. Each recorded change has its available action. An undone edit can offer Redo.
Script changes also enter this history and offer receipt Undo when available. If the canvas or Settings still show an undone value, reload and check the saved draft before editing again.
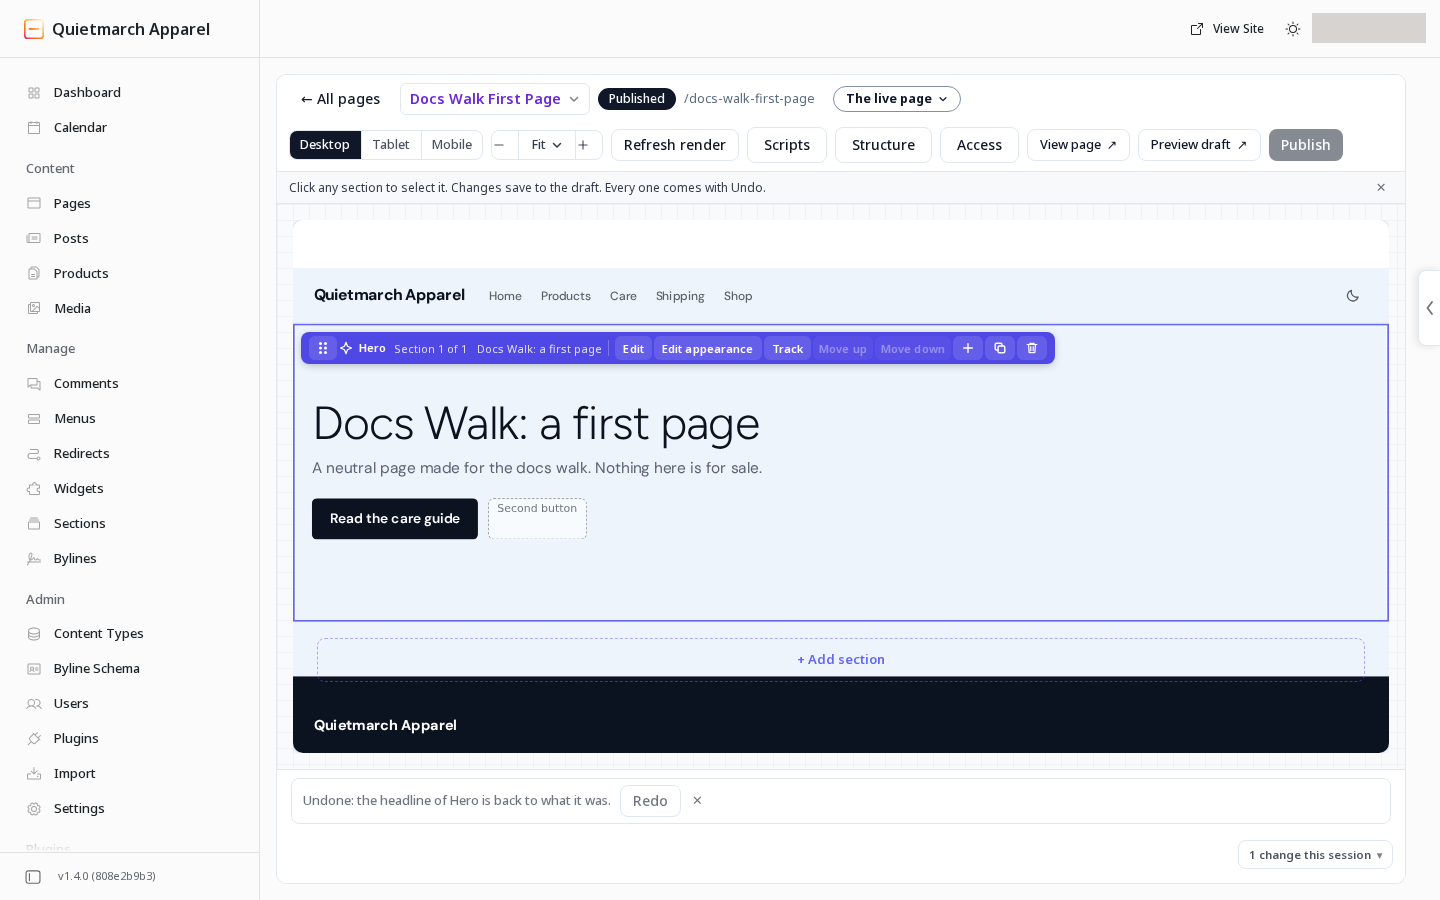
A publish has a more specific way back. Take it offline reverses a first publication, returning the page to draft. Elsewhere, Unpublish does the same. The restore action reverses a later publish and leaves the newer edits unpublished. If the earlier version is no longer kept, it takes the page offline instead. This control acts at once, so read the receipt afterwards.
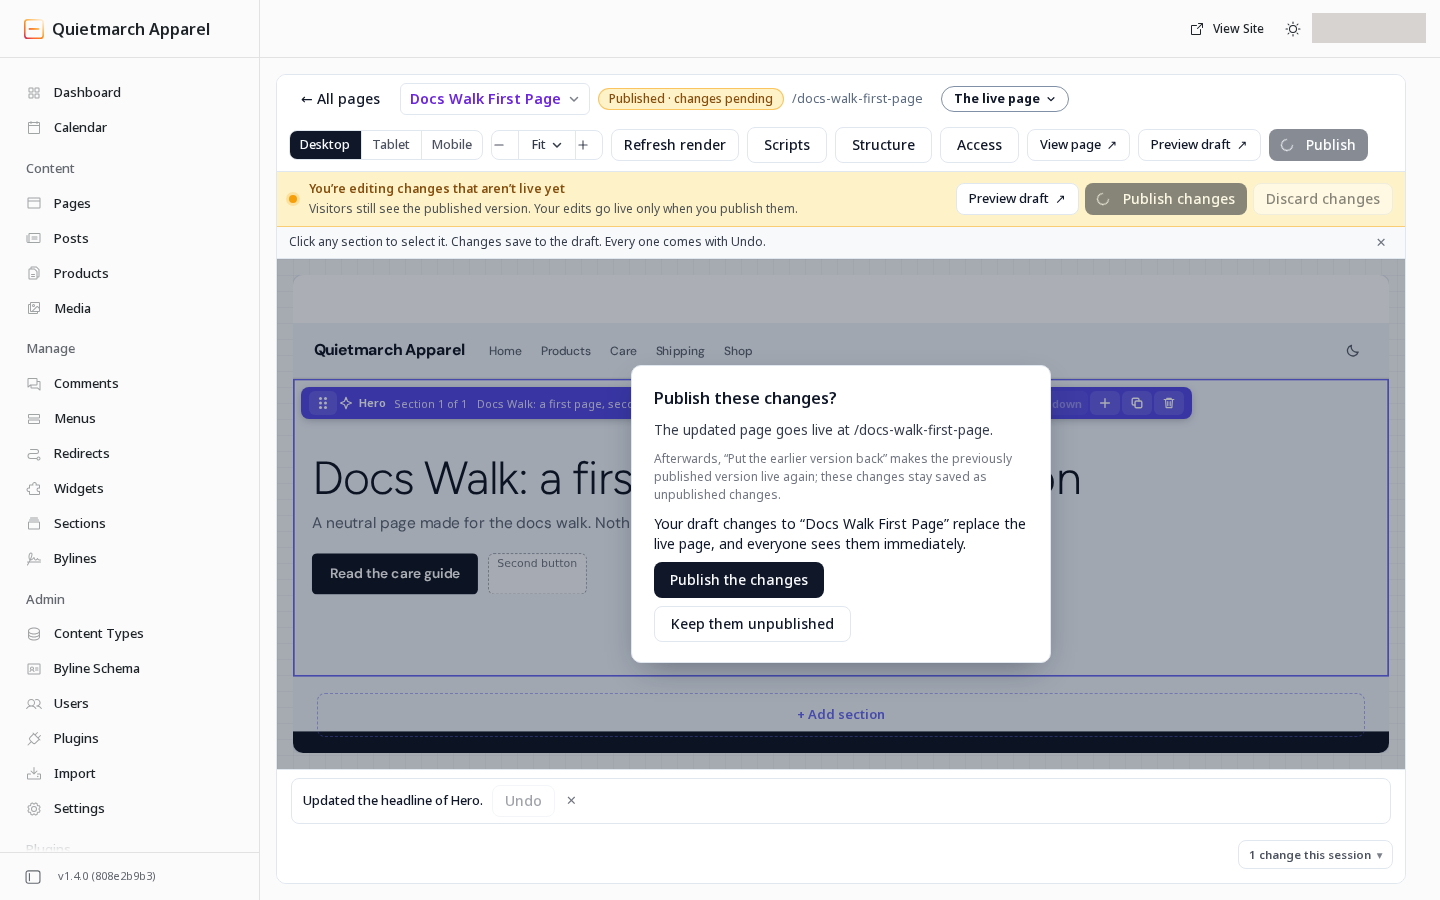
The approval replaces the version visitors see and names Put the earlier version back as the available reversal.
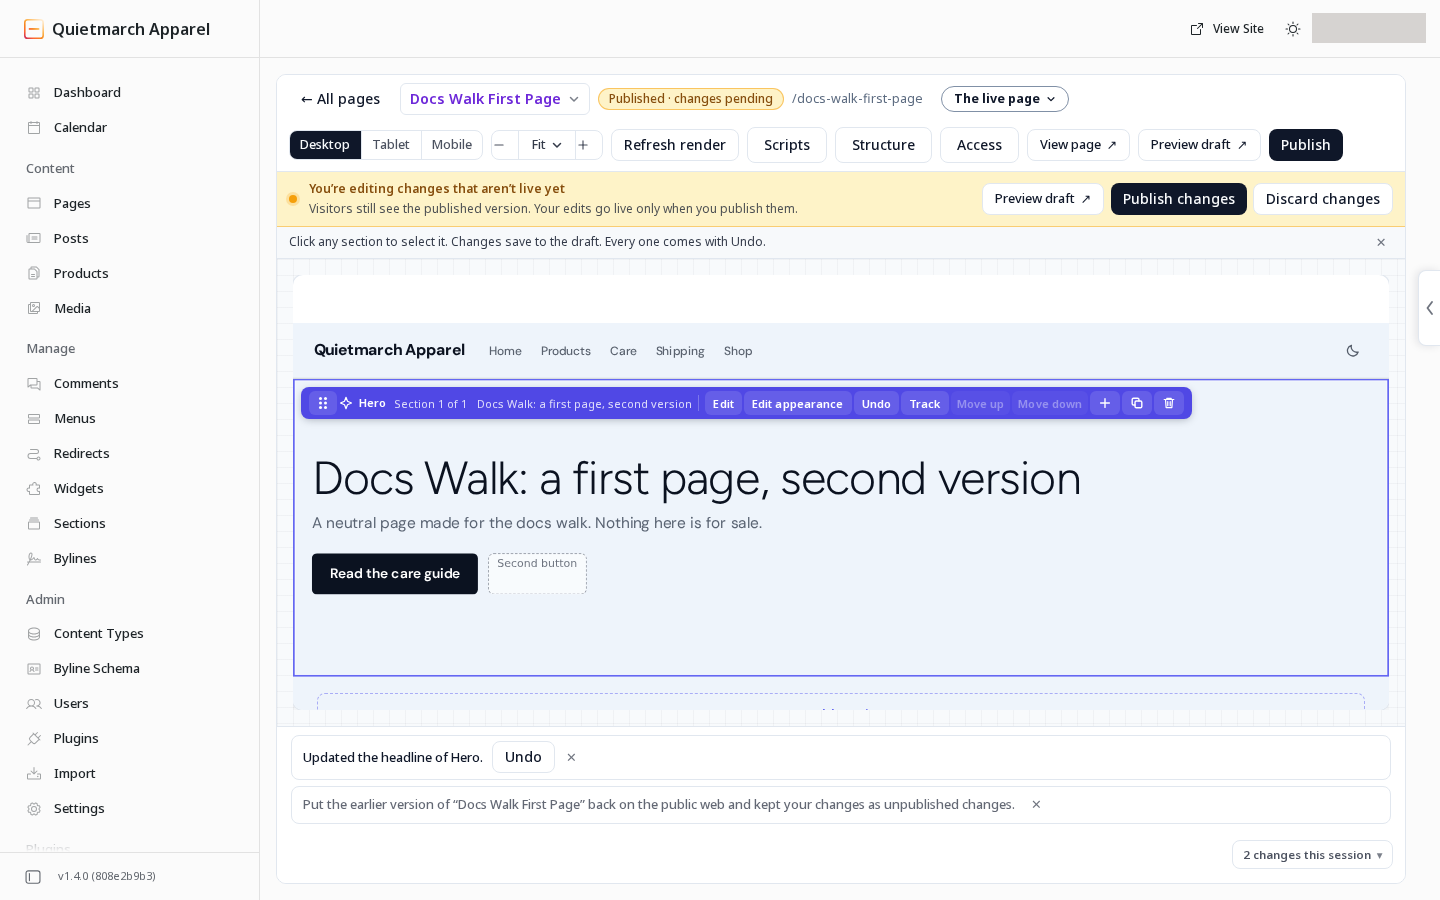
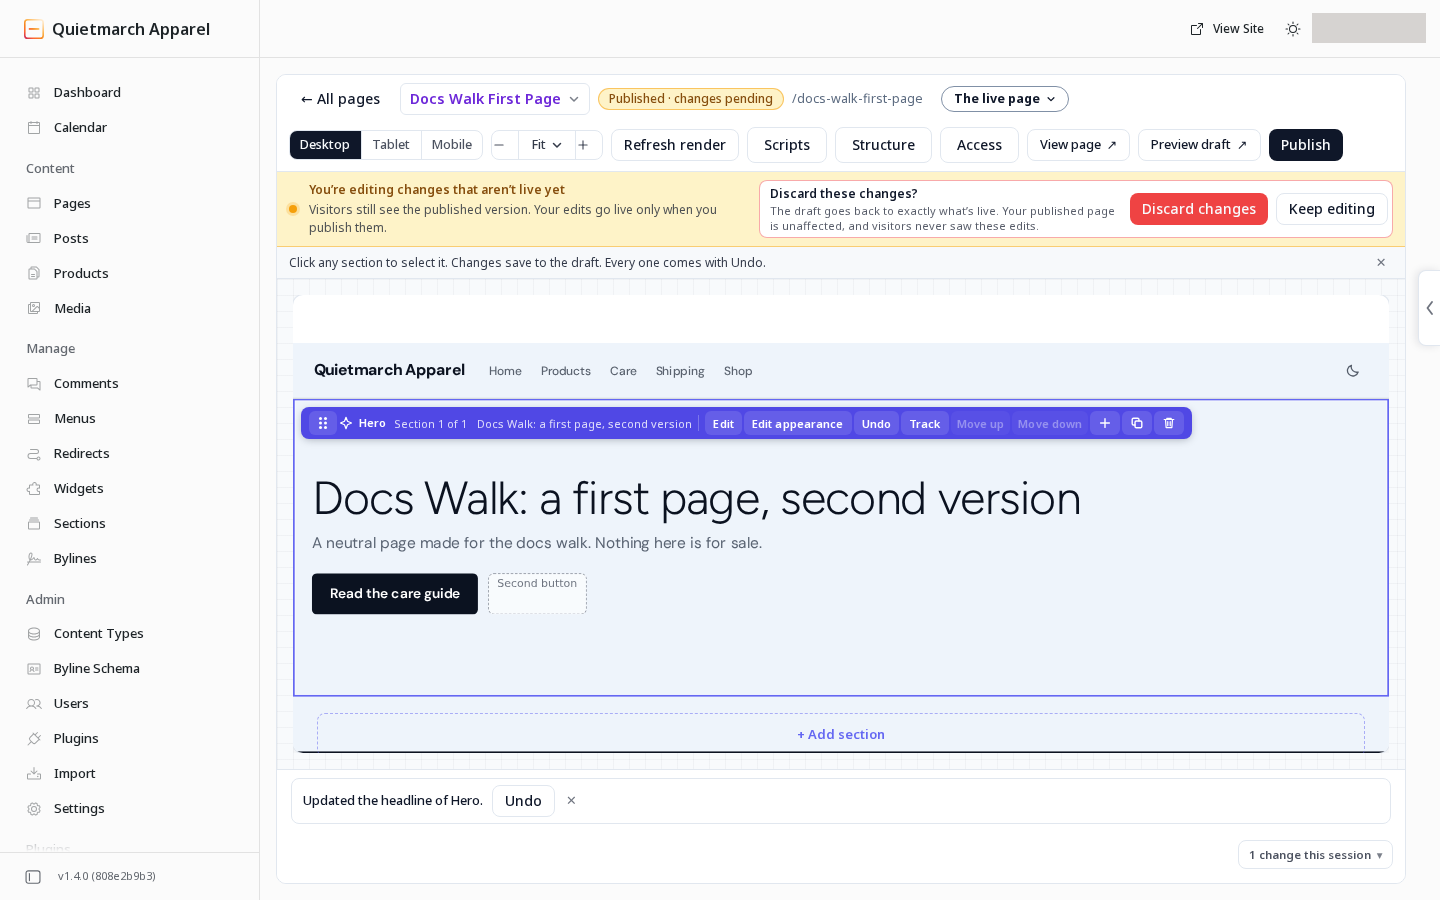
For a published page with unpublished work, Discard changes asks before removing that work. It leaves the live page in place. Read that confirmation before accepting it.
Page editing and copilot editing use the same recorded change path. If another change has made an action unsafe to repeat or undo, the platform can refuse it and explain why. Read the receipt before continuing.
Your next step
Section titled “Your next step”Review the draft’s search settings, then check the published page at desktop and phone widths after you approve publication.