Checked against the product’s code on 7 November 2026.
Your Praxis account is where you open sites, manage account settings and see how much AI you have used. In the site admin, Account & billing > Billing shows account facts and links back to the account console.
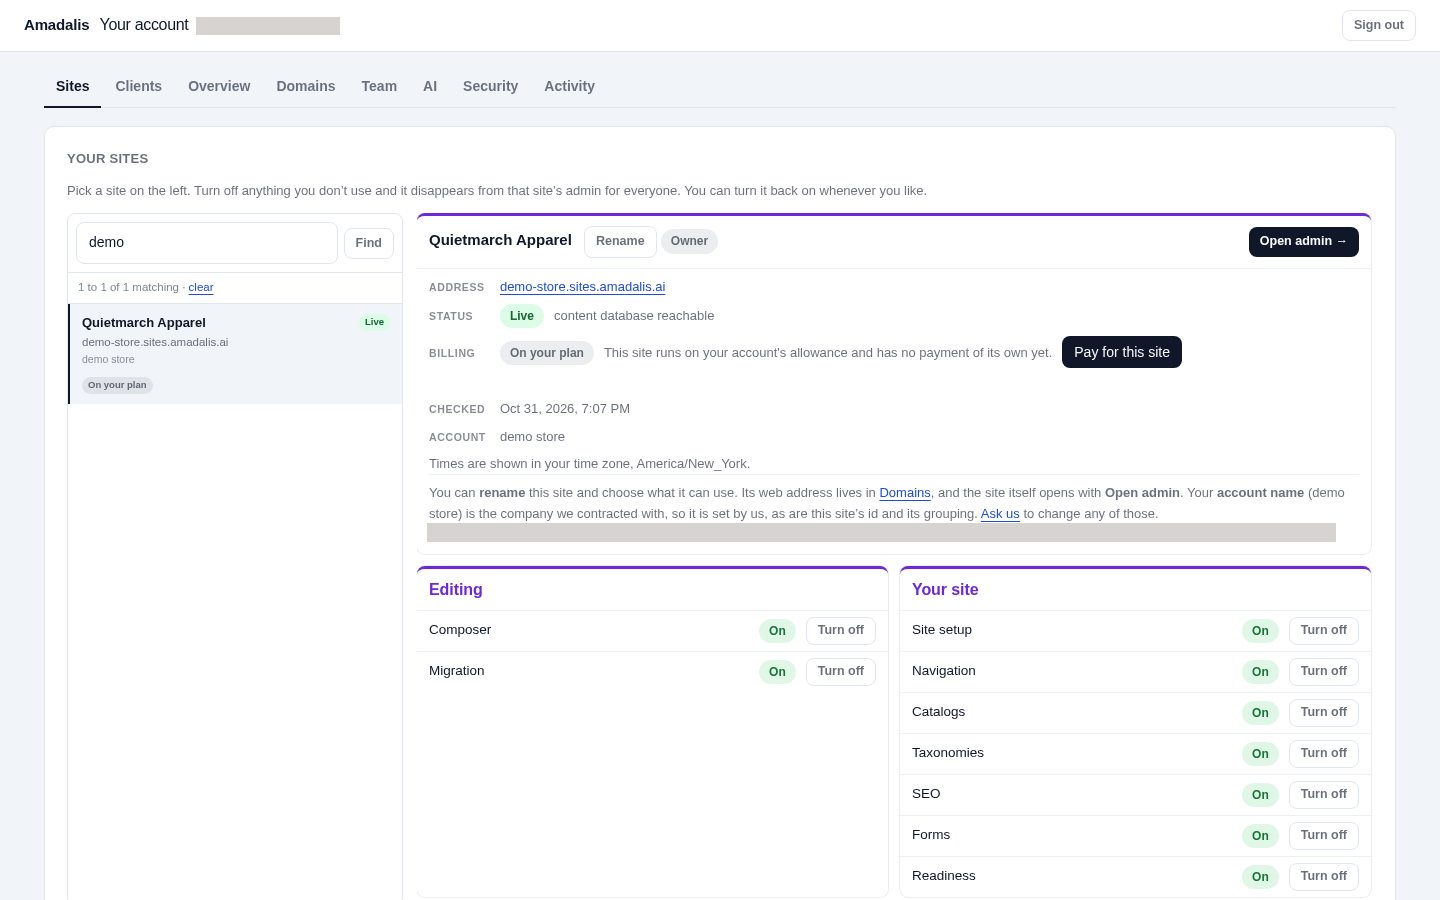
Open or create a site
Section titled “Open or create a site”For a client’s first site under its own organisation, follow Add a client and its first site. The account’s Create a site flow below adds a site under that account.
- Open Sites.
- Use Find a site if needed.
- Select the site.
- Read its status and next step.
- Choose Open admin when the site can be opened.
When Create a site is offered:
- Fill in Site name.
- Choose Create site.
The site gets its own platform address. You can attach a domain you own later.
A site waiting for payment shows Your site is waiting for payment. For a site billed through an agency, arrange payment with that agency instead.
If your account pays for the site:
- Choose Pay now and start my site.
- Complete the payment step.
Building starts after confirmation of payment. See Getting started for the first page.
If payment was received but the site could not be activated, do not pay again. Write to support to finish or reverse it. The next payment stays scheduled until this is sorted. If a paid upgrade could not be applied, the site stays on its current plan.
Rename a site
Section titled “Rename a site”Use this when the site’s name changes. The account owner or a member at Editor or above can rename it. This changes its name, not its address.
- Open Sites in your Praxis account. You see the account’s sites.
- Select the intended site. Its card shows the current name.
- Choose Rename. New name for this site opens with the current name.
- Enter the new name. Use a nonempty name of at most 120 characters.
- Choose Save name. The account saves the name and tries to send it to the site.
- Read any notice beside the editor. If the site could not be updated, the account keeps its saved name and tells you; do not assume both now agree.
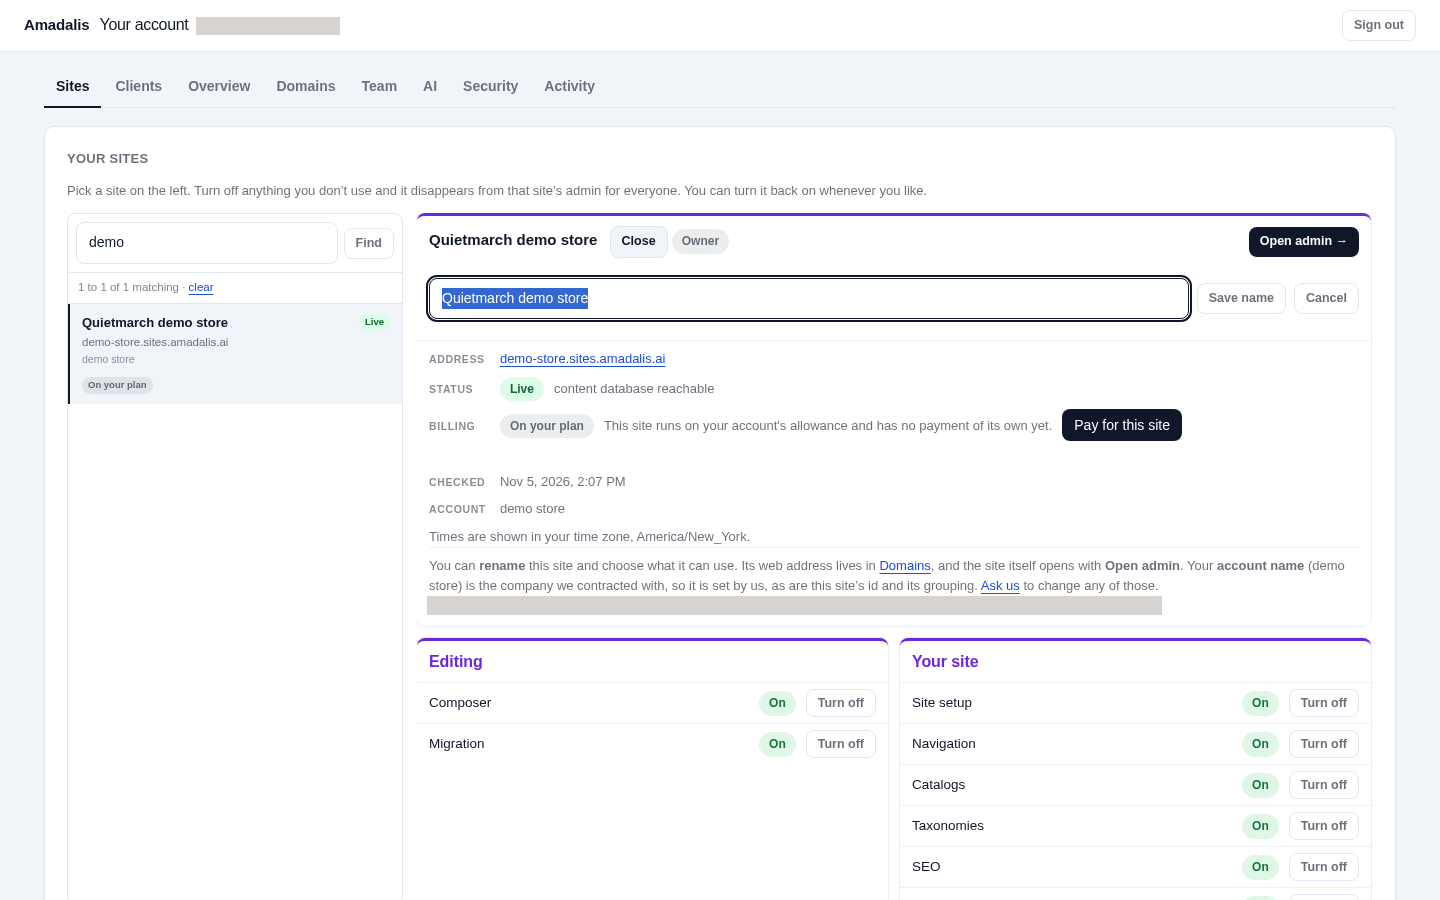
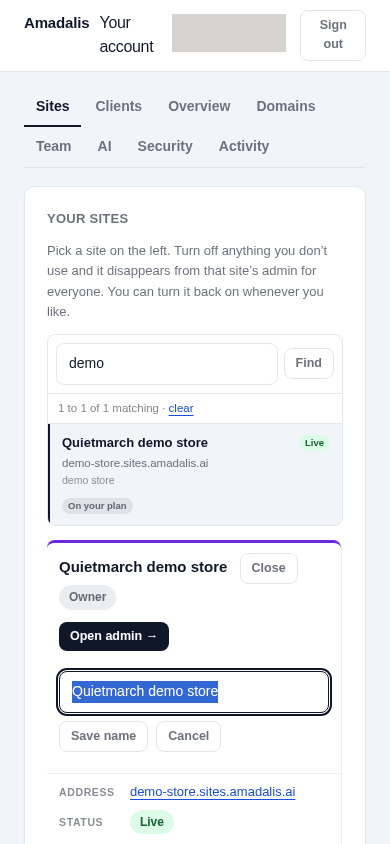
Cancel closes the form without saving. There is no automatic Undo for this account action; use Rename again to put the old name back.
You can also ask Copilot, “Change this site’s name from [current name] to [new name]”, using its real names. Choose Send to review Update the site’s identity?, then Publish this change only if the public change is right. This route changes the name in the footer and, where no separate wording overrides it, the header. Its receipt can offer Undo. Check the account’s Sites view afterwards, because sending the public name back to the account can fail separately. See Site identity and setup.
Read plan and billing details
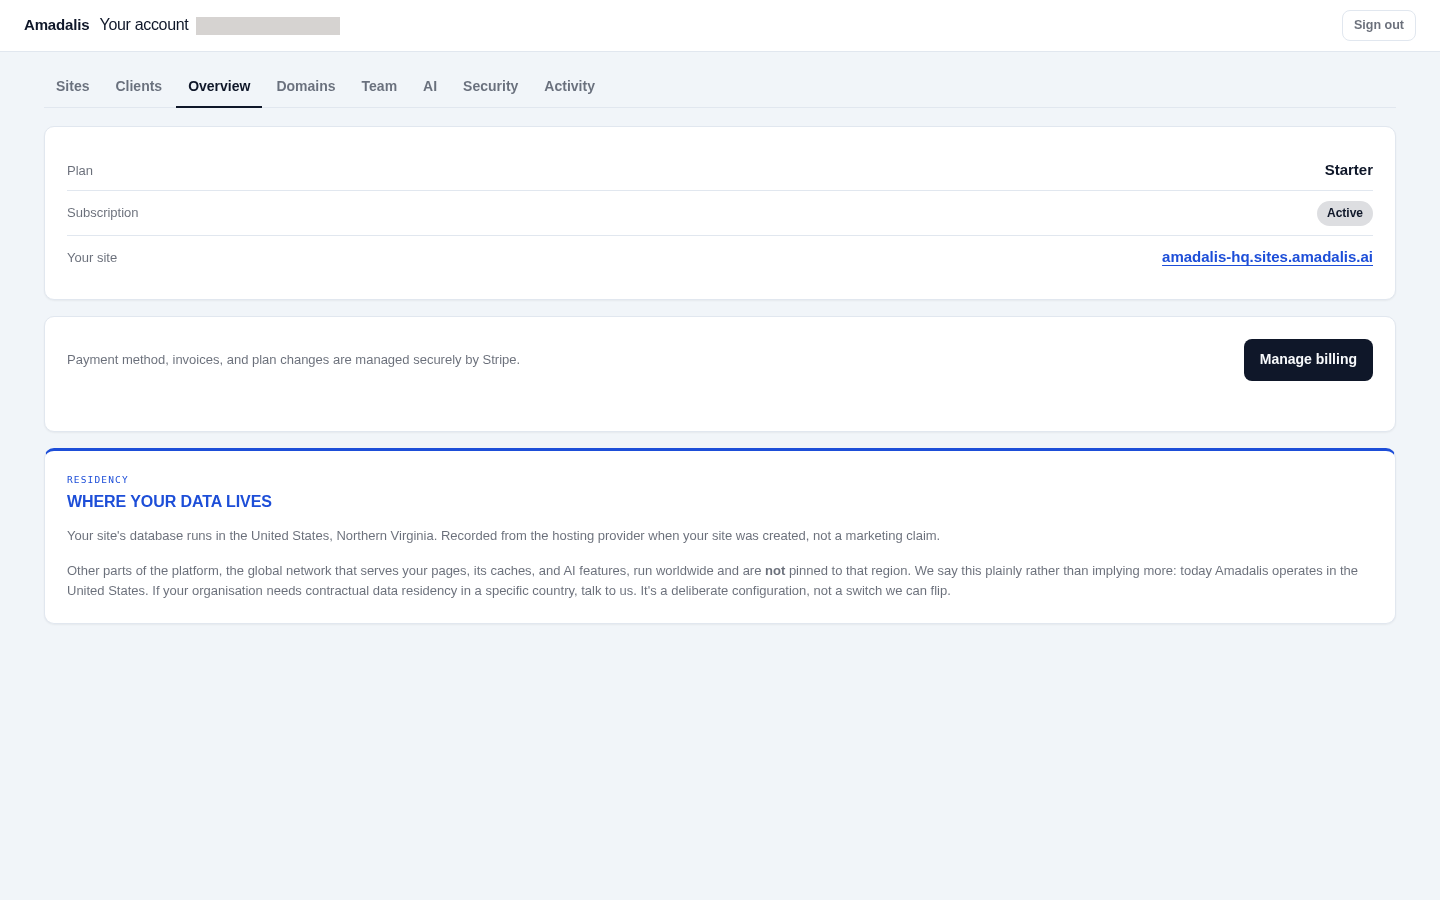
Section titled “Read plan and billing details”For questions about copilot costs, start with the account’s Plan and Subscription. Read invoices through Manage billing, and use AI to check the current model and usage status.
- Open Overview in the account.
- Read Plan and Subscription.
- For a subscription billed to your account, choose Manage billing. It opens Stripe’s portal for payment methods, invoices and subscription changes.
The control changes when payment or a new subscription is needed, so follow the account’s stated next step. A client whose site is billed through an agency is directed to that agency instead.
This picture was taken before the company website moved to amadalis.ai.
The site admin’s Billing tab shows Plan & subscription, Invoices & payment method, Custom domains and Account profile as read-only facts. Make account changes in the console it links to.
To change the Billing contact shown there, contact Amadalis support. This changes the recorded account contact, not Stripe’s invoice email address, and sends no email. Earlier contact records stay on file.
Change the invoice email
Section titled “Change the invoice email”Manage billing opens our payment provider’s billing portal. To change the email address your invoices go to, write to support@amadalis.ai and we change it for you.
Cancel a subscription
Section titled “Cancel a subscription”Use Manage billing for subscription changes. Read the provider’s confirmation for when billing ends. Once the cancellation is recorded, Overview shows Canceled and offers Start my plan again for a paid plan.
Canceling a subscription does not itself take an existing site offline, delete its content or remove team access. Team access still depends on membership and the site’s state. Contact Amadalis support before cancellation to agree when hosting and access will end and how to keep or erase the content.
Closing is separate from cancelling a subscription. An owner can open Sites, select the site and use Close this site, or open Overview and use Close this account for the whole account. Read what will be removed and retained. Keep the offered data copies or confirm that you need none, type the requested site or account name, and confirm again. Hosting stops now, and deletion starts no earlier than the date shown. Invoices, logs and the retained account record are kept separately. A site paid for by an agency asks you to contact that agency. Use Stop closing while the card still permits it; an already ended plan can need Start my plan again. The final deletion of a whole account is completed by Amadalis staff after the stated date and required plan endings.
Choose the copilot’s AI model
Section titled “Choose the copilot’s AI model”-
In your Praxis account, open AI.
-
Under Your copilot’s AI model, read In use now and the displayed usage status.
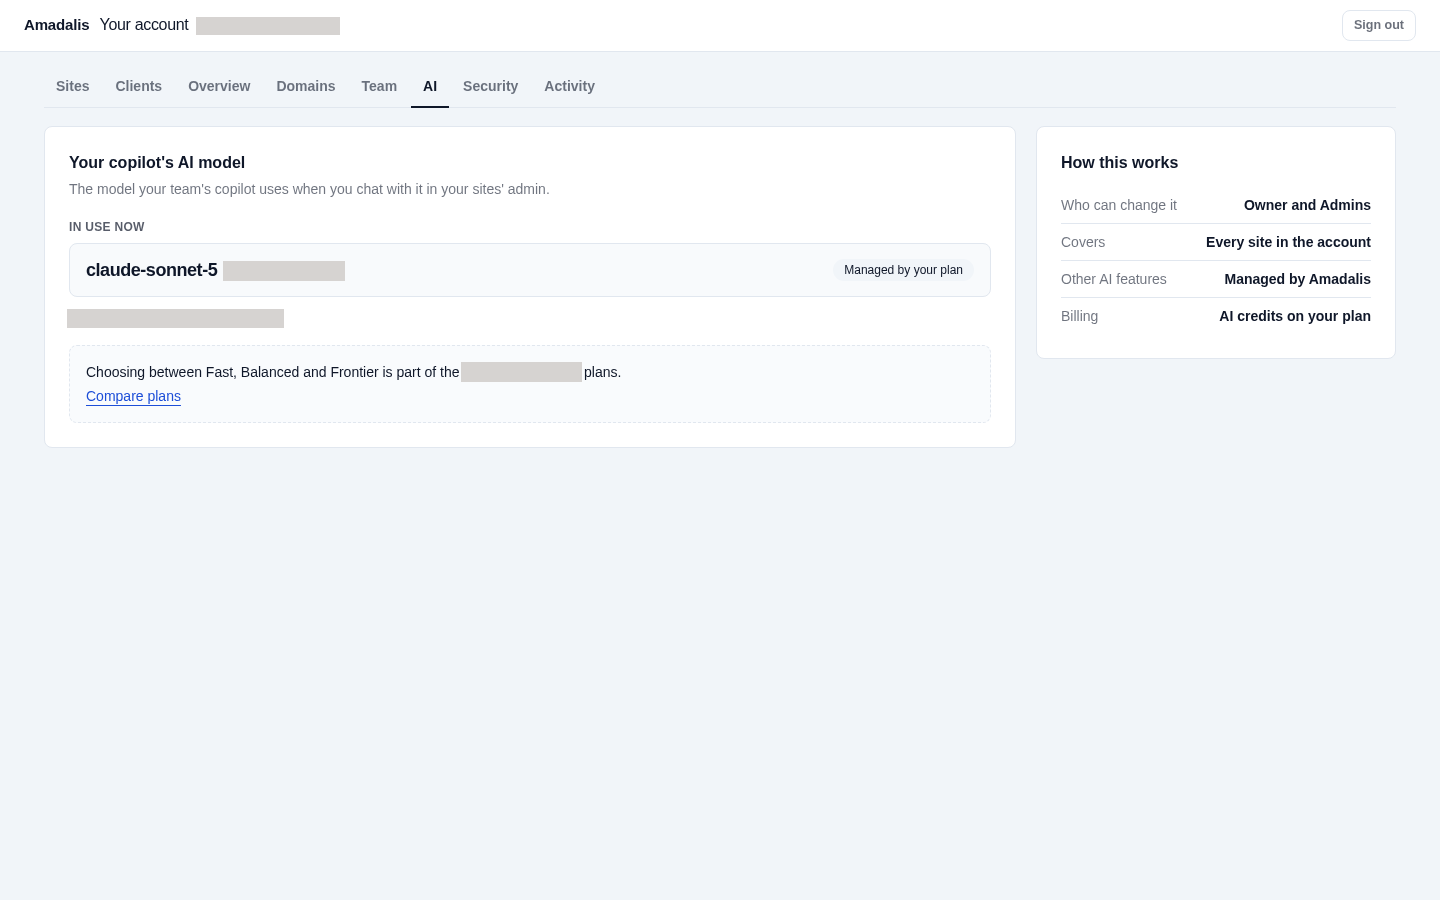
Where your plan does not offer the choice, the model in use is shown read only. -
When model choice is available to your account, choose Fast, Balanced or Frontier. The account owner or an Admin can save a change; other members can read the setting.
-
Choose Save. The setting changes when saved; it does not wait for a page publish.
-
Read the result and the sites it says the change affects.
After saving, these are separate options:
- Use the receipt’s Undo to restore the earlier choice while that reversal is available.
- Use Go back to the plan default to clear a saved choice instead.
Availability depends on the account’s configuration. Read a refusal or unavailable-state explanation rather than assuming every account has the same choices. If the display could not refresh after a save, reload before relying on the old value.
Monthly AI allowance
Section titled “Monthly AI allowance”Your AI allowance comes from your plan or a separate agreement with Amadalis. A monthly allowance covers a calendar month in UTC and resets at 00:00 UTC on the first day of the next month. In AI, read This month usage and the reset date. An agreed allowance is named as agreed; an unlimited allowance says so.
Without a live subscription, or if your plan names no AI allowance, the copilot uses the Free plan’s monthly allowance. A separate agreement with Amadalis still takes precedence.
Once recorded usage reaches a monthly limit, new AI calls pause until the reset. Your site and saved work keep working. If the allowance comes from your plan, ask your account owner or an Admin about a larger plan. For an agreed allowance, ask them to contact Amadalis. AI is off for your account by agreement is a separate state: the monthly reset does not turn it back on.
When the Free allowance is used, the pause message names it and offers See your account.
Calls using your own provider keys do not count towards the displayed usage.
If AI usage cannot be checked, the copilot can answer a limited amount before it pauses new requests. It asks you to come back in a few minutes. Work the helper already saved is unaffected.
Your provider keys
Section titled “Your provider keys”Where Your provider keys is enabled, the account owner or an Admin can add a key:
- Choose Anthropic or OpenAI under Provider.
- Enter the secret in Key, only in that trusted field and never in a copilot conversation.
- Choose Add key.
For an existing key:
- Choose Replace. It selects the provider and focuses the key field.
- Enter the replacement in Key.
- Choose Add key.
- Review Replace the key.
- Confirm only when the replacement is right.
- Read the resulting status.
Remove has its own Remove the key confirmation. A provider key change does not have the model-choice receipt’s Undo.
If the account is set to use its own keys and has no usable key for a call, that call is refused. Adding a provider key is separate from choosing the copilot’s model.
Add your own domain
Section titled “Add your own domain”DNS is the set of records your domain provider uses to direct internet traffic. Enter the exact record type, name and value shown by the account. A TXT record stores verification text. A CNAME or ALIAS record points a name to another hostname.
To connect a custom domain for your own site or a client site, use the account that owns that site. Follow the records it gives you before changing the domain’s existing website.
- Open Domains.
- Select the intended site.
- Under Add a domain, enter A domain you own, such as
www.example.com. Enter a hostname without a page path. - Answer Is this domain serving a site today? Choose No, it is new or Yes, it is live according to what the domain does now.
- Choose Add domain.
- Follow the records and instructions on that domain’s card. They are specific to its current verification step.
For a new domain, the card asks for a pointing record. For a domain already serving a site, prove the domain and certificate with the listed TXT records first. Keep its existing pointing record until the card says the certificate is ready and gives the switch instruction.
At a root domain, your DNS provider may call the pointing record ALIAS, ANAME or CNAME. Use the name and value the card gives. Wildcard hostnames are not supported; attach the hostname you need.
- Choose Check status to refresh verification.
- Read Pending verification, Certificate ready, Active or Needs attention and the accompanying instruction.
A certificate being ready does not by itself mean that an existing site’s domain has switched.
Change or remove a domain
Section titled “Change or remove a domain”Make primary chooses an eligible active domain as the site’s canonical host. The change is applied by that click.
For another domain:
- Choose Redirect to another domain.
- Select the destination.
- Choose Apply redirect.
Clear redirect removes an existing domain redirect.
Remove asks for a second click, then stops that domain serving the site through Praxis. These controls do not show an Undo receipt. Review the hostnames before applying a change.
Ask for support
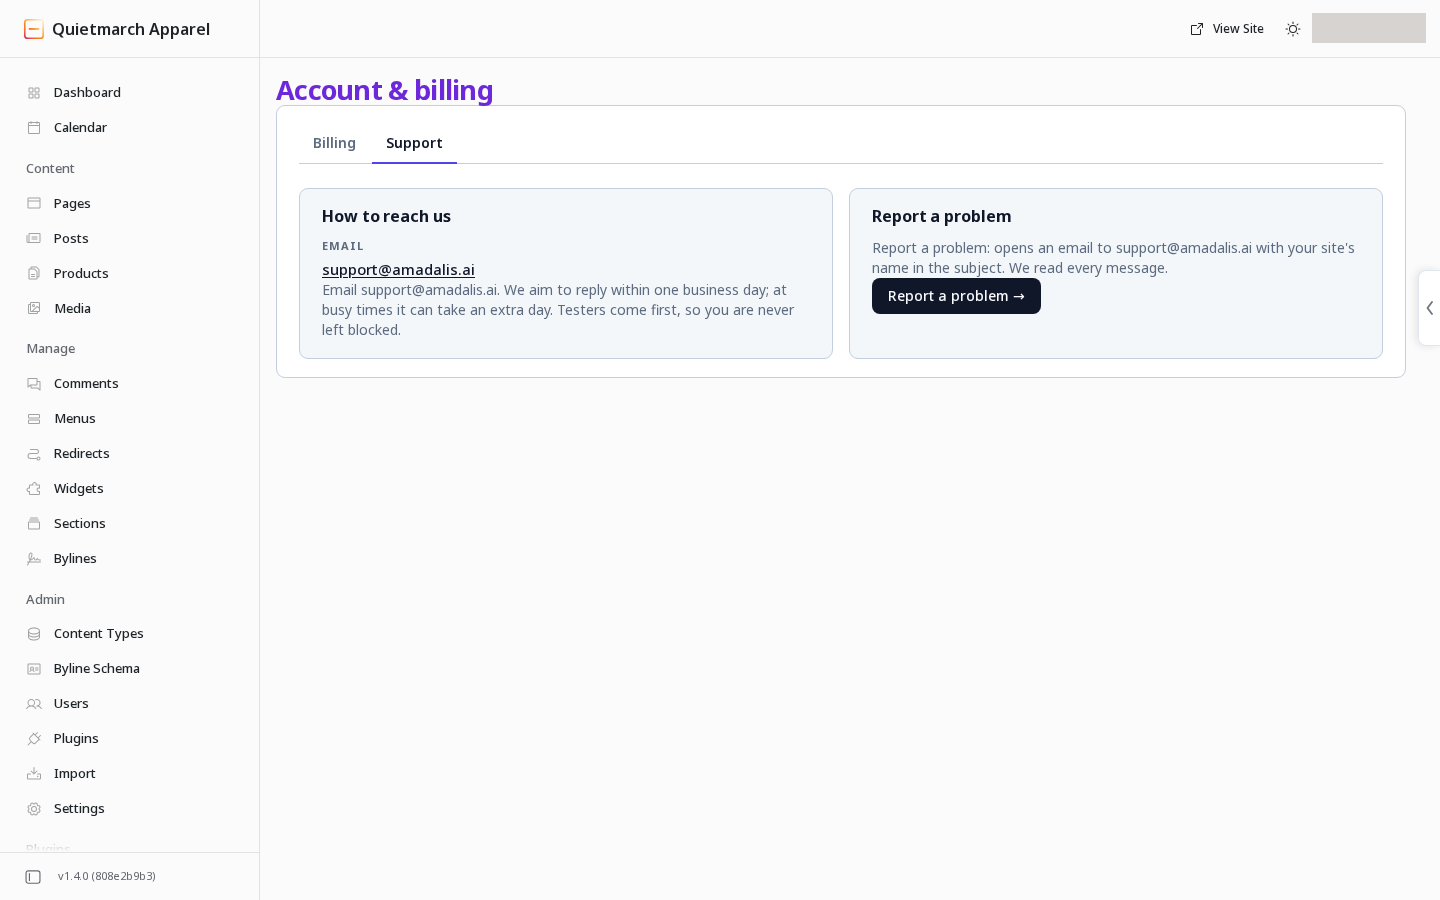
Section titled “Ask for support”- In the site admin, open Account & billing.
- Open Support.
- Choose Report a problem. It opens an email with the site’s name in its subject.
- Include the site address, what you were doing, what you saw and when it happened in that email.
A redacted screenshot or the exact error words can help explain the problem.
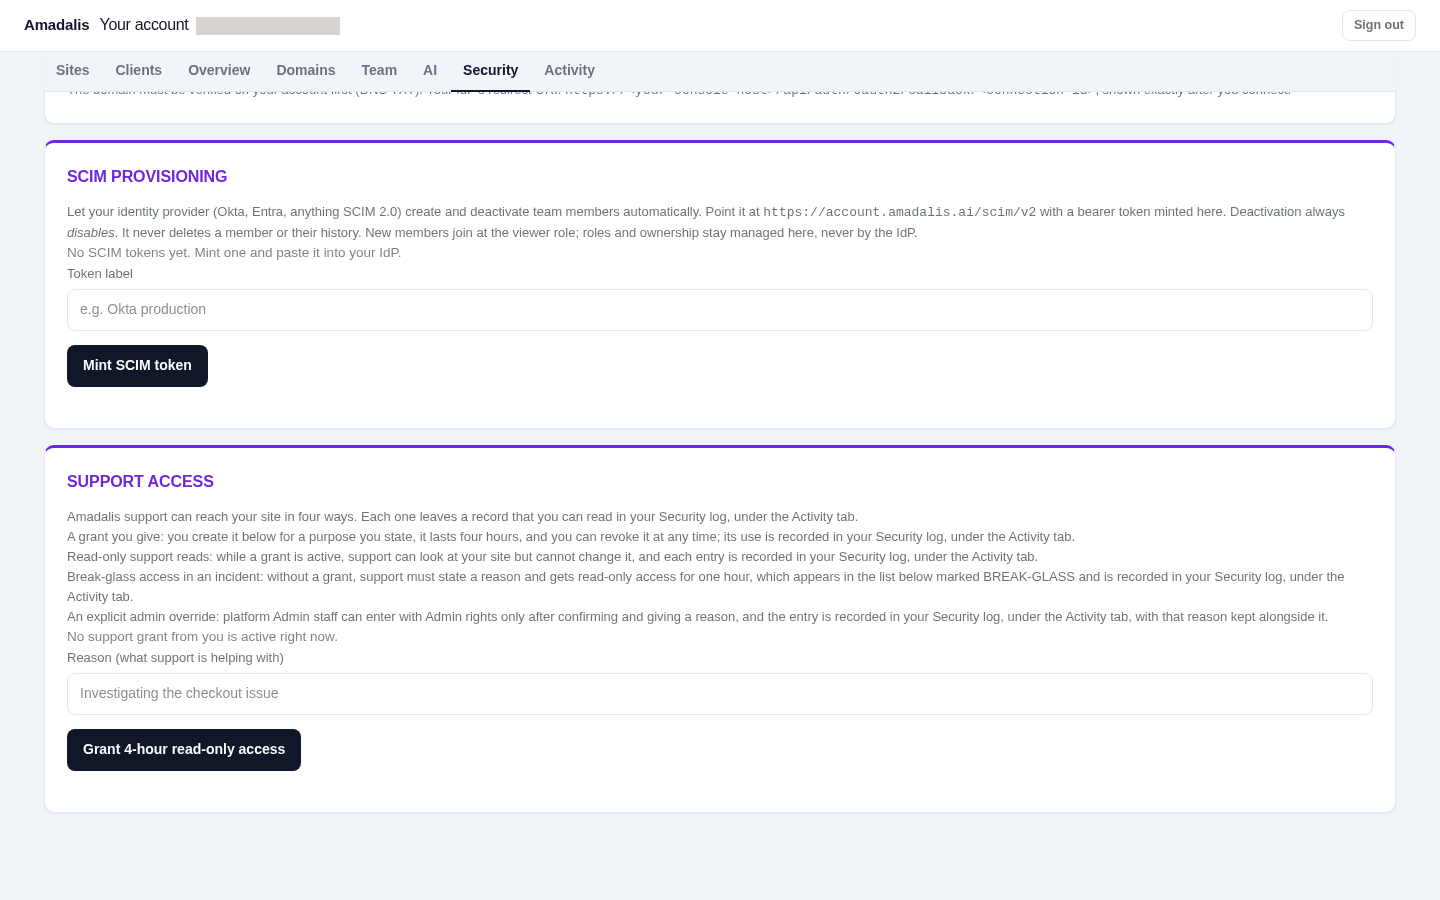
If support needs to inspect the site, review how support access works before granting it in the account’s Security tab. Revoking a grant stops new entry and ends its open support session on the next request after the grant check refreshes, within 30 seconds. At expiry, the next request ends the session.
Your next step
Section titled “Your next step”Open the site you want to work on, then follow Getting started to create and review a draft page.