Checked against the product’s code on 7 November 2026.
Learn how to write a page or blog article, schedule a draft and upload a picture through Pages, Posts and Media in the site admin. These are EmDash’s own content screens.
EmDash provides the Pages, Posts and Media screens. Open Media from the sidebar to reach Media Library. Praxis connects page and post creation to the Composer.
Create a page or post
Section titled “Create a page or post”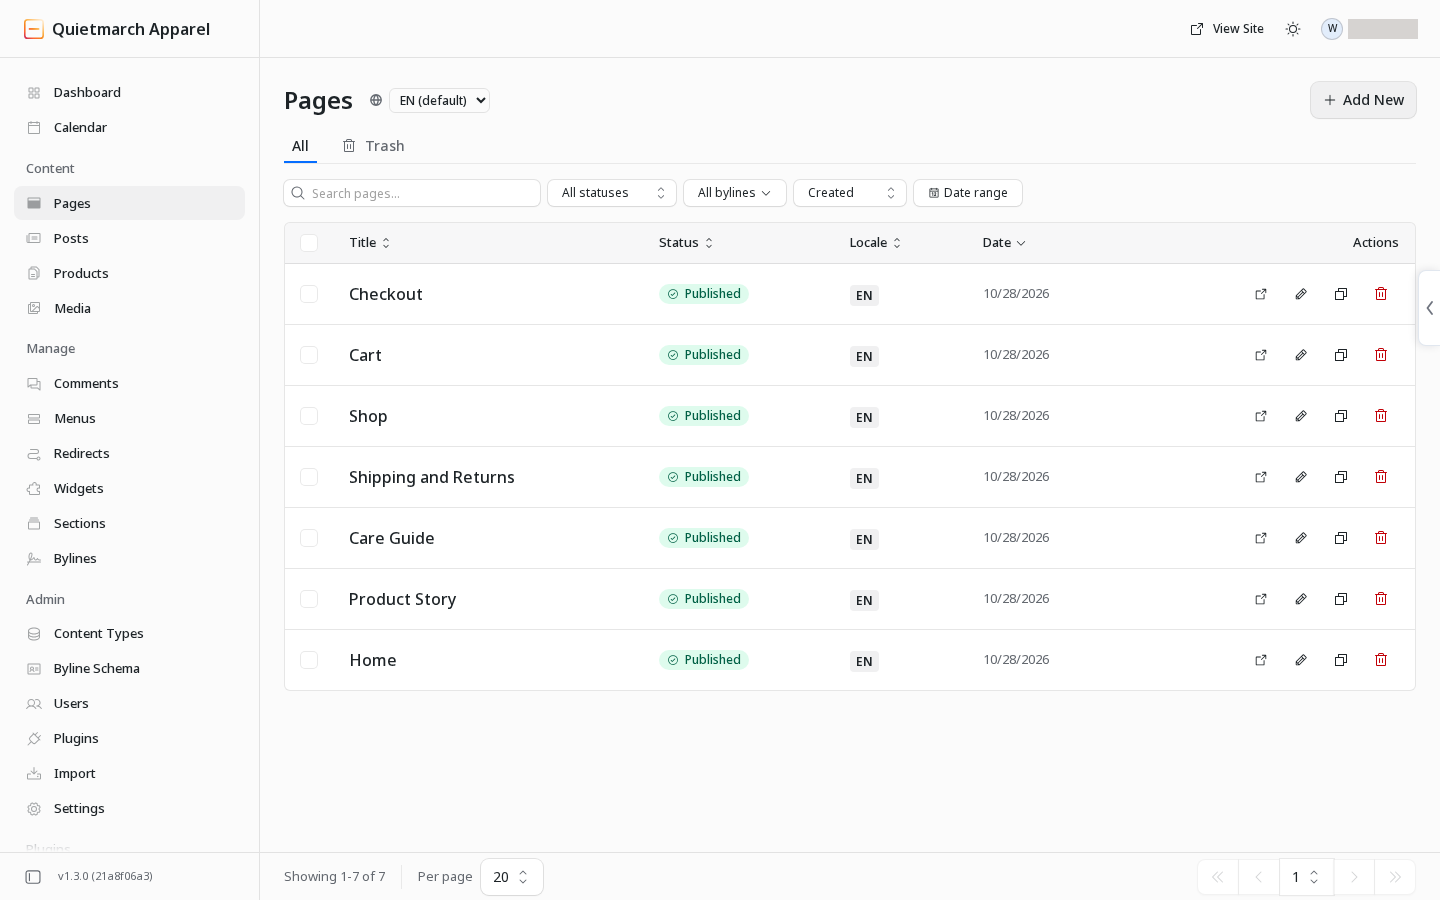
-
Open Pages or Posts in the admin sidebar.
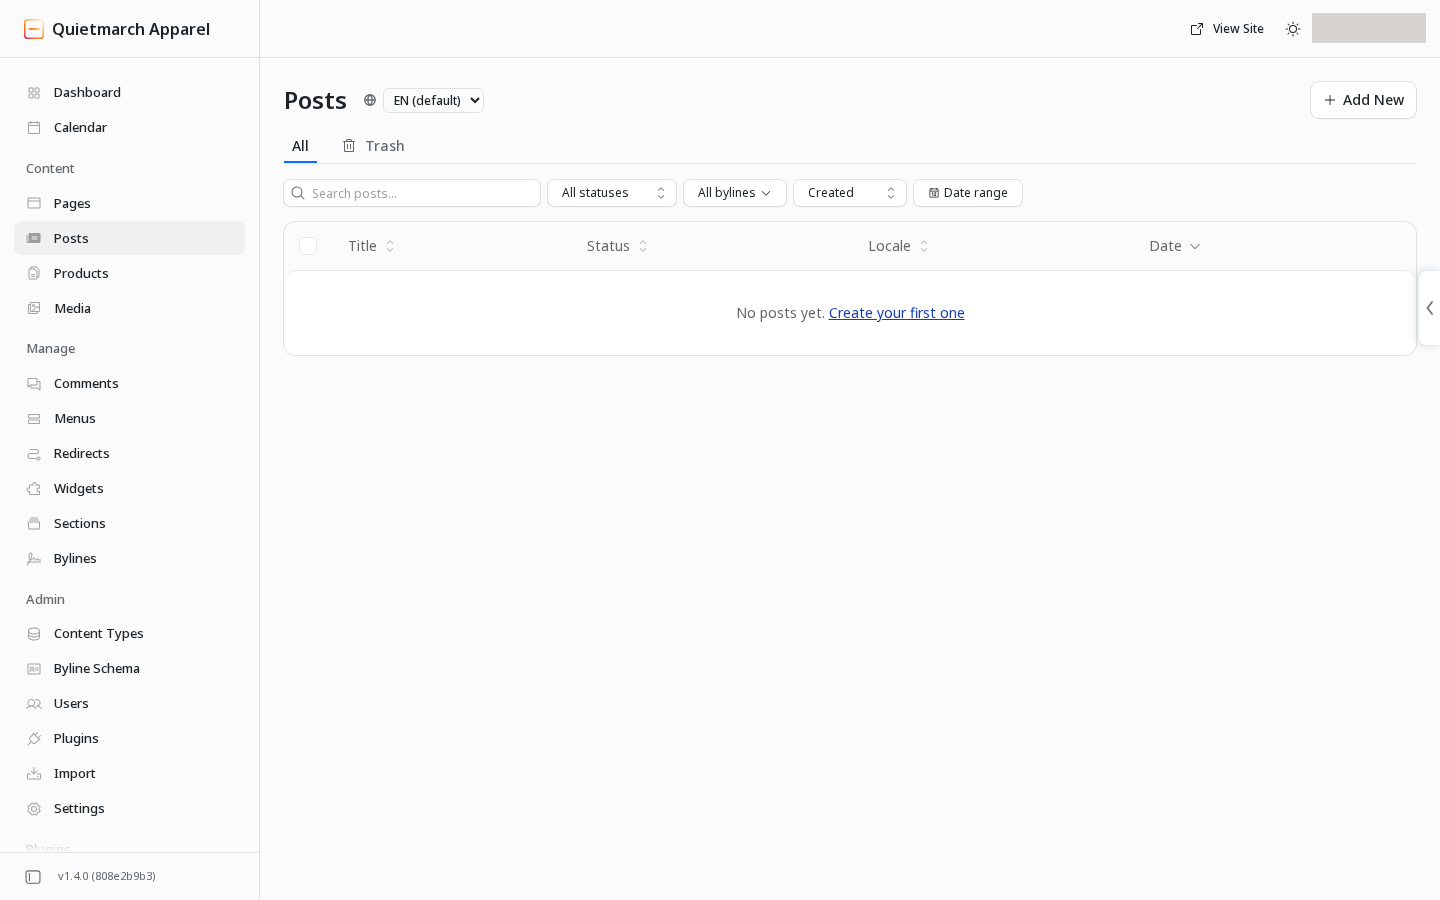
Add New starts a post. -
Choose Add New. Praxis opens New page or New post in the Composer.
-
Enter the Title.
-
Choose a Page type or Post type from the gallery.
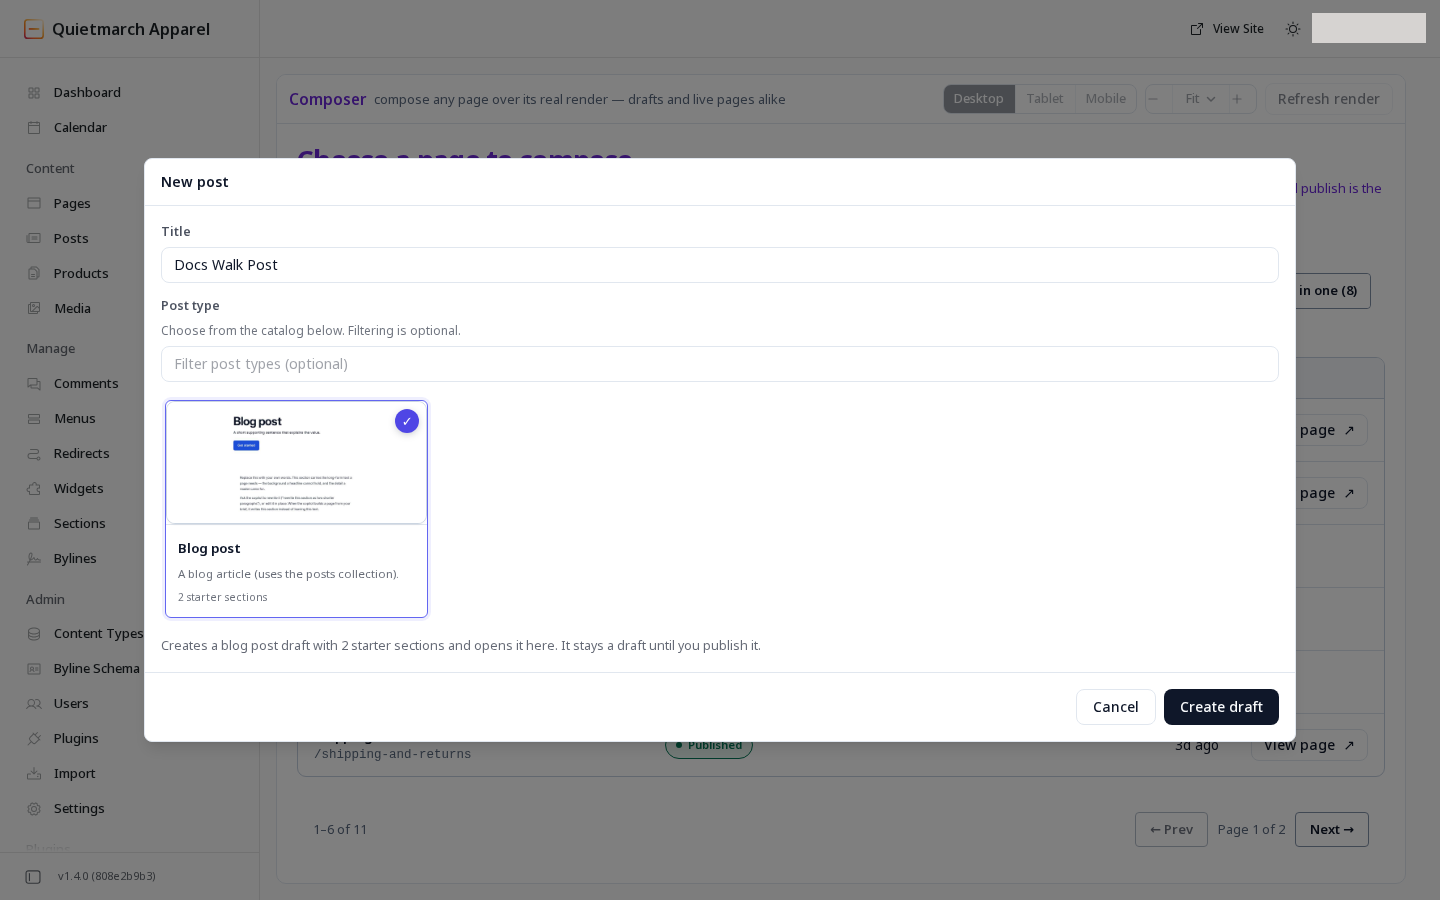
A post starts from a post type. -
Choose Create draft. The new content opens in the Composer.
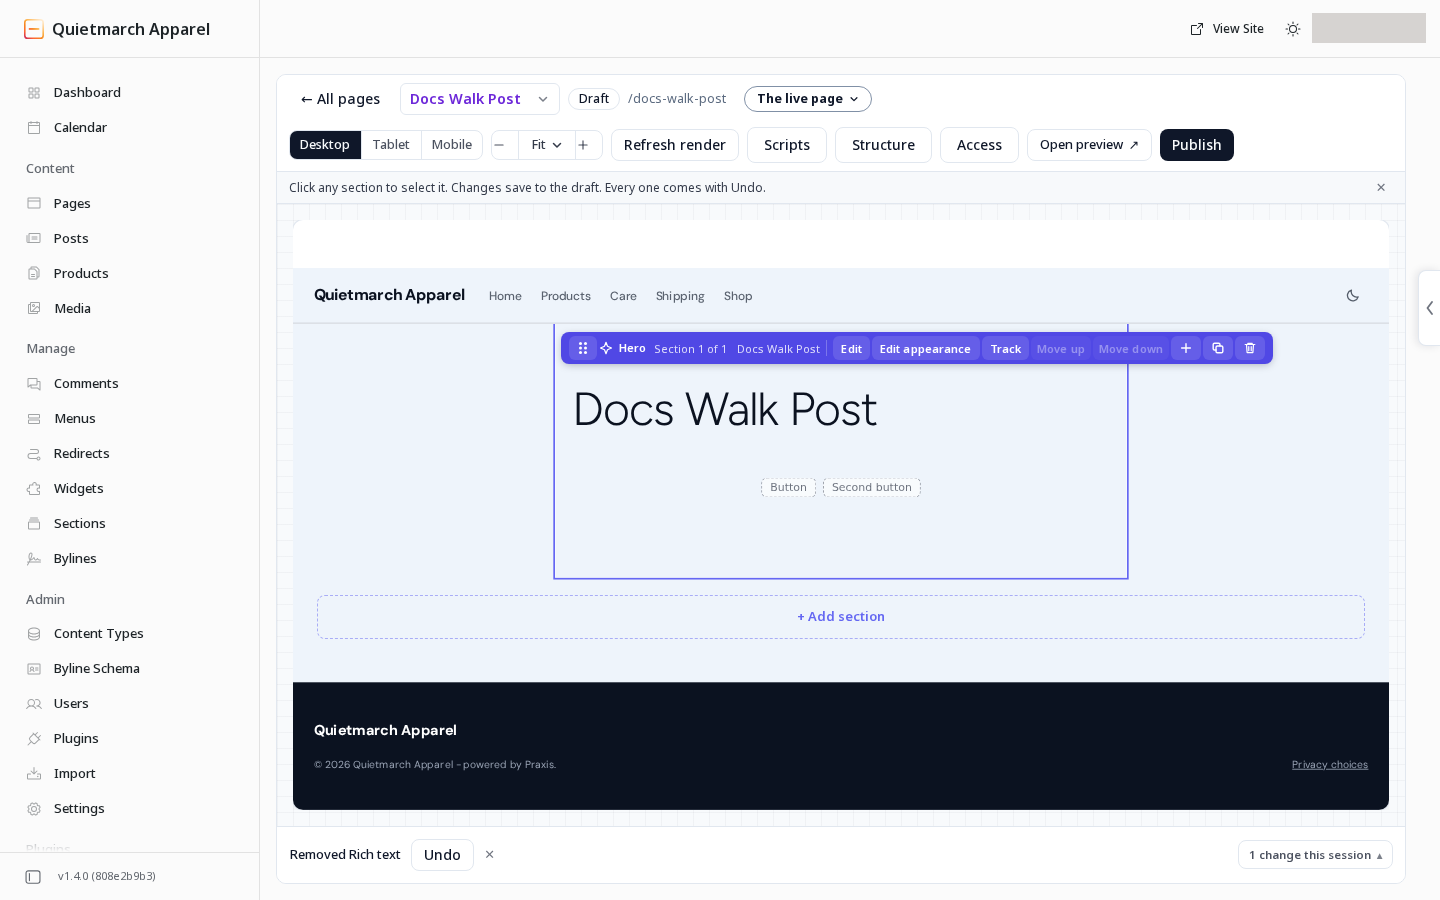
The post opens in the Composer as a draft. -
Replace the starter text.
-
Replace the pictures.
-
Check links.
-
Review the preview.
-
Follow the Composer’s publish procedure when the content is ready.
The new item is a draft. Creating it does not put it on the public site. When you edit content that is already published, visitors keep seeing its published version until you publish the changes.
If an existing item opens in EmDash’s content editor and says it is built in the Composer, follow its link to edit the content there. EmDash’s editor cannot save that Composer content. Its publication scheduling controls are a separate action.
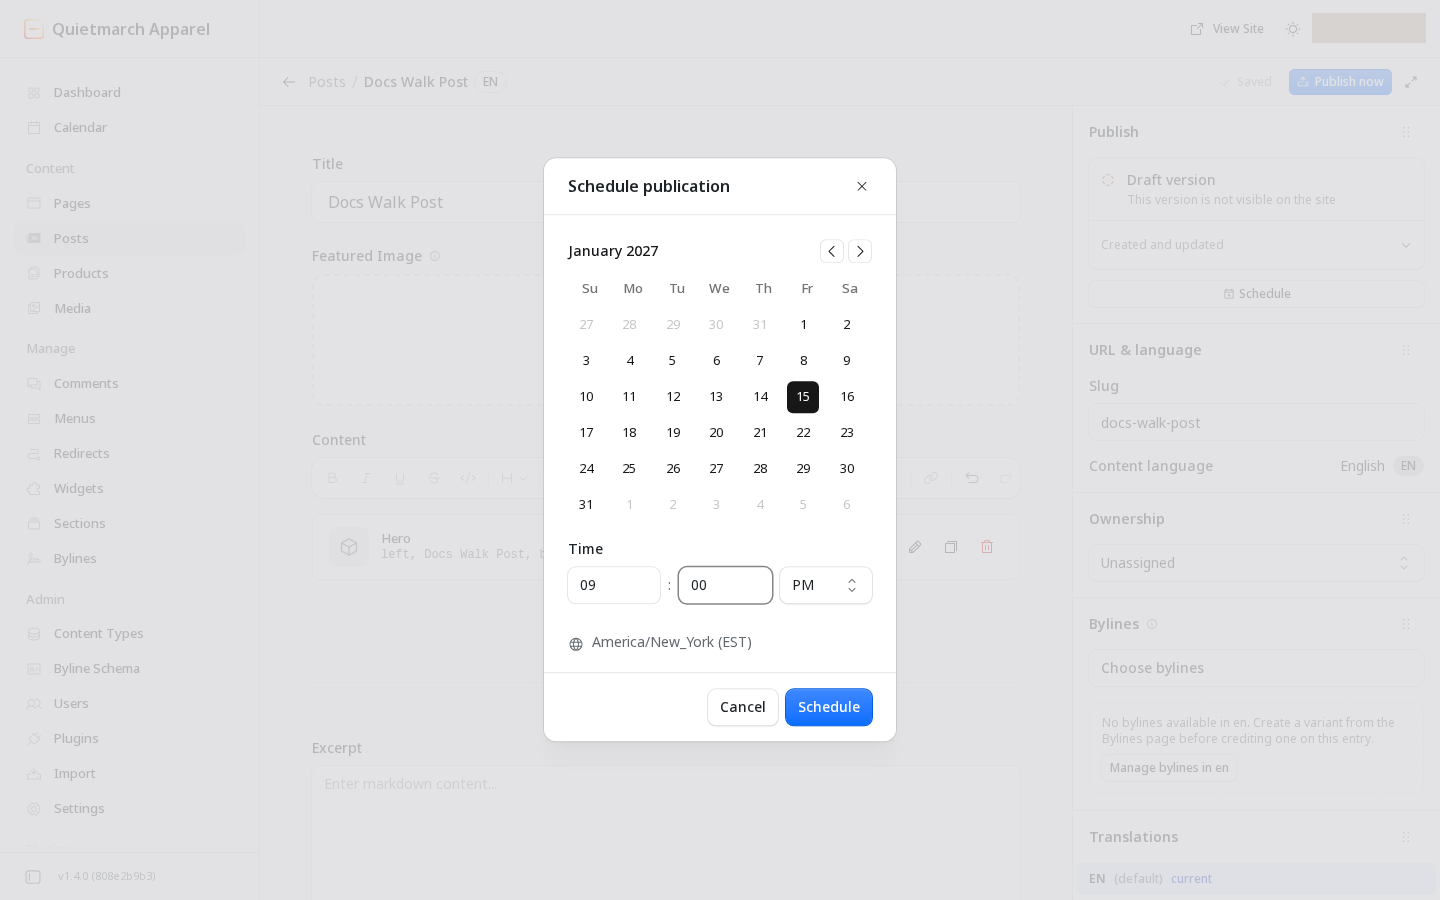
To schedule a post after creating its draft in Composer:
- Return to Posts in the admin sidebar.
- Open the post by its title.
- In EmDash’s editor, find the Publish panel.
- Choose Schedule, or Change schedule if a date is already recorded. If that panel is hidden on a narrow screen, use the calendar icon for Schedule in the editor’s top bar.
- Set the future date.
- Set the time.
- Check the time zone shown.
- Confirm the schedule.
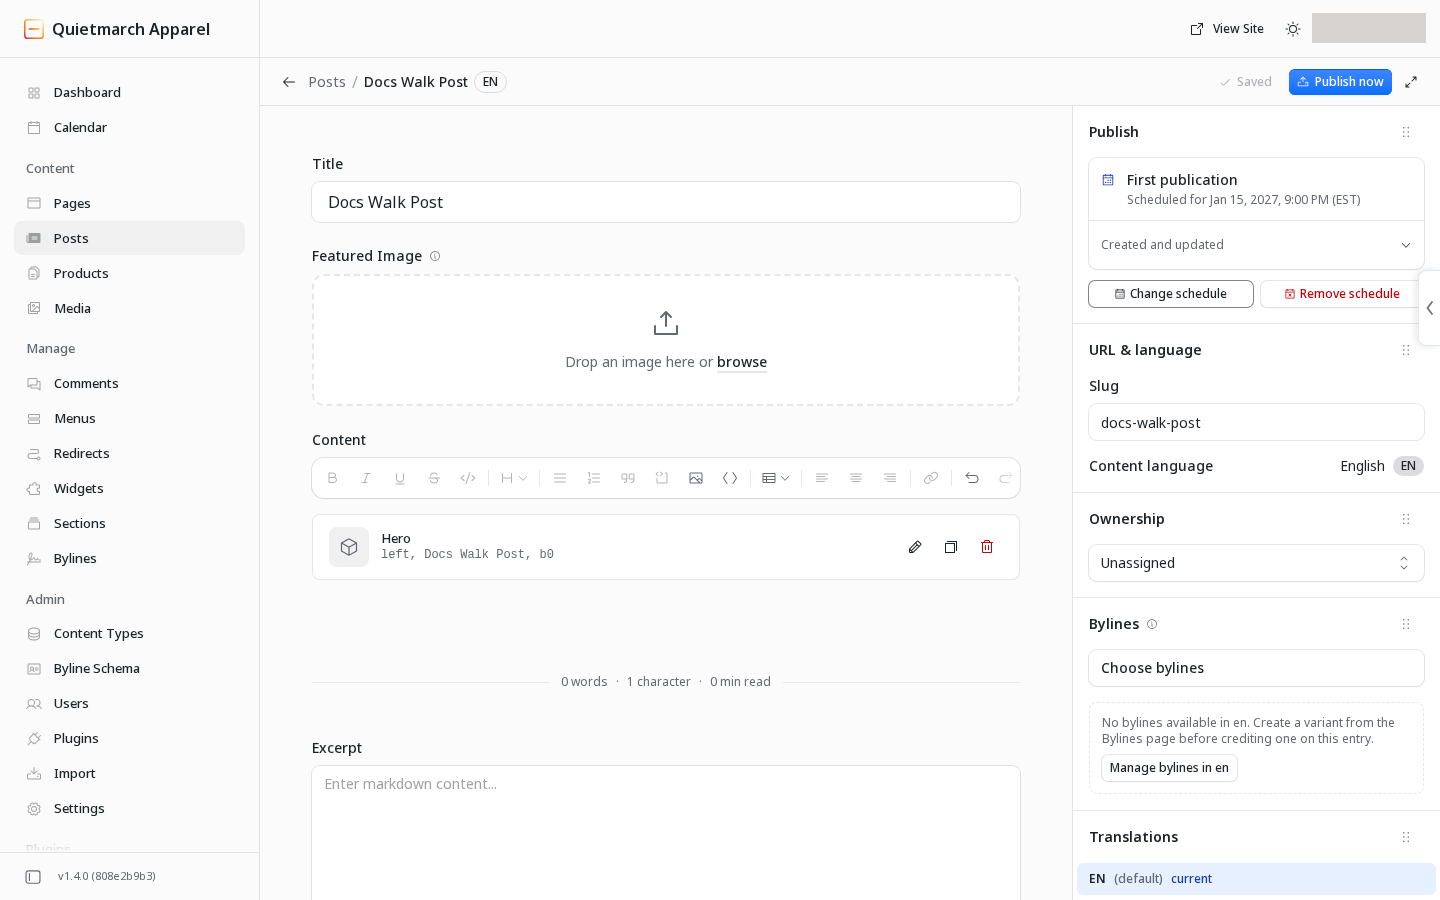
The stored schedule appears in Publish, where Remove schedule cancels it.
Before a page or post can be scheduled, it faces the publish check. A section still waiting for your facts, a note left in a visible field or a button with words but no link can make the schedule refuse. Read the reason, fix the page and schedule it again. A copilot request is checked before its approval card and again when you approve.
Publication is checked again when the scheduled time arrives. If the check refuses, a draft stays unpublished and its schedule is removed. A live page keeps its published version; its scheduled changes stay in draft and come off the schedule. Composer shows the reason beside the page’s state in the page list and below the open page’s top bar. An Admin can read a recorded refusal under Scheduled publishing in Activity.
If the check cannot finish, publication waits with its schedule in place, and the next run checks again. For a page showing chosen Services, the check uses the access of the person who approved the schedule. A missing approval record or that person losing access can make it refuse. Read the reason before publishing it yourself or setting another schedule.
Use the post’s scheduling controls in EmDash’s editor to choose a future date, time and time zone, then check the stored scheduled state. In an earlier supplied demo-store walk the copilot refused to schedule the post, while EmDash’s editor recorded its schedule. The schedule was removed before it became due, so that walk did not test eventual publication.
Return published content to draft
Section titled “Return published content to draft”- Open Copilot in the site admin.
- Ask it to take the post or page offline. Identify it by its title and public link.
- Read Take this page offline? and check the named item.
- Choose Take it offline, or Keep it live to cancel.
Its content stays as a draft. The public link stops working until you publish it again, which requires a new approval.
Upload a picture or file
Section titled “Upload a picture or file”-
Open Media. This is EmDash’s library for images, videos and documents.
-
Choose the upload control. On the local library it reads Upload Files; a narrow screen may shorten it to Upload.
-
Select your files and wait for their uploads to finish.
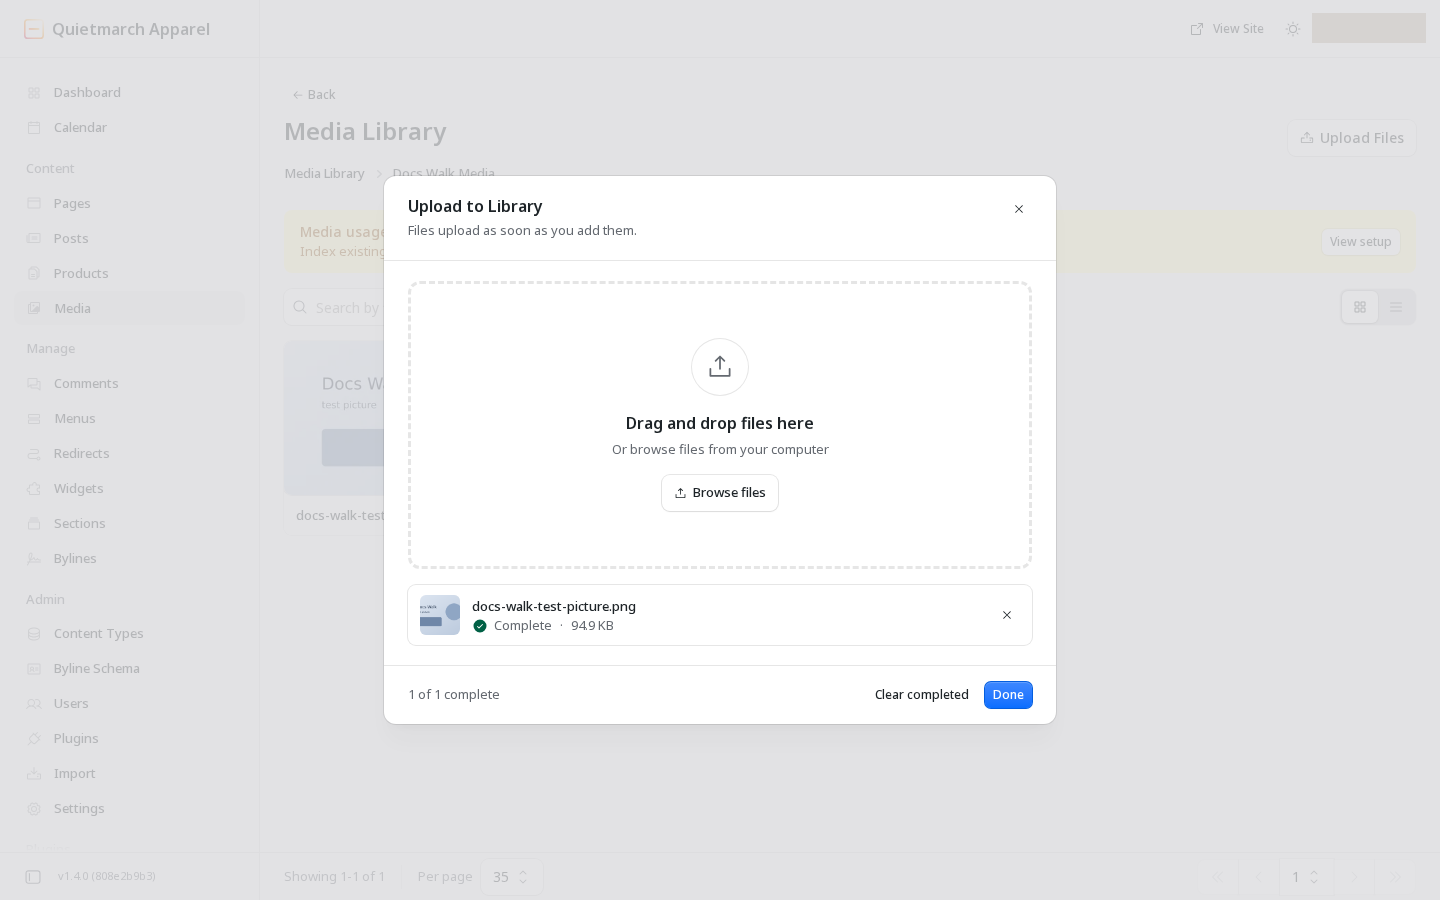
Files upload as soon as you add them. -
Open an image in the library.
-
Fill in Alt Text with a description of what the image conveys.
-
Add a Caption if needed.
-
Choose Save to save the changed details.
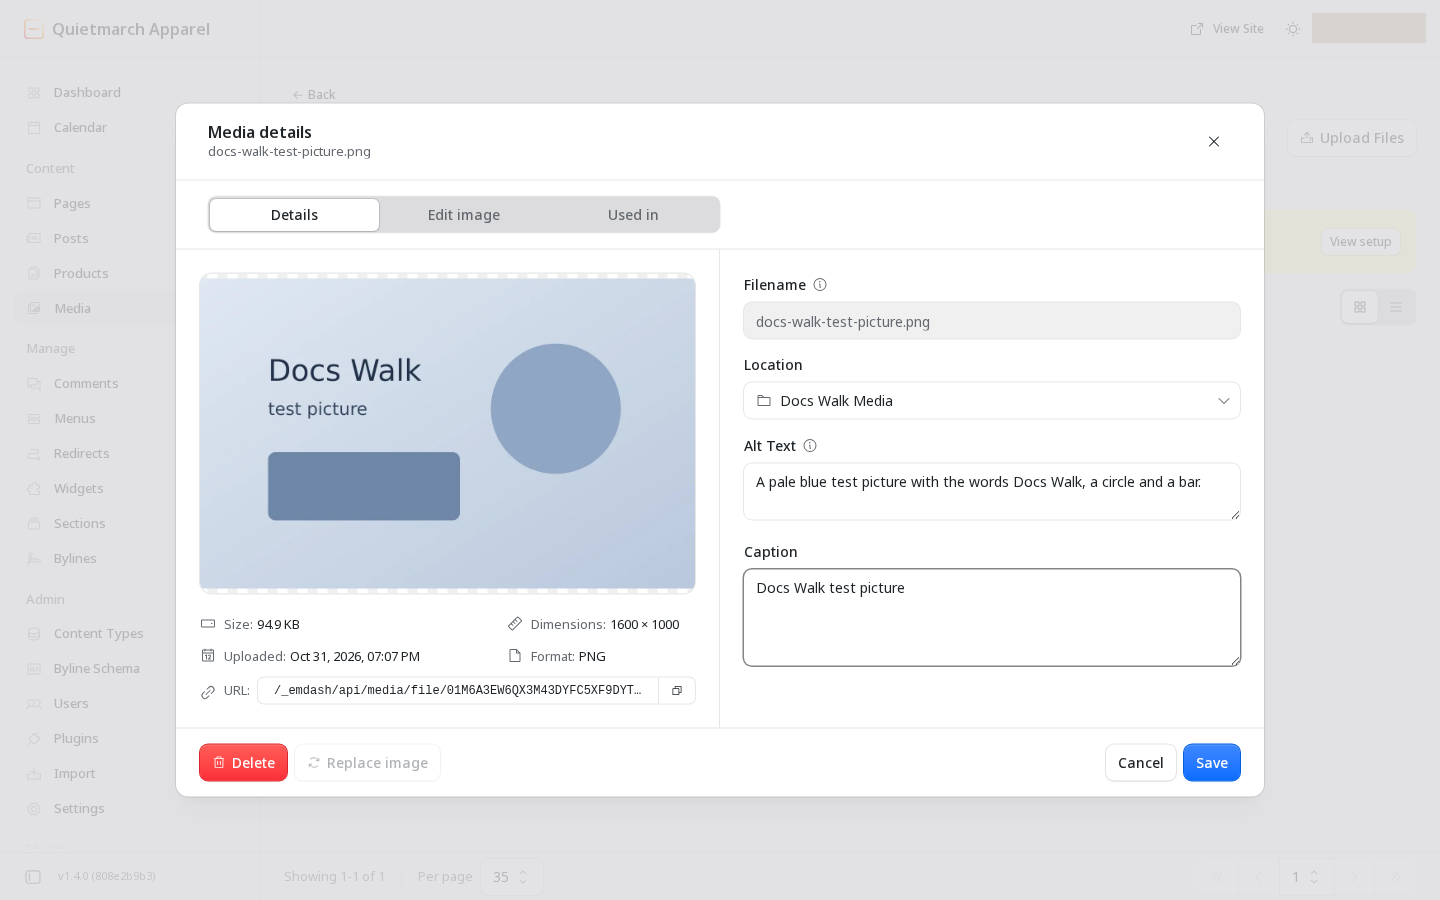
Give each picture its description and caption.
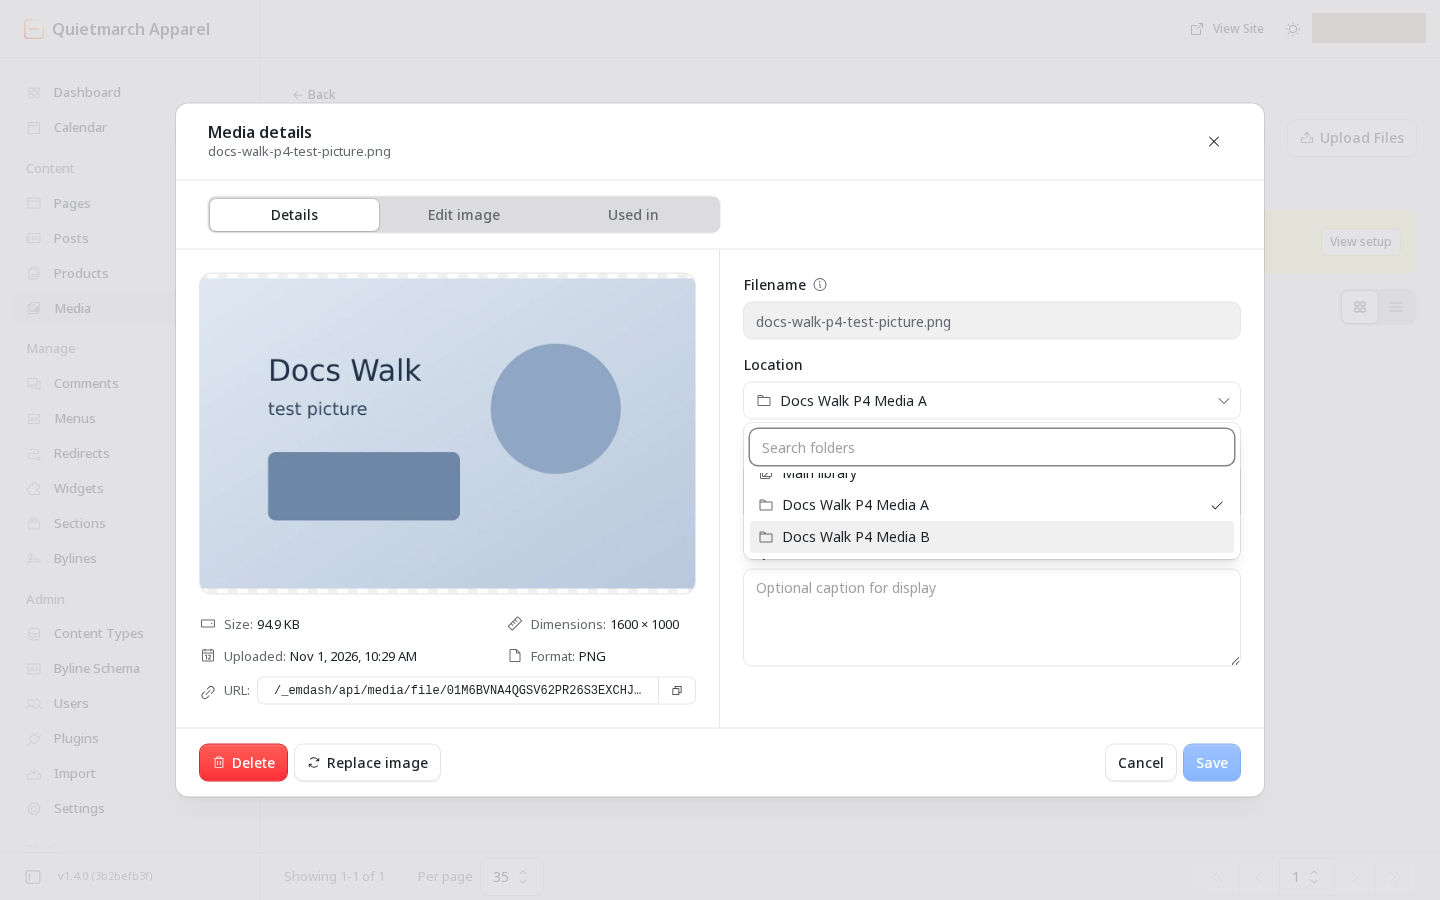
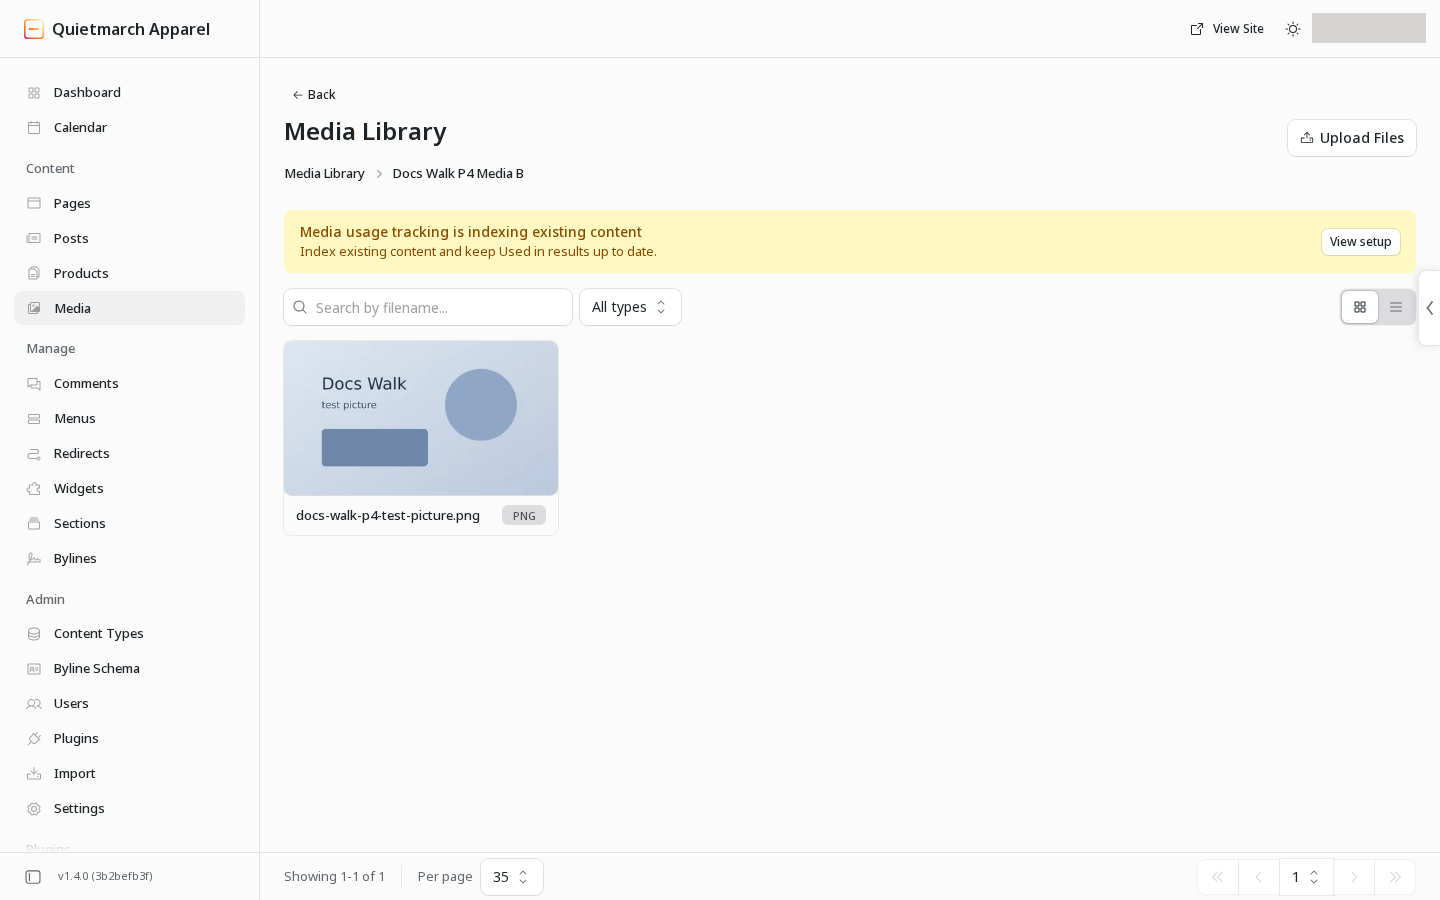
You can organise the library into folders.
To create a folder:
- Choose Add new folder. On a narrow screen the control reads New folder.
- Fill in Name.
- Choose Create.
To move a file:
- Open its details in Media.
- Choose the destination folder under Location.
- Choose Save.
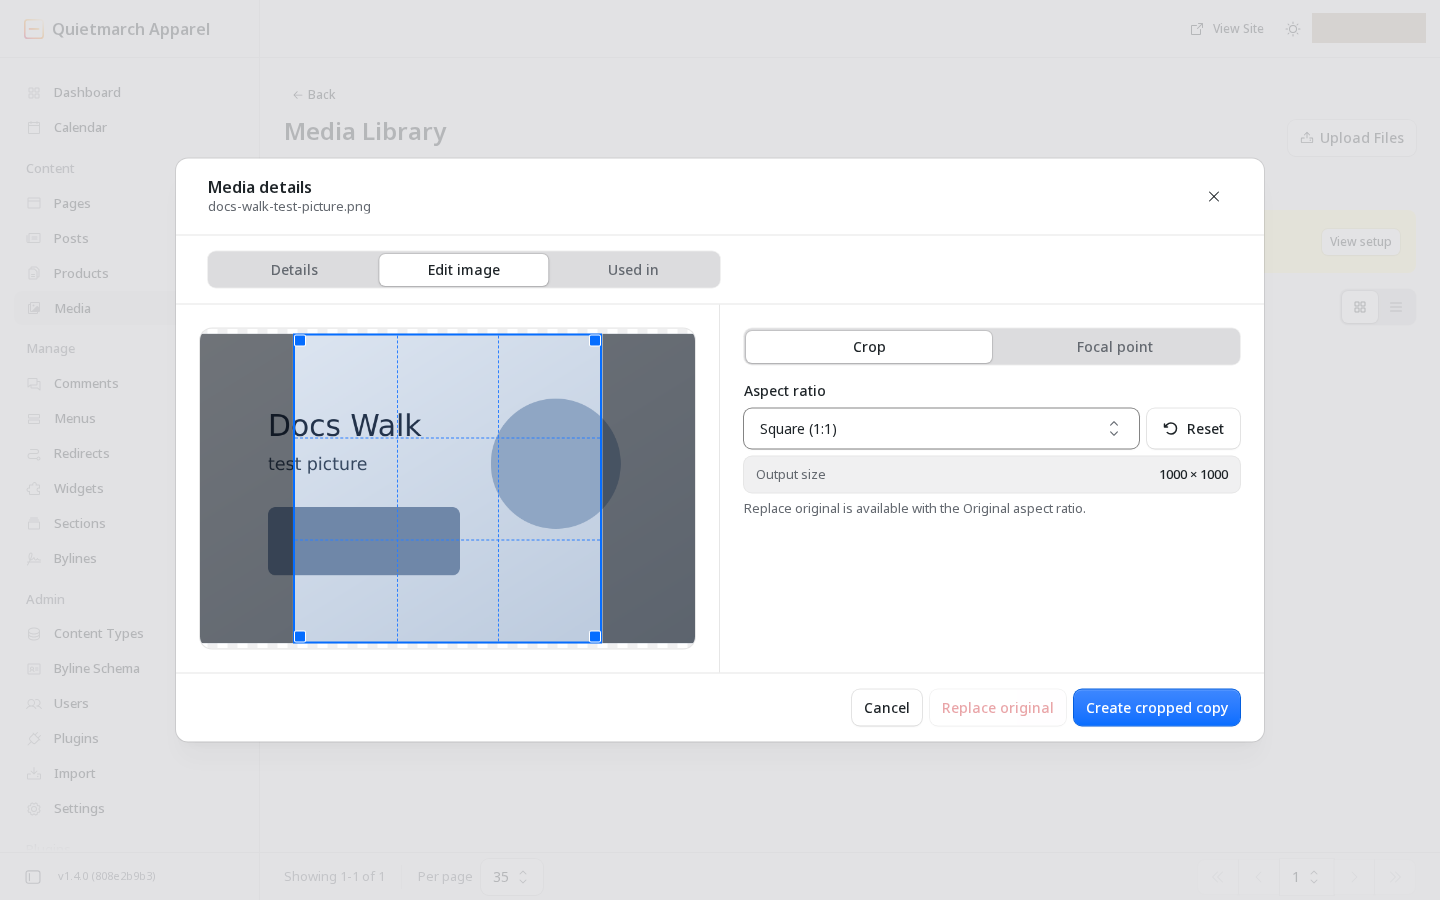
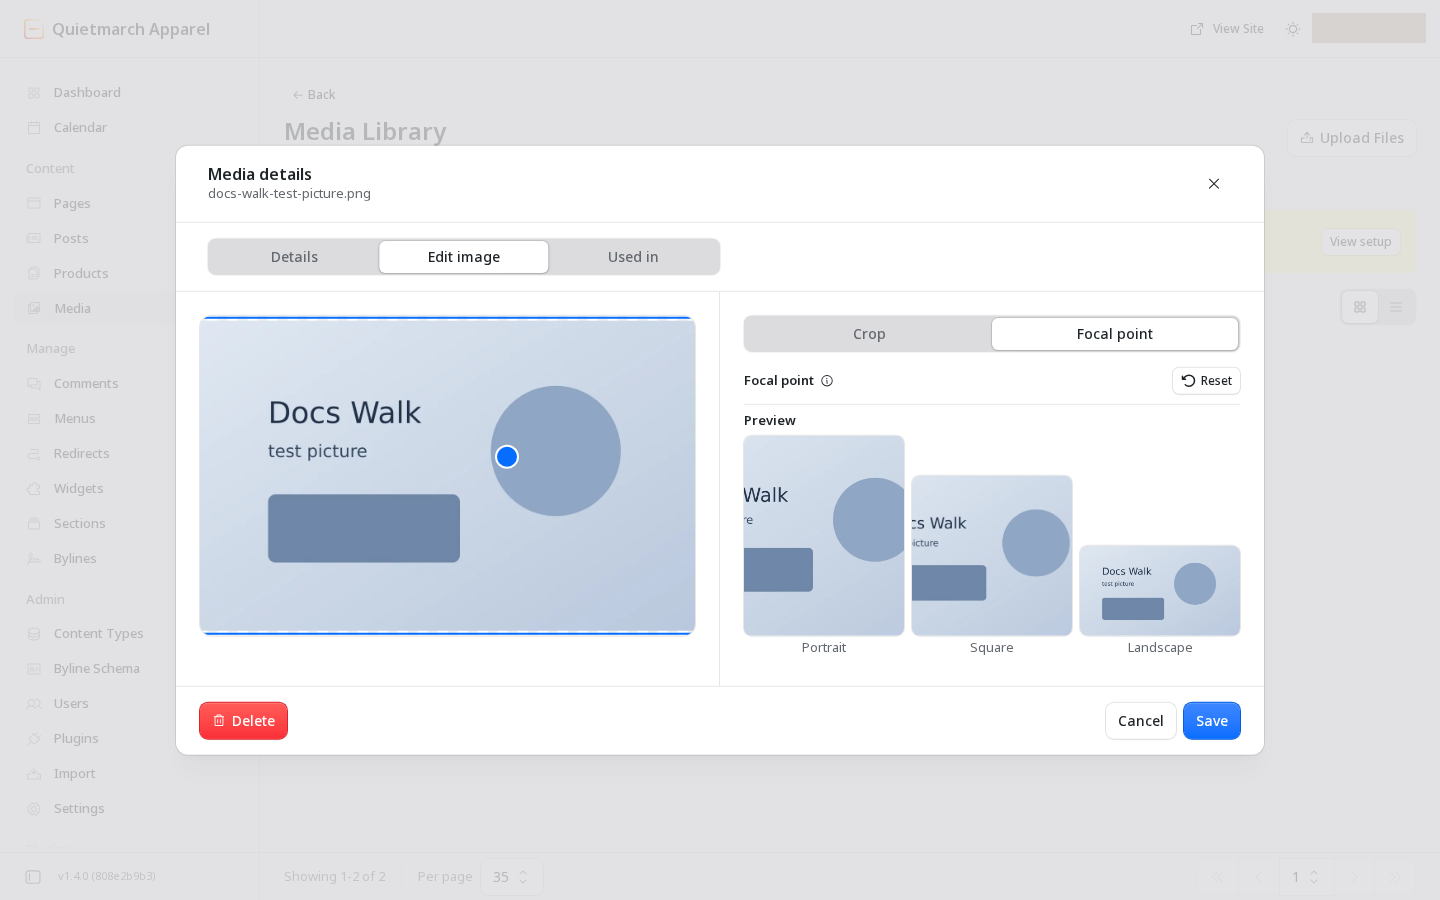
The media library also has image cropping and focal point controls. A focal point chooses what should stay visible when an image is cropped. Review which file you are changing before replacing an original.
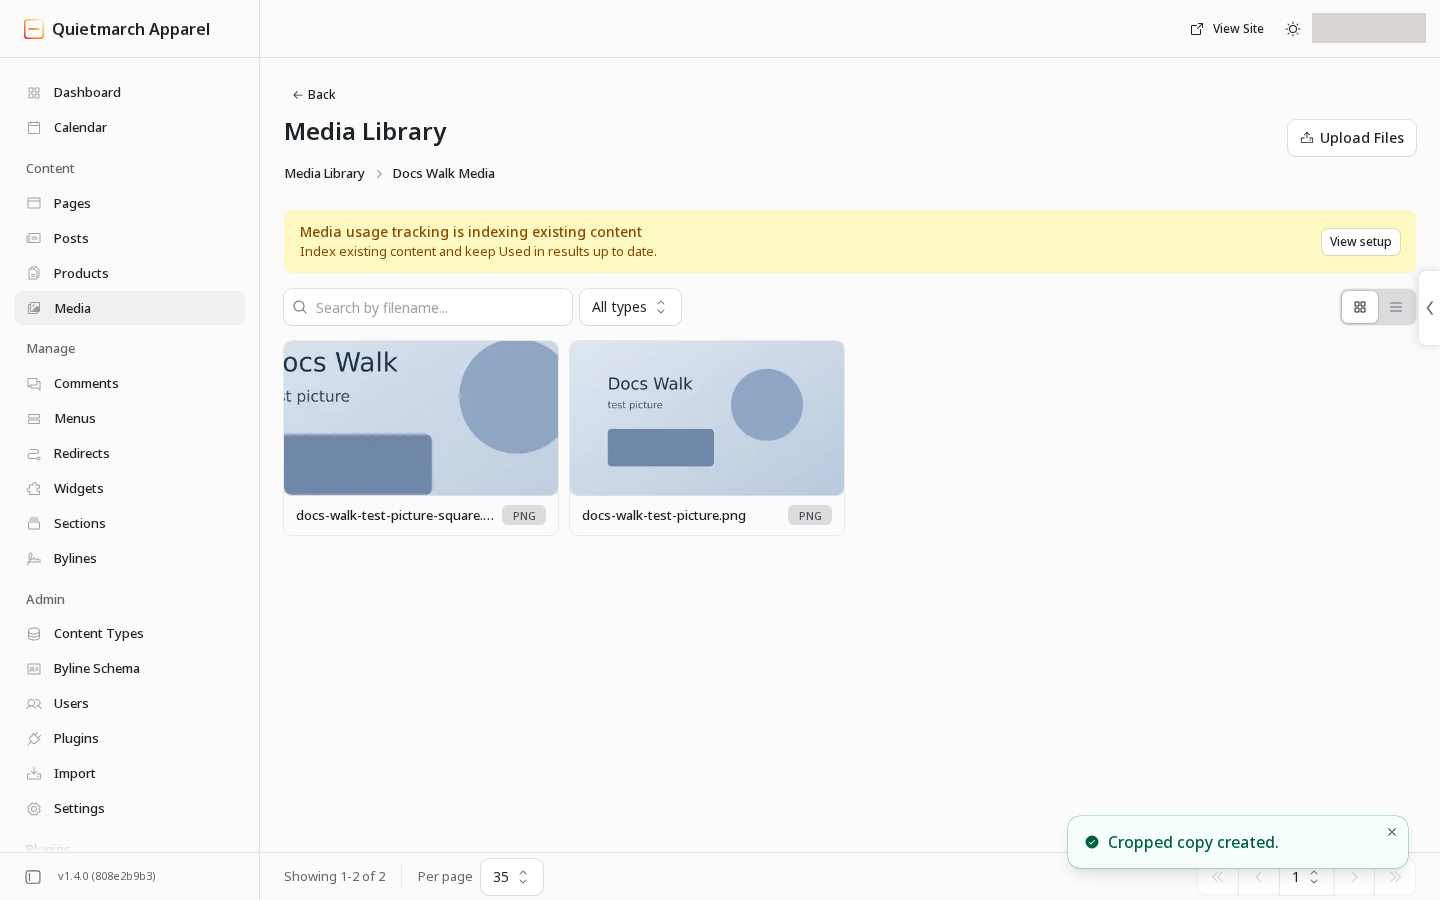
To crop a picture without overwriting the original:
- Open the image in Media.
- Choose Crop.
- Adjust the crop.
- Choose Create cropped copy.
Replace original is the separate action that changes the existing image.
Use media on a page
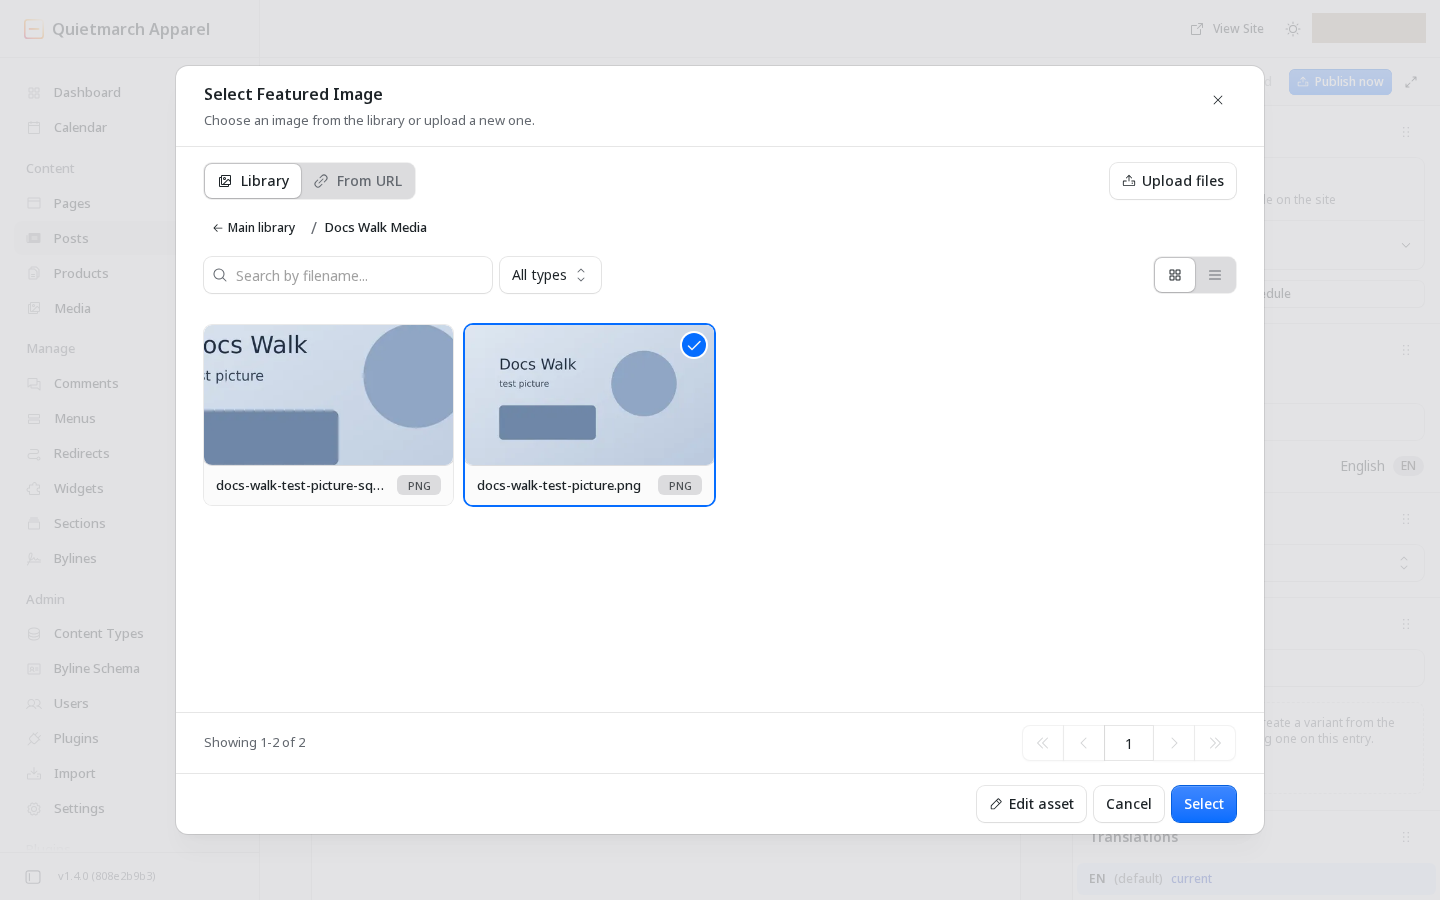
Section titled “Use media on a page”- Open the page or post in the Composer.
- Select the section.
- Use its image field to pick the uploaded image.
- Apply the section changes.
- Check the preview.
- Publish when ready.
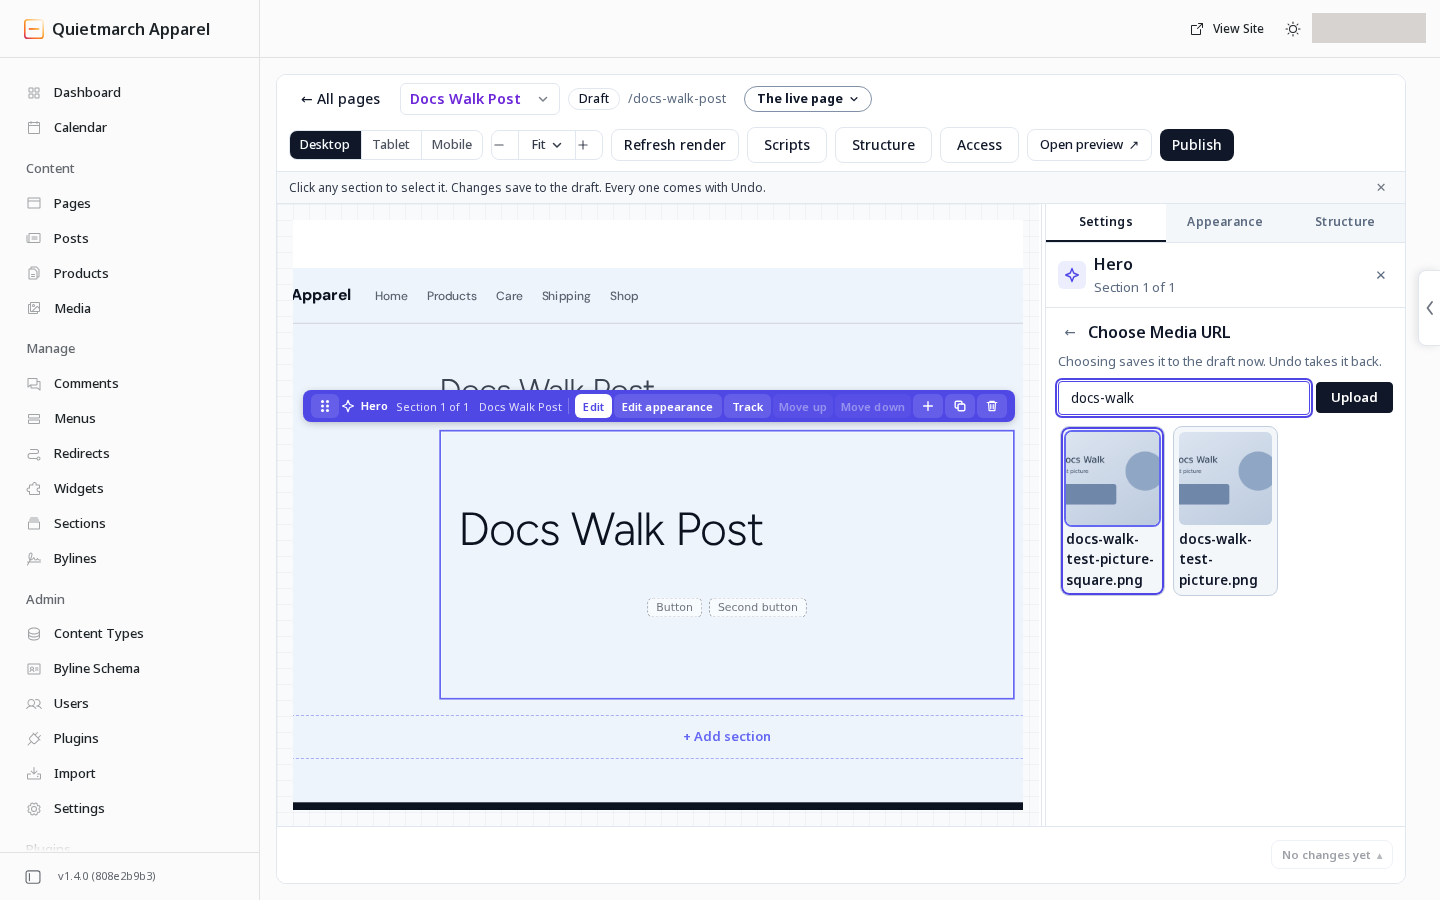
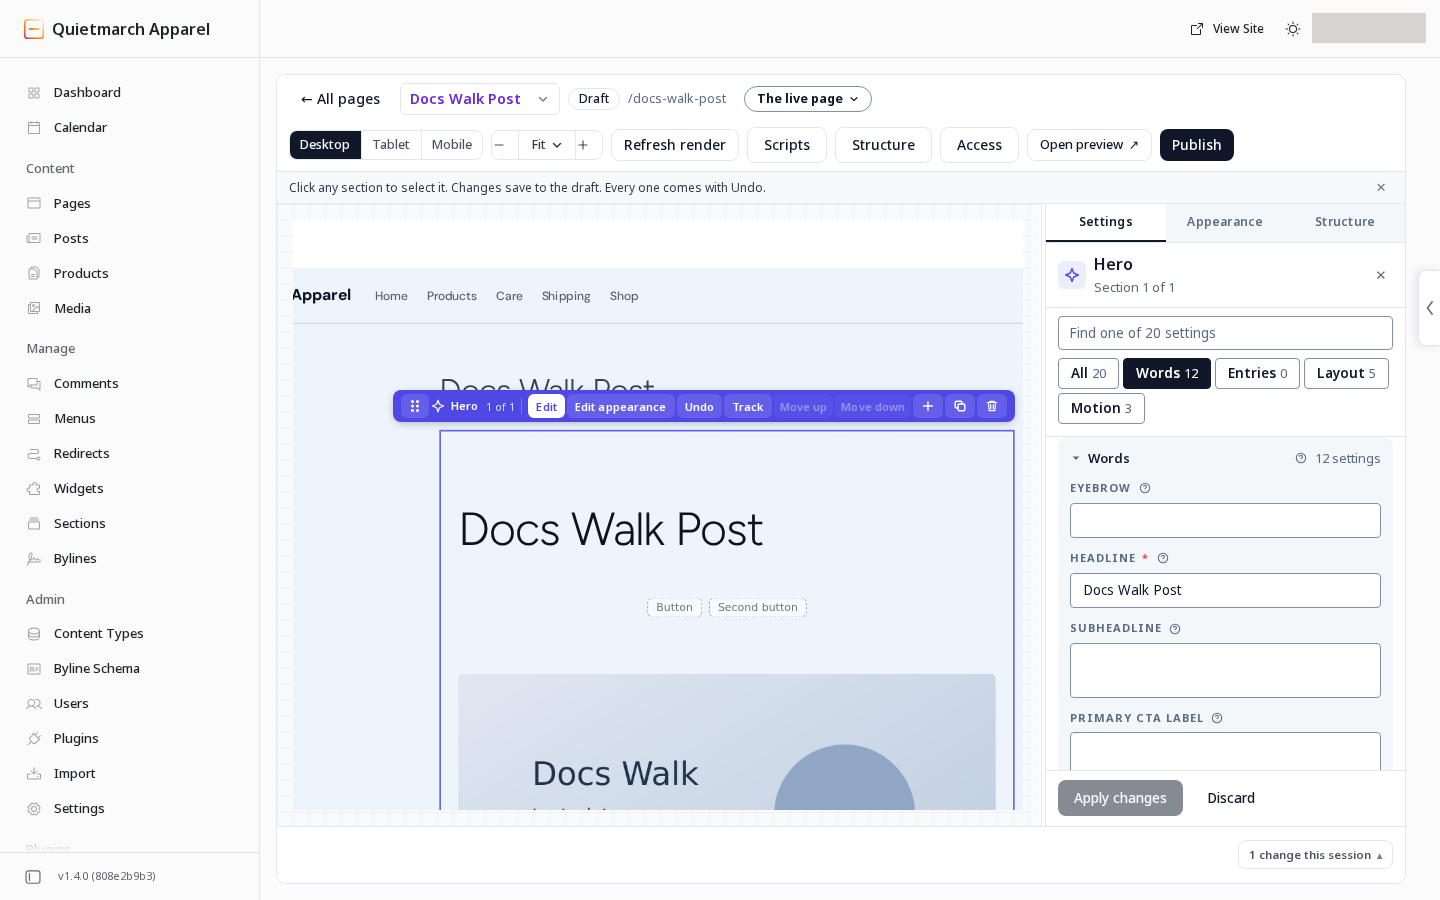
The post’s Hero now shows the chosen picture beneath its headline, with Undo offered for that draft change.
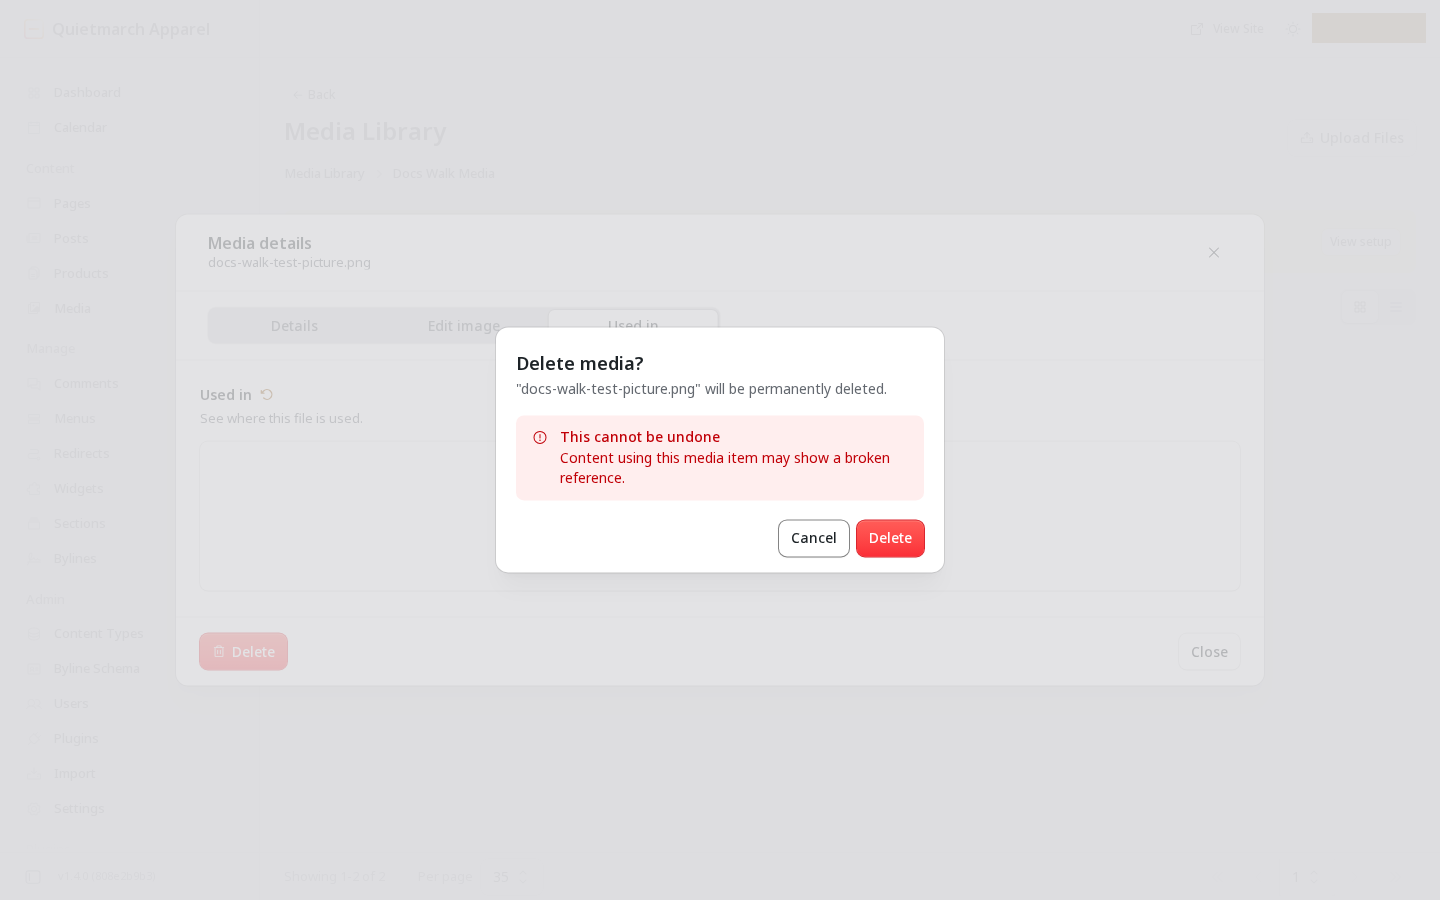
The Used in list is intended to help identify media references. In the supplied demo-store walk it listed no usage while the picture was visible in a post draft, and the delete card did not name that draft. An empty usage list is not proof that a picture is unused, especially while indexing is in progress. Check drafts and published content before confirming a permanent deletion.
Group content with categories and tags
Section titled “Group content with categories and tags”Use Site > Taxonomies for Categories, Tags and your own groupings. This workspace manages the site’s native EmDash taxonomies.
-
Choose New taxonomy.
-
Enter its Name, such as Topics.
-
Under Applies to, select the content types that should offer it.
-
Choose Shape: Flat keeps values as peers; Nested allows a value to sit under another.
-
Review the proposed Key and the singular word under One of them is called. Use Change beside either if needed. The key is fixed after creation.
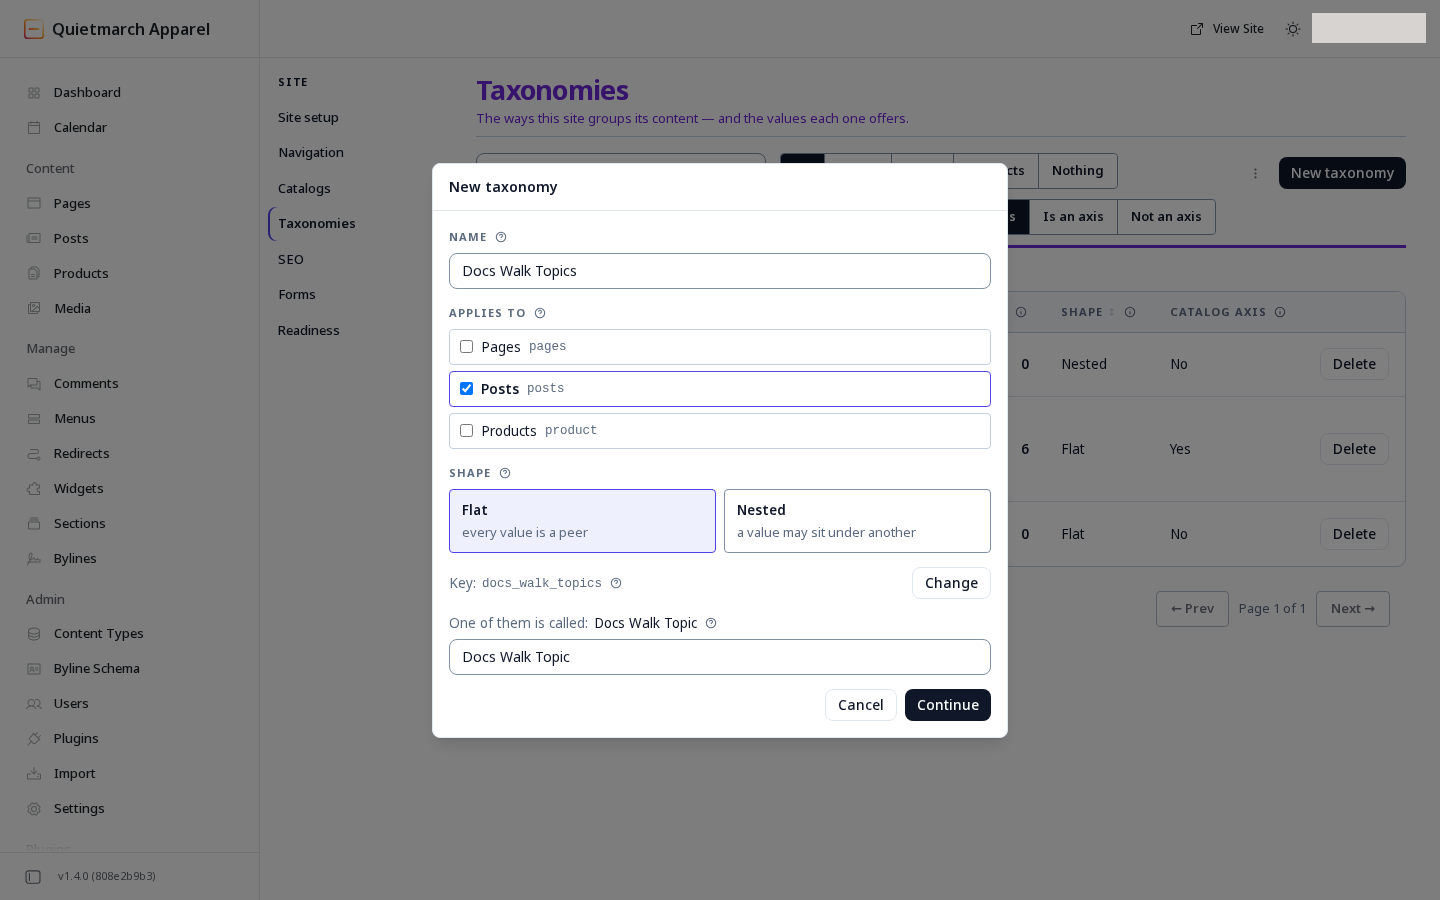
Name it, choose what it applies to and its shape. -
Choose Continue.
-
Read the proposed change.
-
Confirm the action named on its approval card.
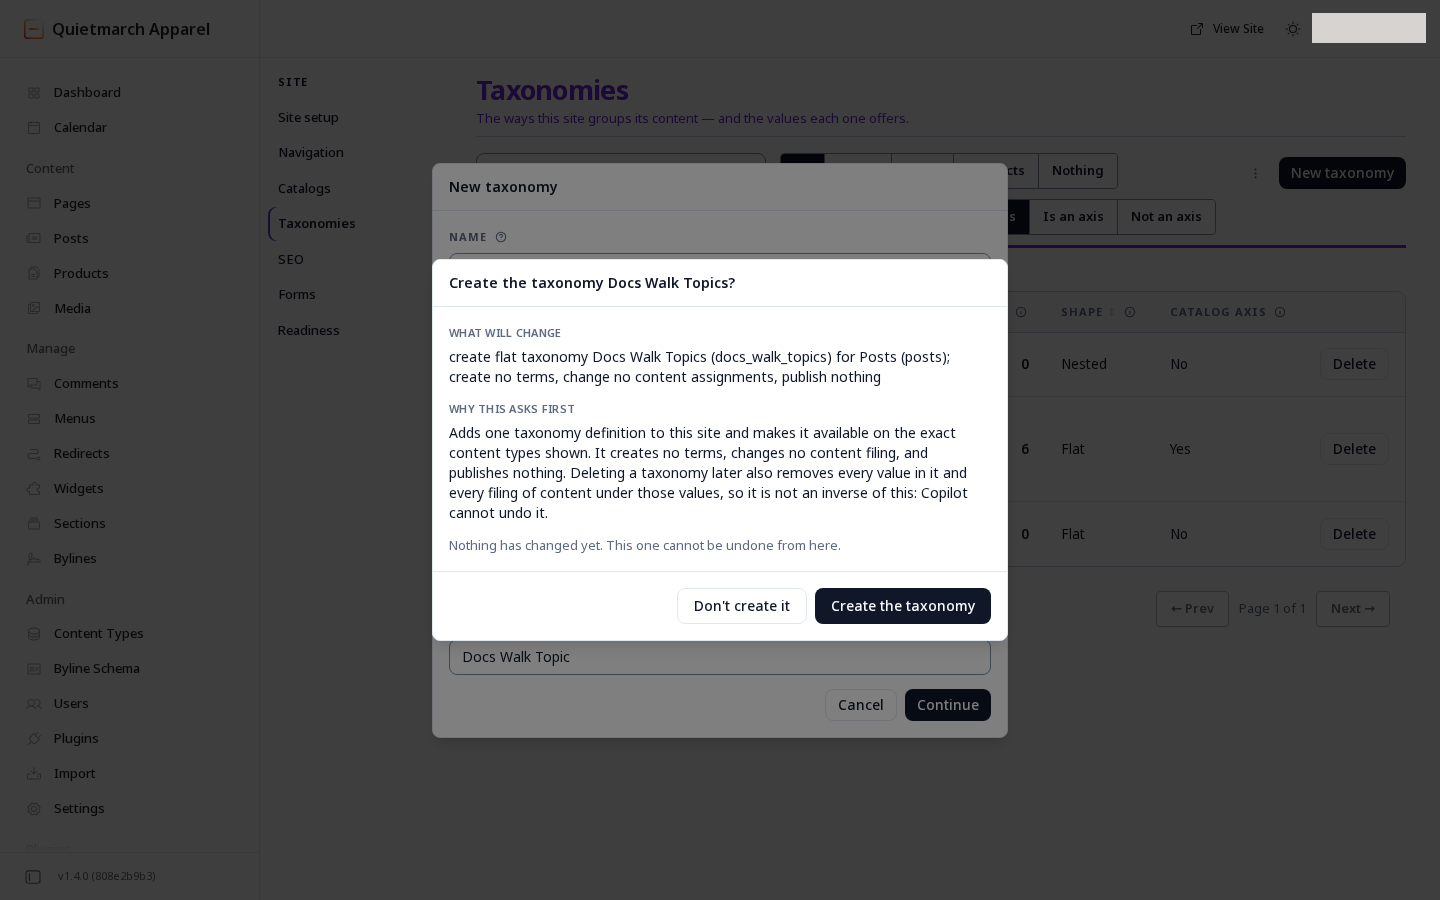
Creating a taxonomy asks first. -
Open the new grouping.
-
Use its add-value control. Its words follow the singular name you chose.
-
Review the proposed addition.
-
Apply it only when it is right.
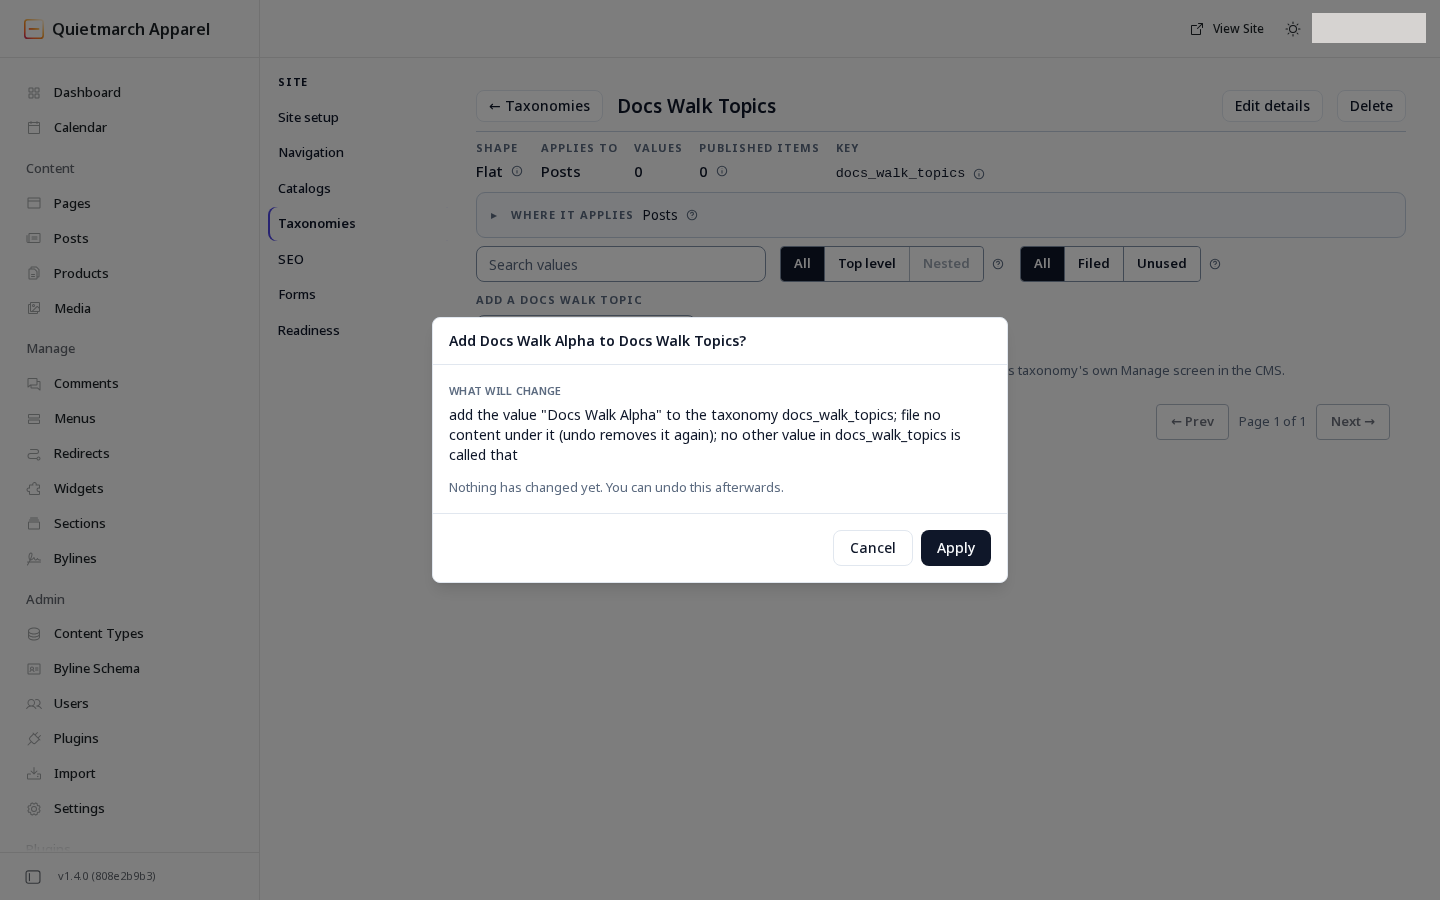
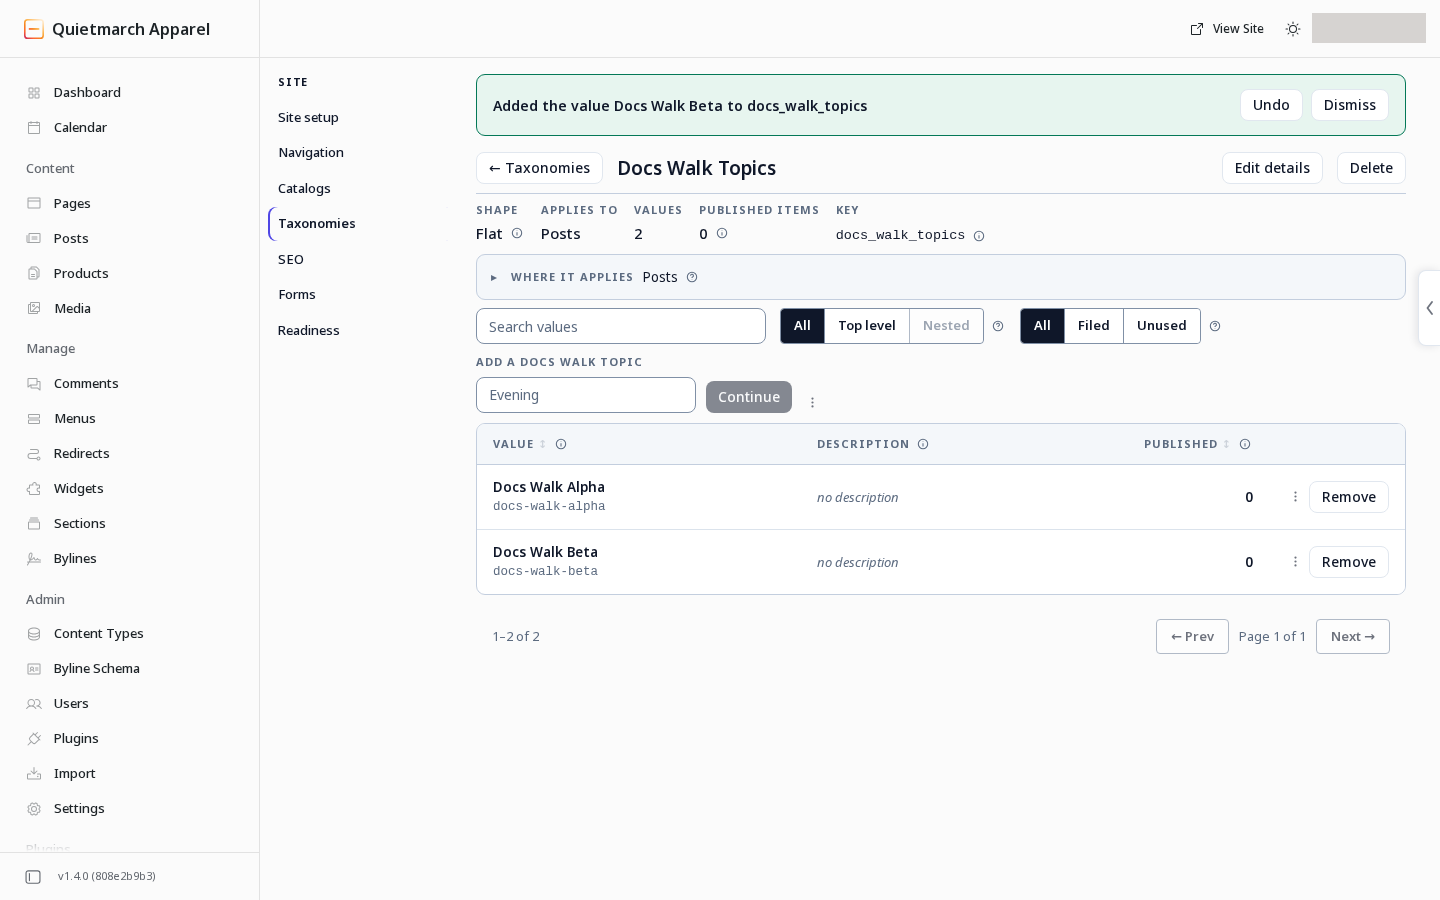
Docs Walk Alpha and Docs Walk Beta are now values of Docs Walk Topics, and adding Beta has its own Undo.
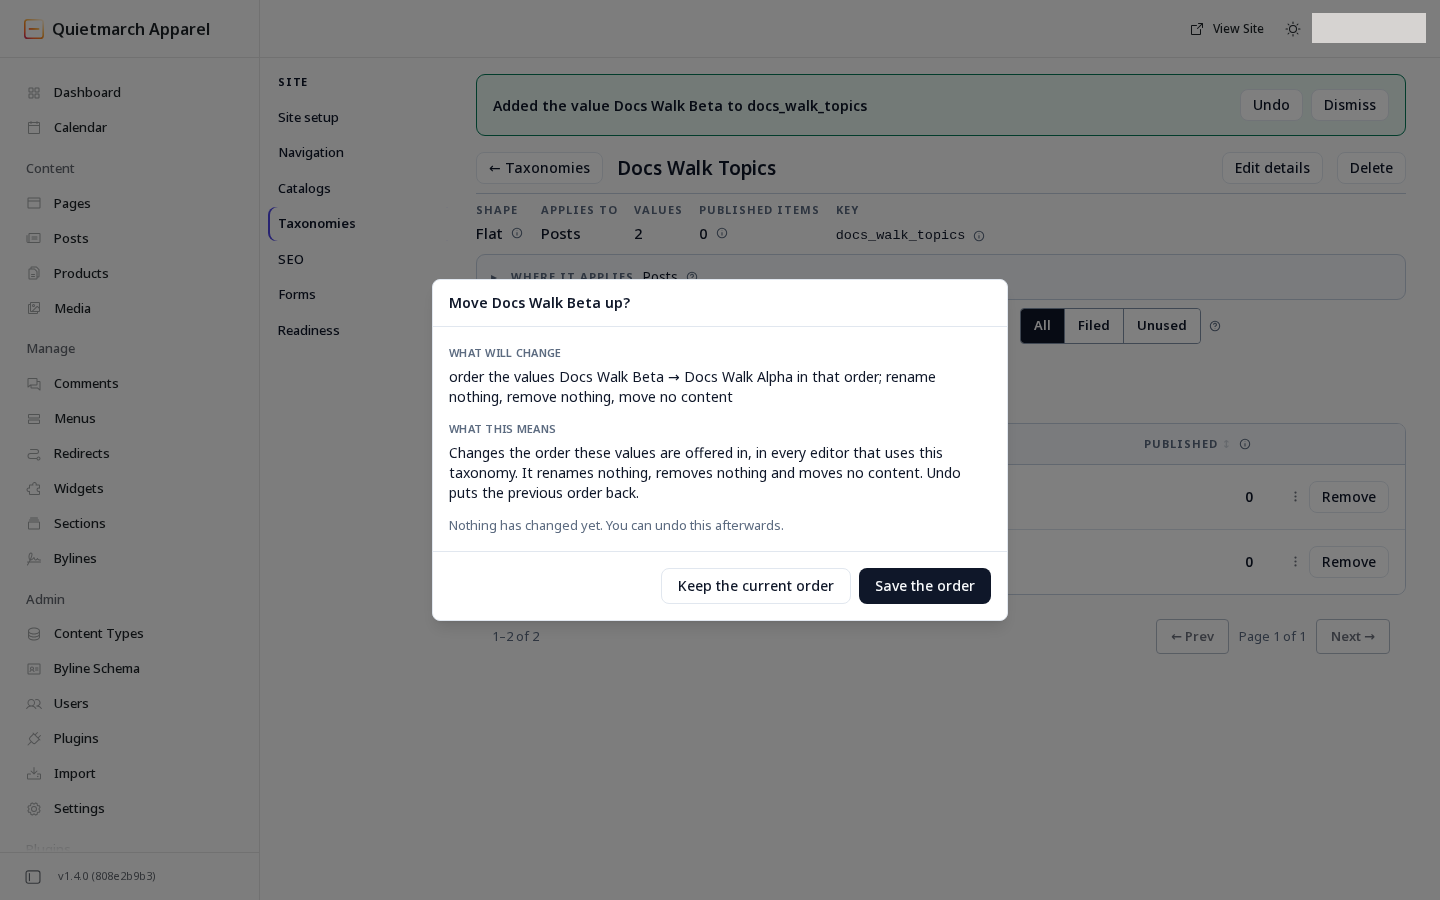
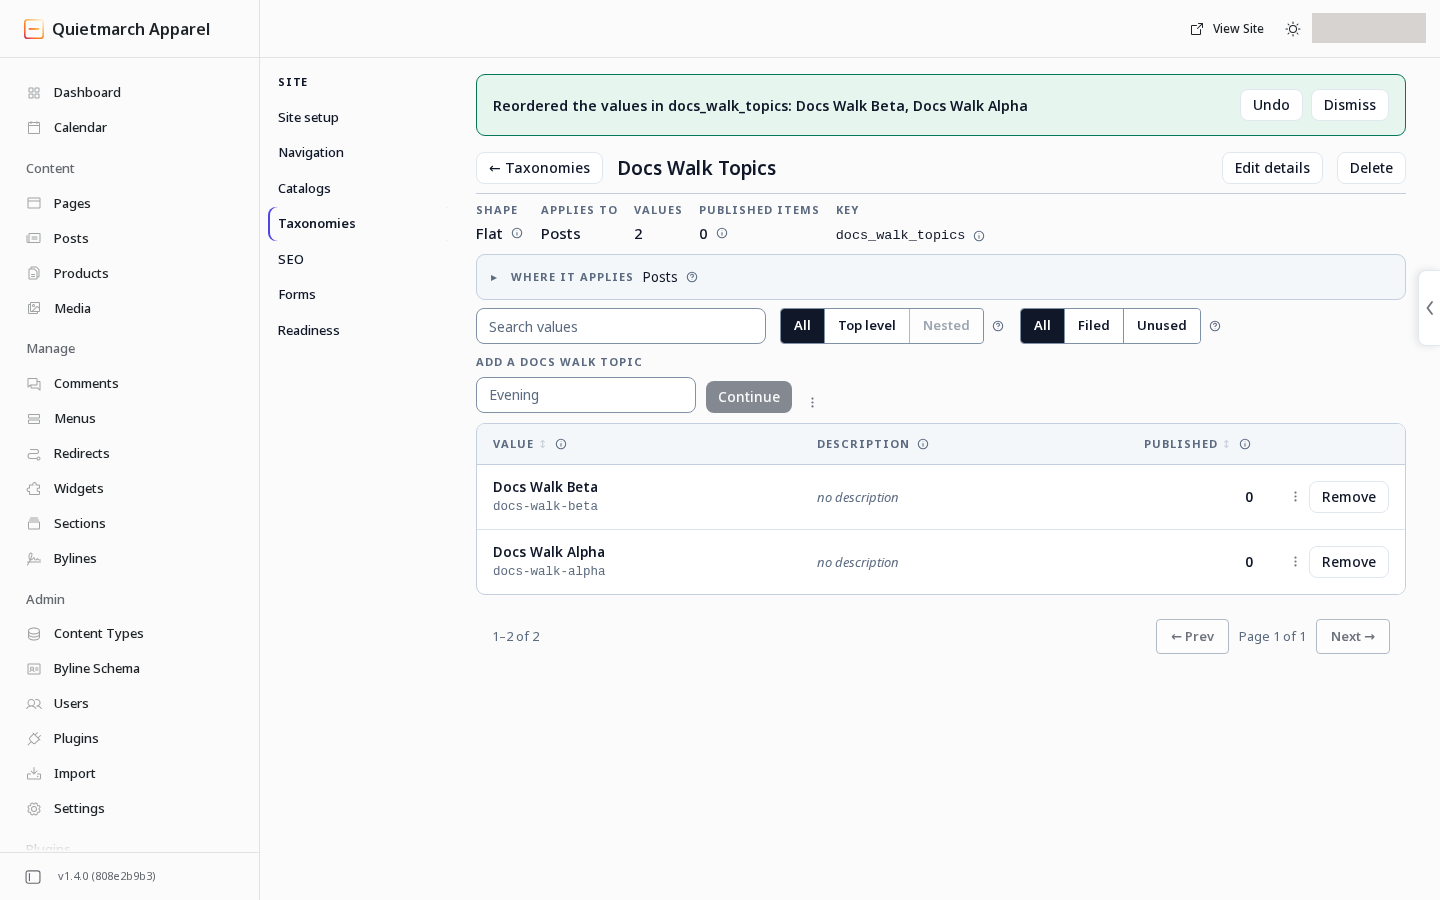
A value’s actions include Rename, Move up and Move down. Review changes before applying them. A nested grouping can place one value under another. The list also shows whether the content catalog can use that grouping for personalization. Continue with the content catalog when your content is ready.
Your next step
Section titled “Your next step”Use Menus to add a published page to navigation, or Redirects and 404s when replacing an old address.