Checked against the product’s code on 7 November 2026.
Open Site > Site setup to pick a starting design for your website. A first setup offers templates for the site. An existing site can add a template’s pages beside the content it already has. Use Front page below to choose what opens at your website’s main address.
The approval card distinguishes draft pages from live settings. A first setup can also change navigation, the public site name, the header button and the active theme. Review those effects before approving. If the template declares content collections, the card also names the collections and fields it creates before the pages, or the compatible collections it reuses. Its lists are set to those declared collections.
Choose a template and its copy
Section titled “Choose a template and its copy”For the first setup below, use a template that includes pages. The business description and contact fields appear only when Let AI write the text for your site is selected. If it is off, skip those fields and continue with Set my site up.
- Choose a template from the list.
- Inspect the pages it creates and the theme choices it offers.
- Compare Light and Dark previews if available.
- For a first setup, fill in The name on your site. This is the public name used in the header, footer and page titles.
- If you want copy tailored to the business, select Let AI write the text for your site.
- If AI copy is on, fill in What your business does.
- If AI copy is on, fill in Who it is for.
- Add the Address you want used.
- Add the Email you want used.
- Add the Phone you want used.
- Add Anything else worth putting on the site that you want used. Give real facts; blank answers are left out.
- Choose Set my site up.
- Read Set this site up from the template? Review the page list and any live navigation or theme changes.
- Choose Create the drafts or Not now.
If you leave AI copy off, the built-in starters keep neutral words and leave a note where a section needs your facts. Fill each note with your information, or remove its section, before publishing.
Review and publish the result
Section titled “Review and publish the result”- Read the result for the pages created and anything left to finish.
- Check any empty picture slots and button destinations it names.
- Open a draft in the Composer.
- Check its content.
- Review its preview.
- Publish that page separately when ready. Repeat for each draft.
The setup does not publish those pages for you. The Composer names sections that still need your facts separately from other sample words. Choose a section’s name to find it. Fill its note or remove the section before publishing; the refusal names any sections still waiting. Check a named FAQ’s answers too, since a closed answer can hide its note. Other publish checks, including button destinations, still apply. See Getting started for the publish card.
Add pages to an existing site
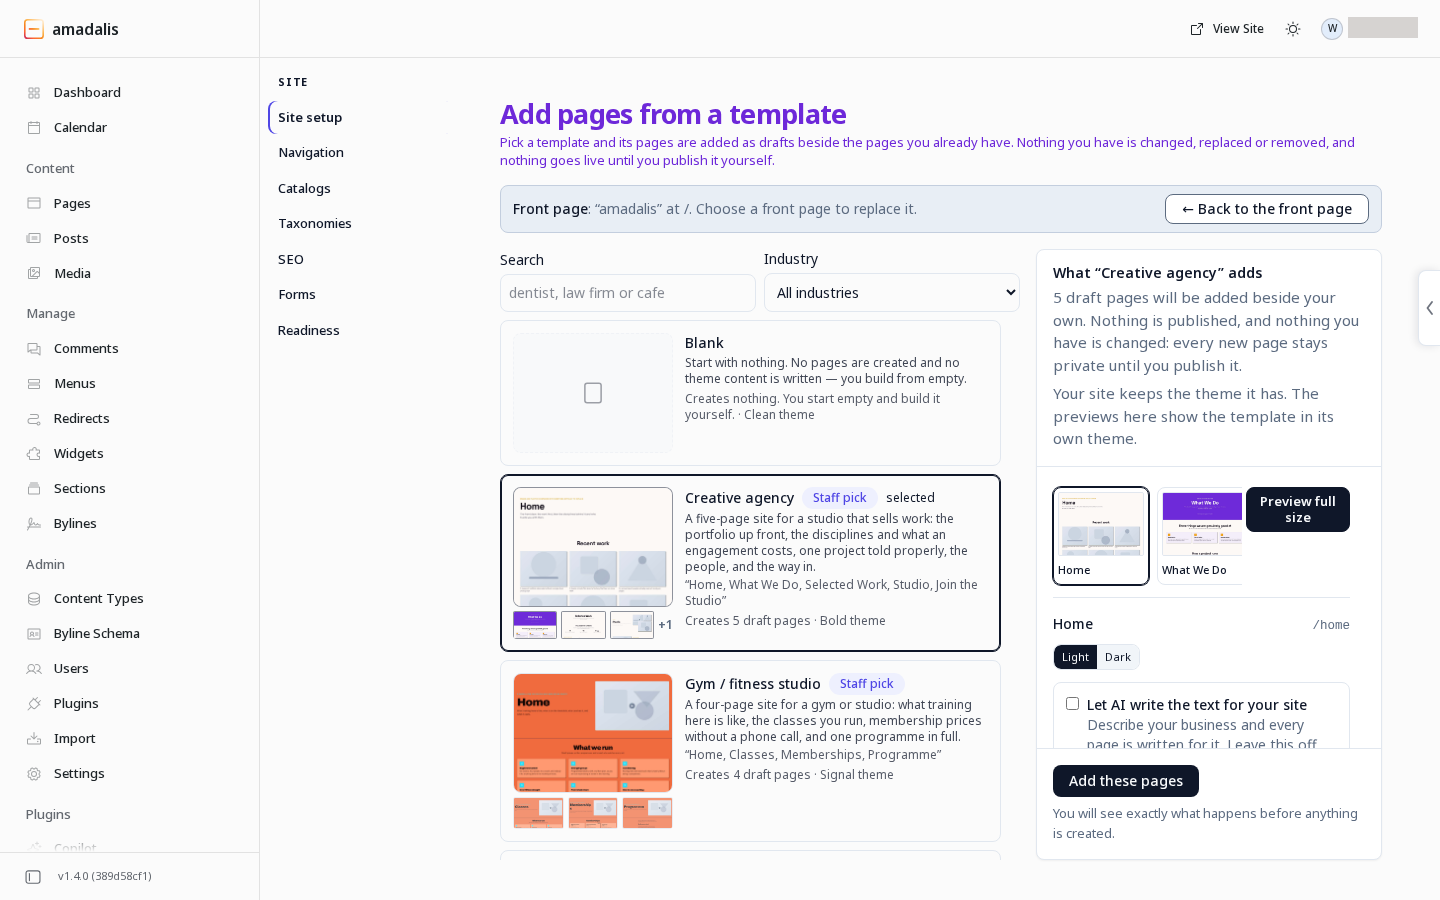
Section titled “Add pages to an existing site”- Choose Add pages from a template in Site setup.
- Pick the template.
- Review the pages.
- Choose Add these pages.
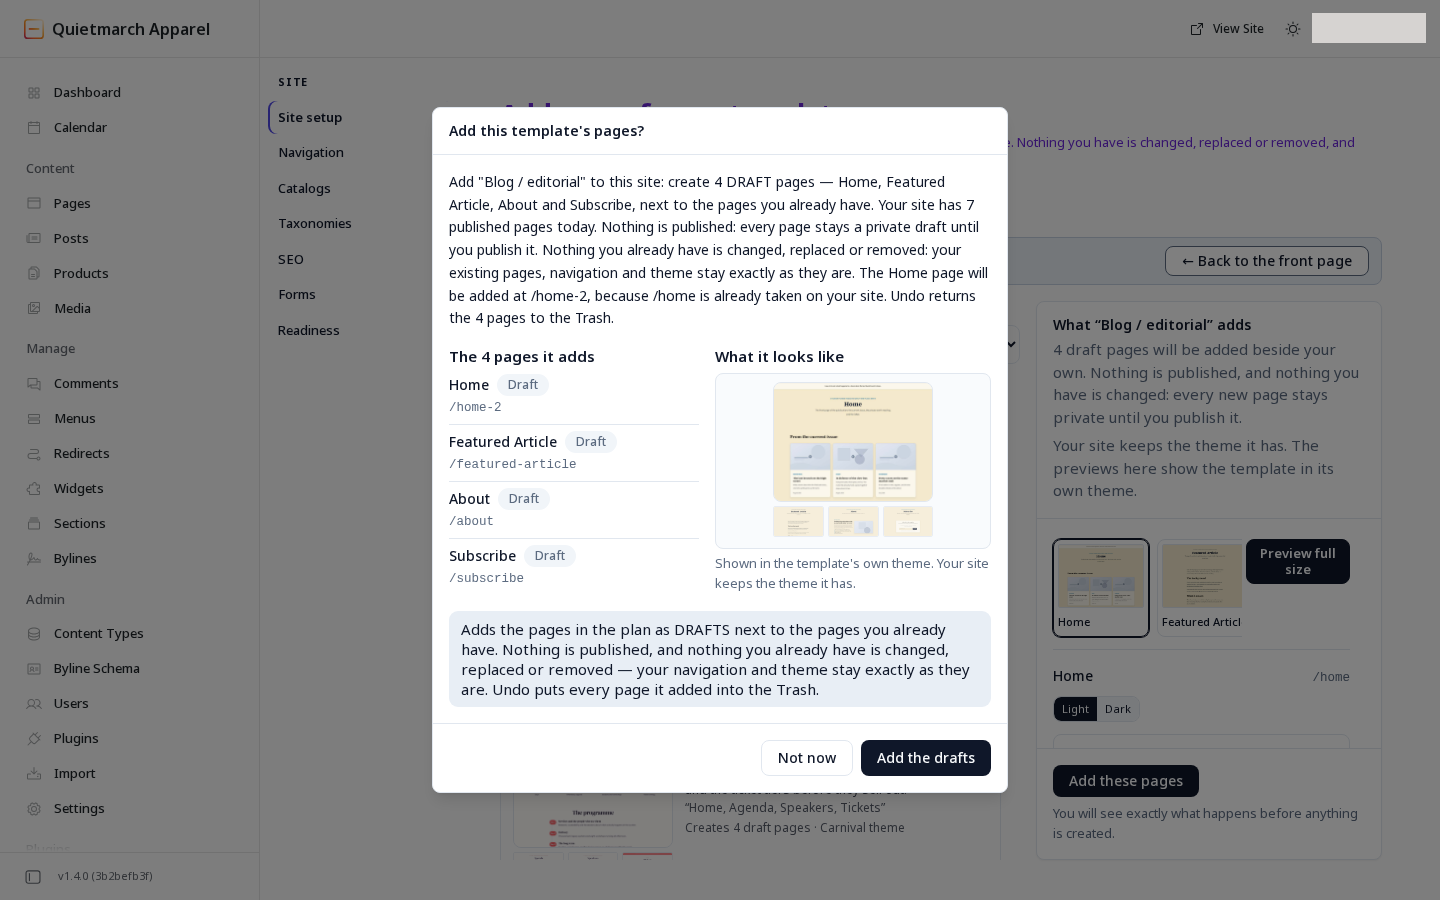
- Read Add this template’s pages? Check each proposed address.
- Choose Add the drafts.
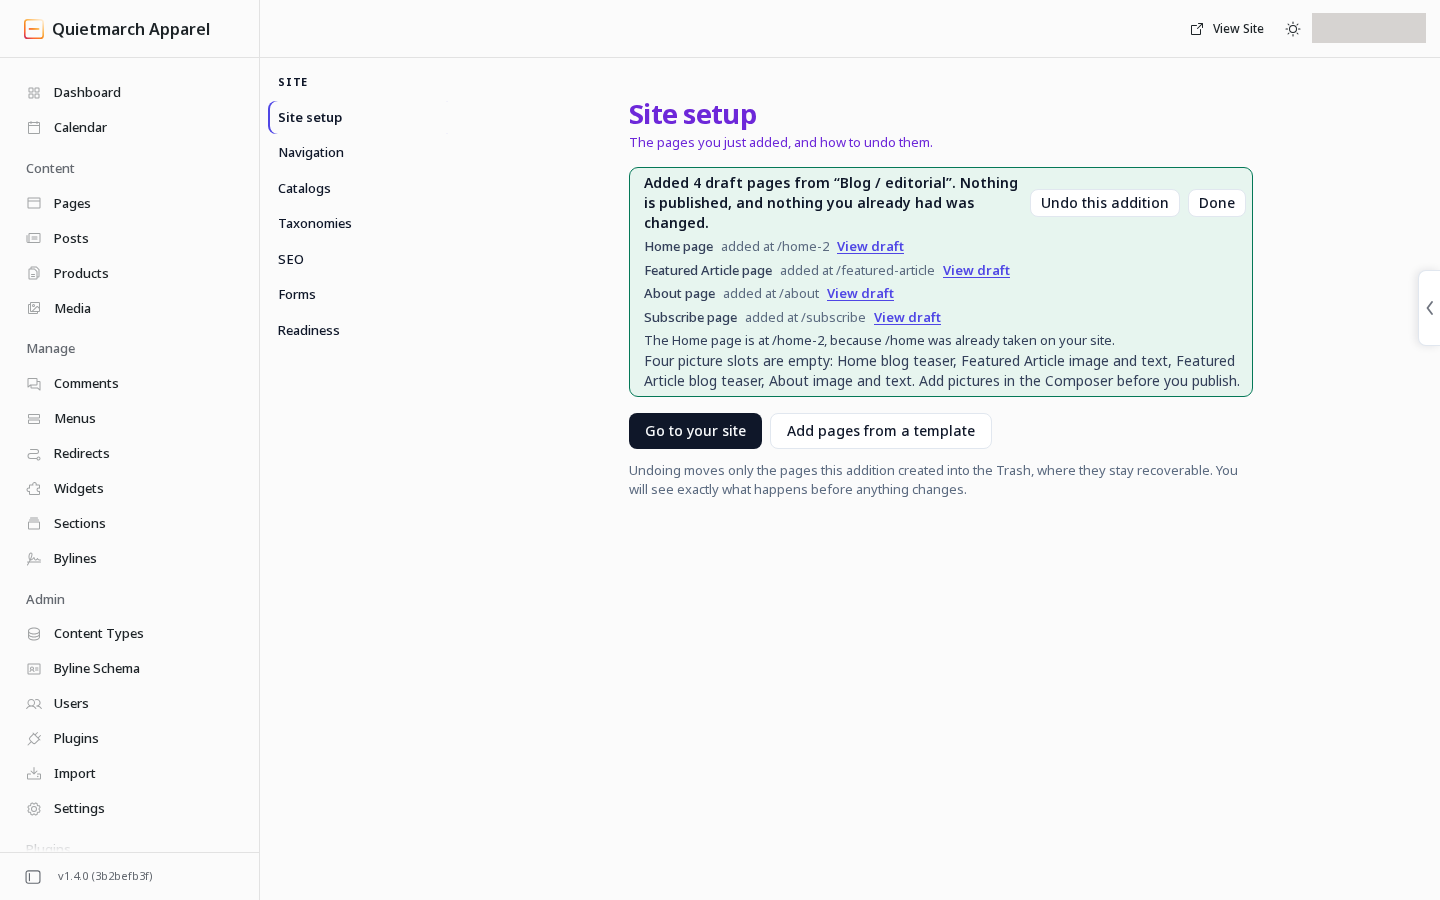
The addition creates draft pages beside your existing pages. It keeps the current navigation, theme and public site name. If an address is taken, it chooses an unused address with a number added. For example, when /home is taken and /home-2 is free, the template’s Home is added at /home-2. Read the approval card for each page’s proposed address before choosing Add the drafts. The receipt names any moved address afterwards. If no unused address can be found, the addition is refused.
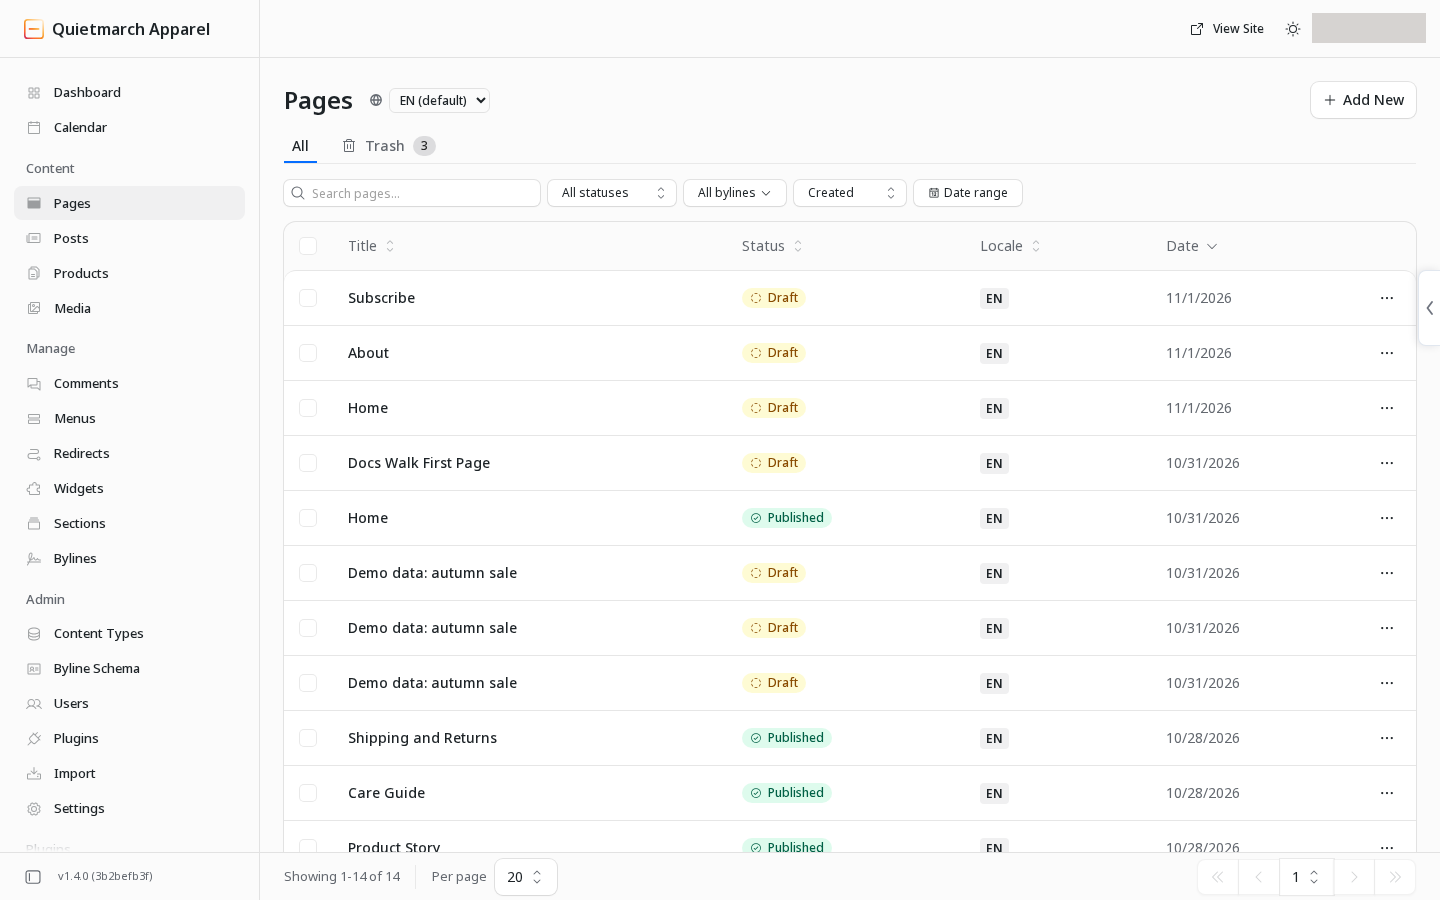
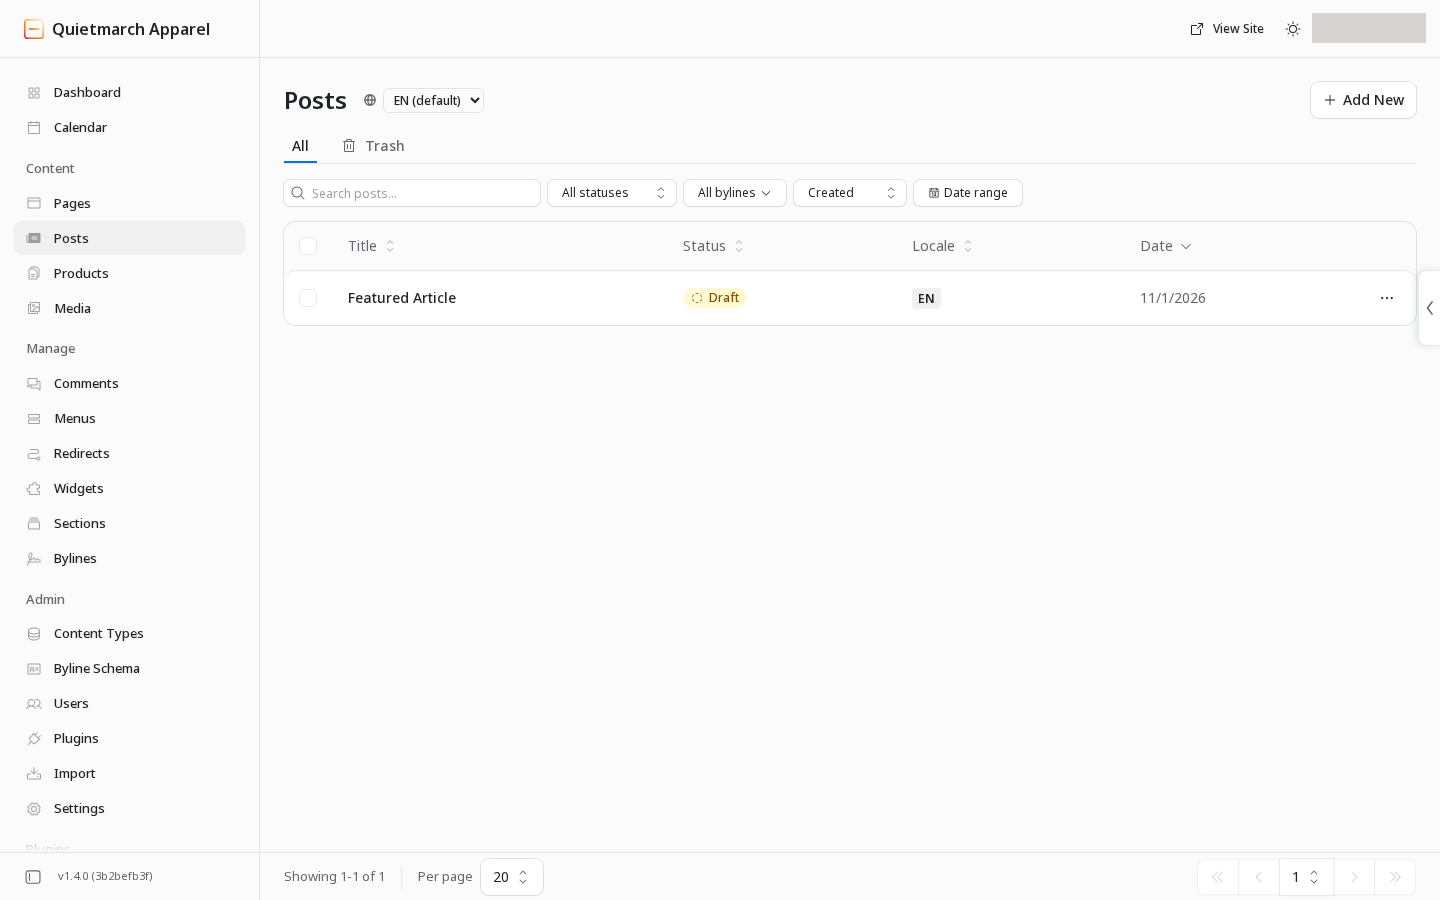
Read the receipt, then open the added drafts in EmDash’s Pages and Posts to review them before publishing.
Choose the front page and header button
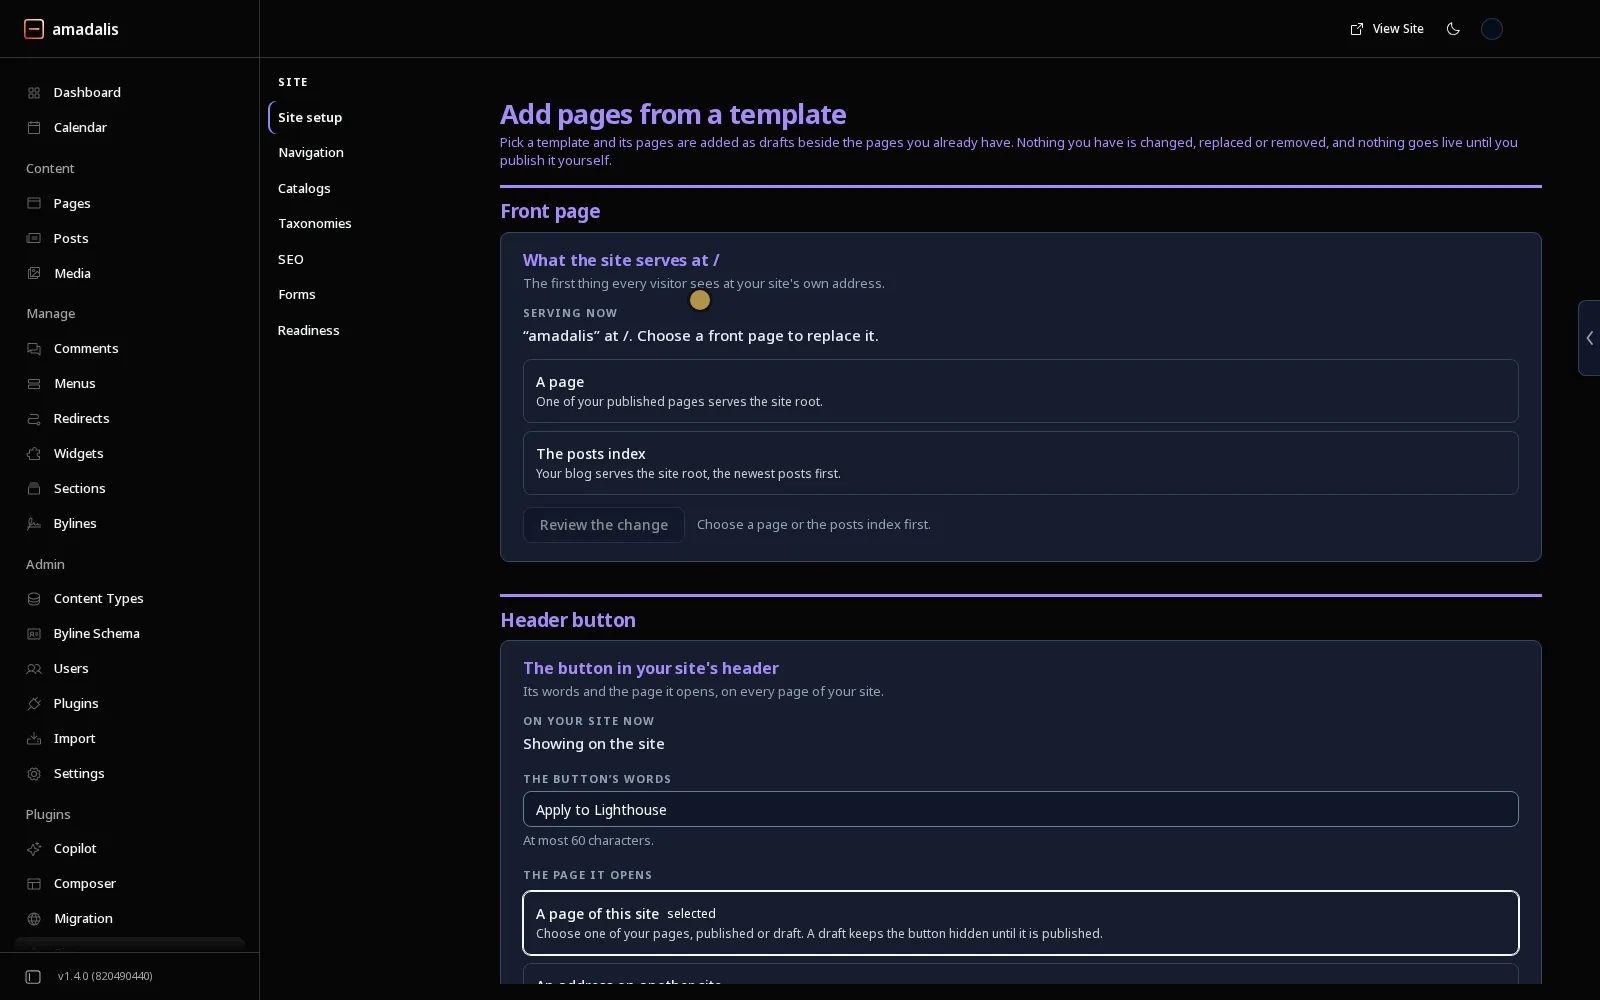
Section titled “Choose the front page and header button”Once the site has content, Site setup also offers Front page and Header button.
To choose the front page:
- Under Front page, choose A page or The posts index.
- If you chose A page, select a published page.
- Choose Review the change.
- Read its card.
- Confirm Set the front page if it matches your intent.
That changes what visitors get at the site’s main address. The receipt offers Undo while that reversal remains available.
To change the header button:
- Under Header button, fill in The button’s words.
- Choose The page it opens.
- Choose Review and save.
- Review the card’s comparison of the button words and destination.
- Confirm Publish this change.
This is a live site setting, with its own receipt and Undo.
Undo a setup
Section titled “Undo a setup”- In the first setup’s result, choose Undo this setup.
- Read Undo this site setup?
- Choose Undo the setup or Keep it.
Eligible new pages go to the recoverable Trash. Pages you edited or published afterwards are left alone. Earlier navigation, name, header button and theme are restored only where it is safe to do so. A collection created by the setup is removed only while empty and not listed by a page. Read the result for anything kept or refused.
An addition has its own Undo receipt. Undoing an addition does not restore the site’s earlier theme or menu, since that addition did not replace them.
Your next step
Section titled “Your next step”Open the new drafts in the Composer. Fill any notes asking for your facts, check links and review each page before publishing. Pages already created from a starter are not rewritten by a catalogue update.