Checked against the product’s code on 7 November 2026.
Learn how to add a contact form and read its replies in Site > Forms. The workspace has Forms, Submissions and Settings tabs for building forms, reading submissions and checking delivery.
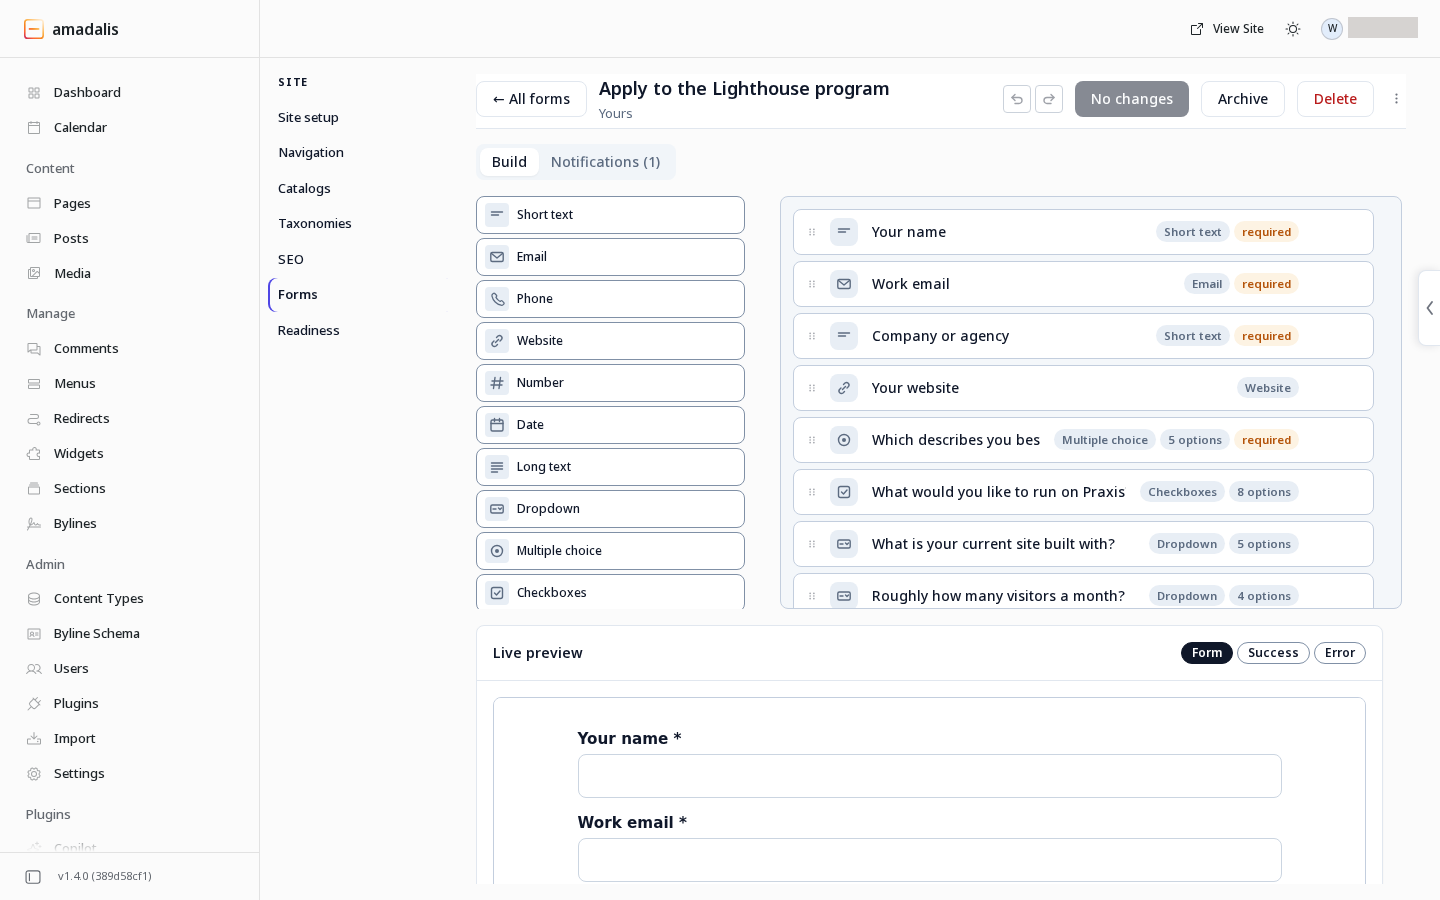
Before you start, open your site’s admin. Use Owner or Admin access to complete this guide, including reading replies. Editors can create forms and publish pages, but cannot read replies by default. See team roles.
Create a form
Section titled “Create a form”-
Choose New form.
-
Choose how to start:
- Use this template creates that form at once and opens it in the builder.
- Start blank opens a new blank form.
- For a copilot draft:
- Enter your description.
- Choose Draft it with the copilot.
- Send the request in chat.
- Return to the resulting form in the builder.
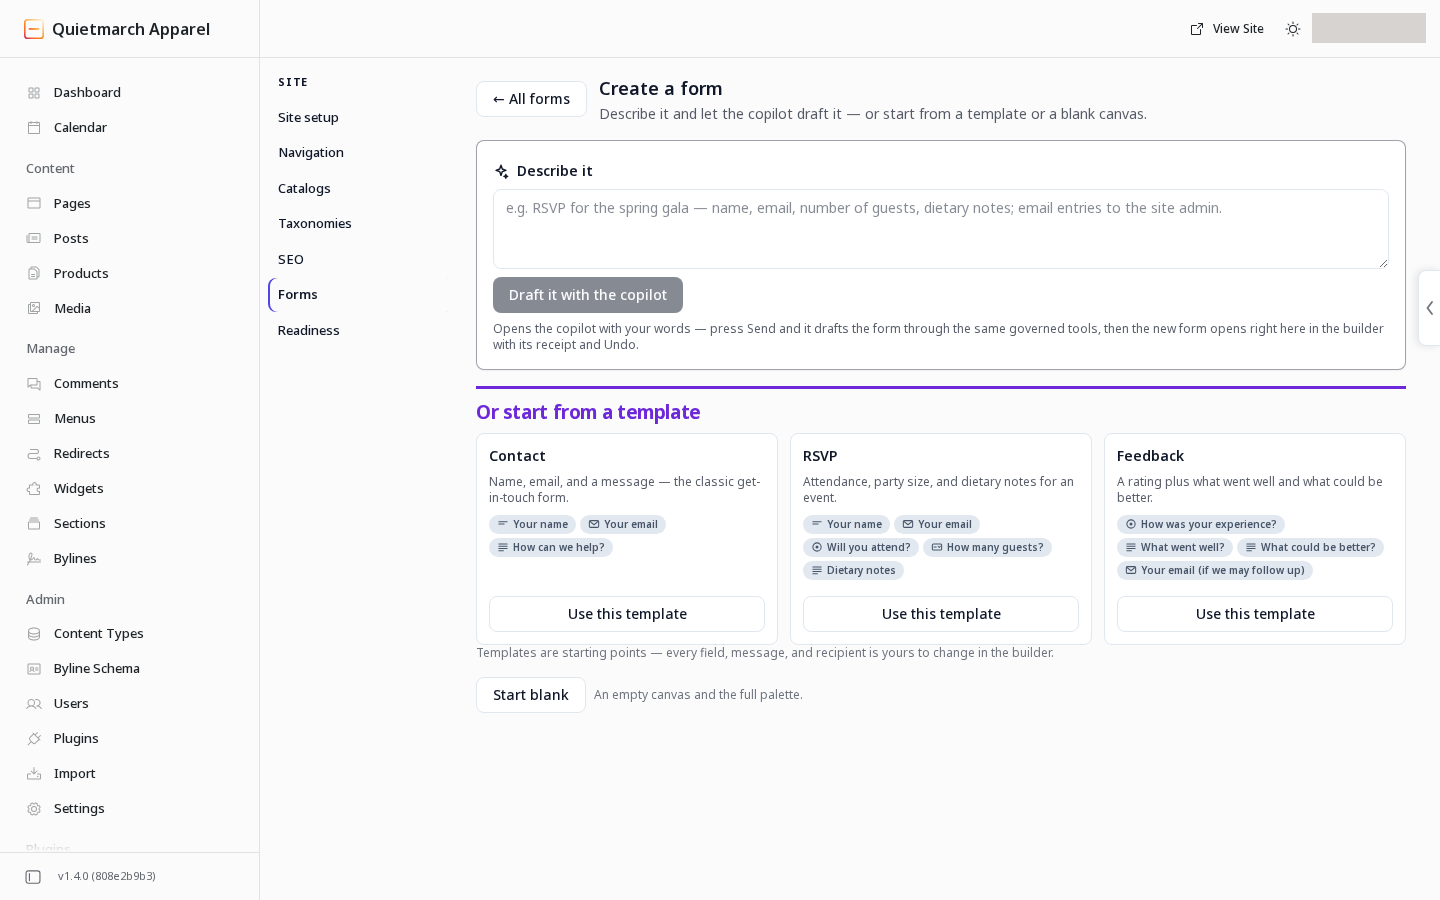
Start from a description, a template or a blank form. 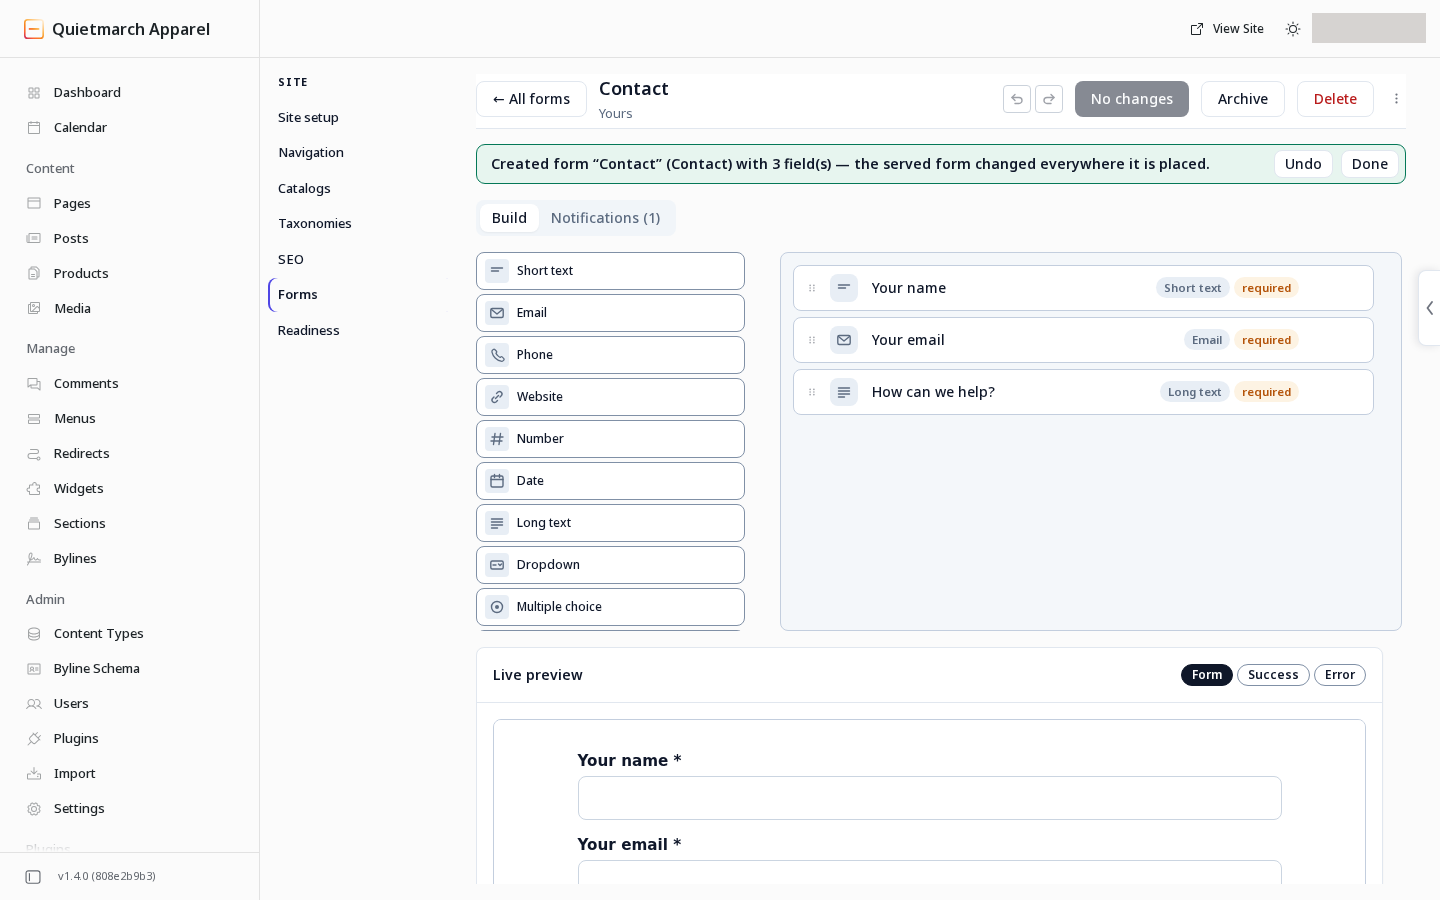
A template creates the form at once, with Undo. -
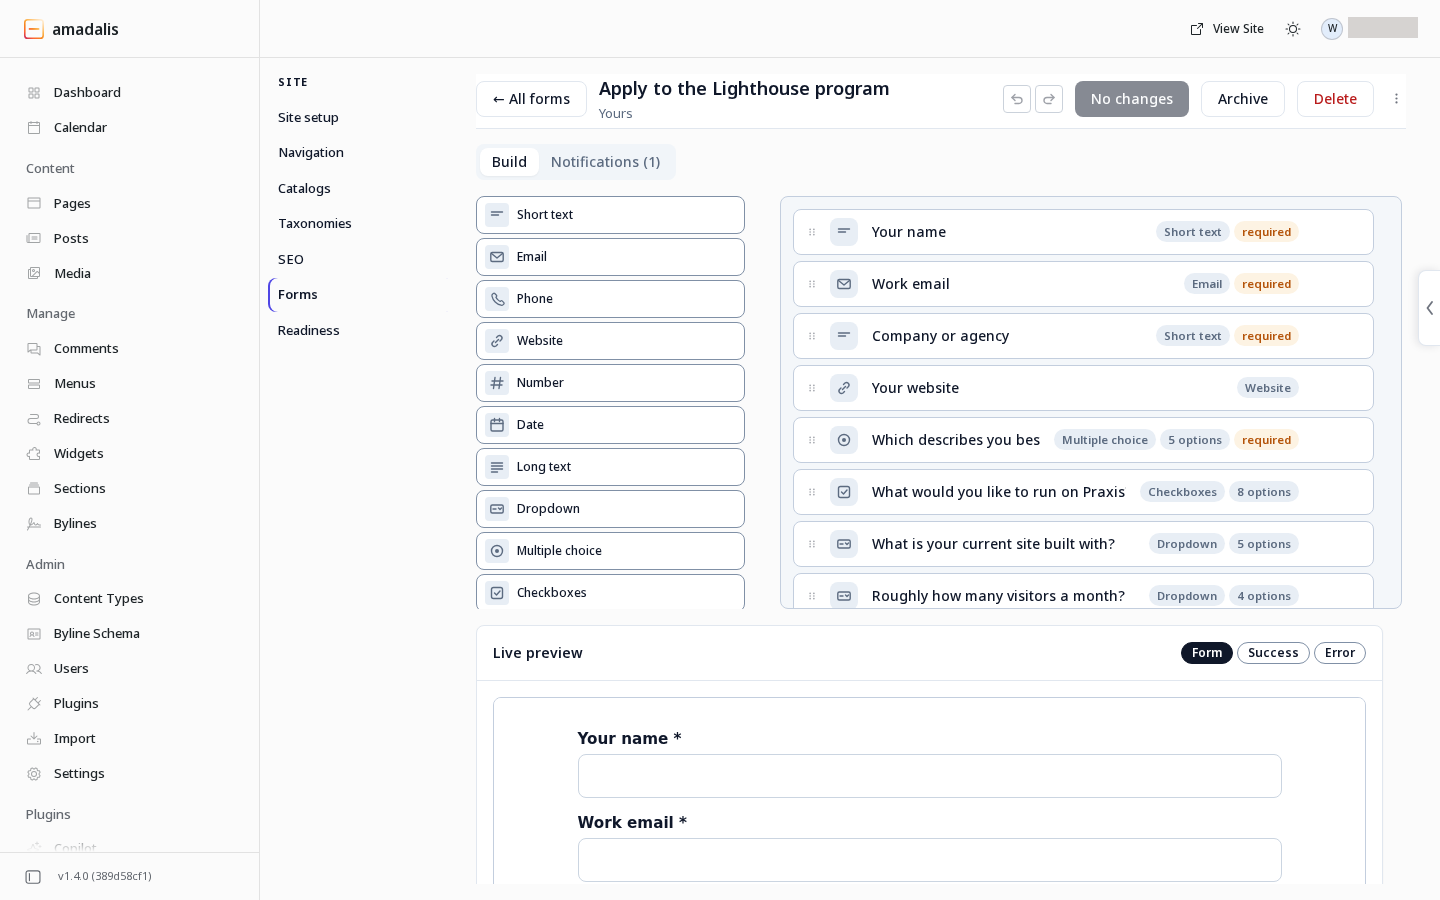
In the builder, edit the form name.
-
Add the fields you need.
-
Select a field.
-
Edit its label.
-
Set whether it is required.
-
Set its validation choices. Repeat the field steps for the other fields.
-
Set Submit button label in Form settings.
-
Set Success message.
-
Set Validation error message.
-
Review the Form preview.
-
Review the Success preview.
-
Review the Error preview.
To save a new blank form: choose Create form.
To save changes to an existing form:
-
Choose Save changes.
-
Read Update this form? and its comparison. Read the shared-form warning below before confirming.
-
Choose Update form to save, or Keep current form to go back.
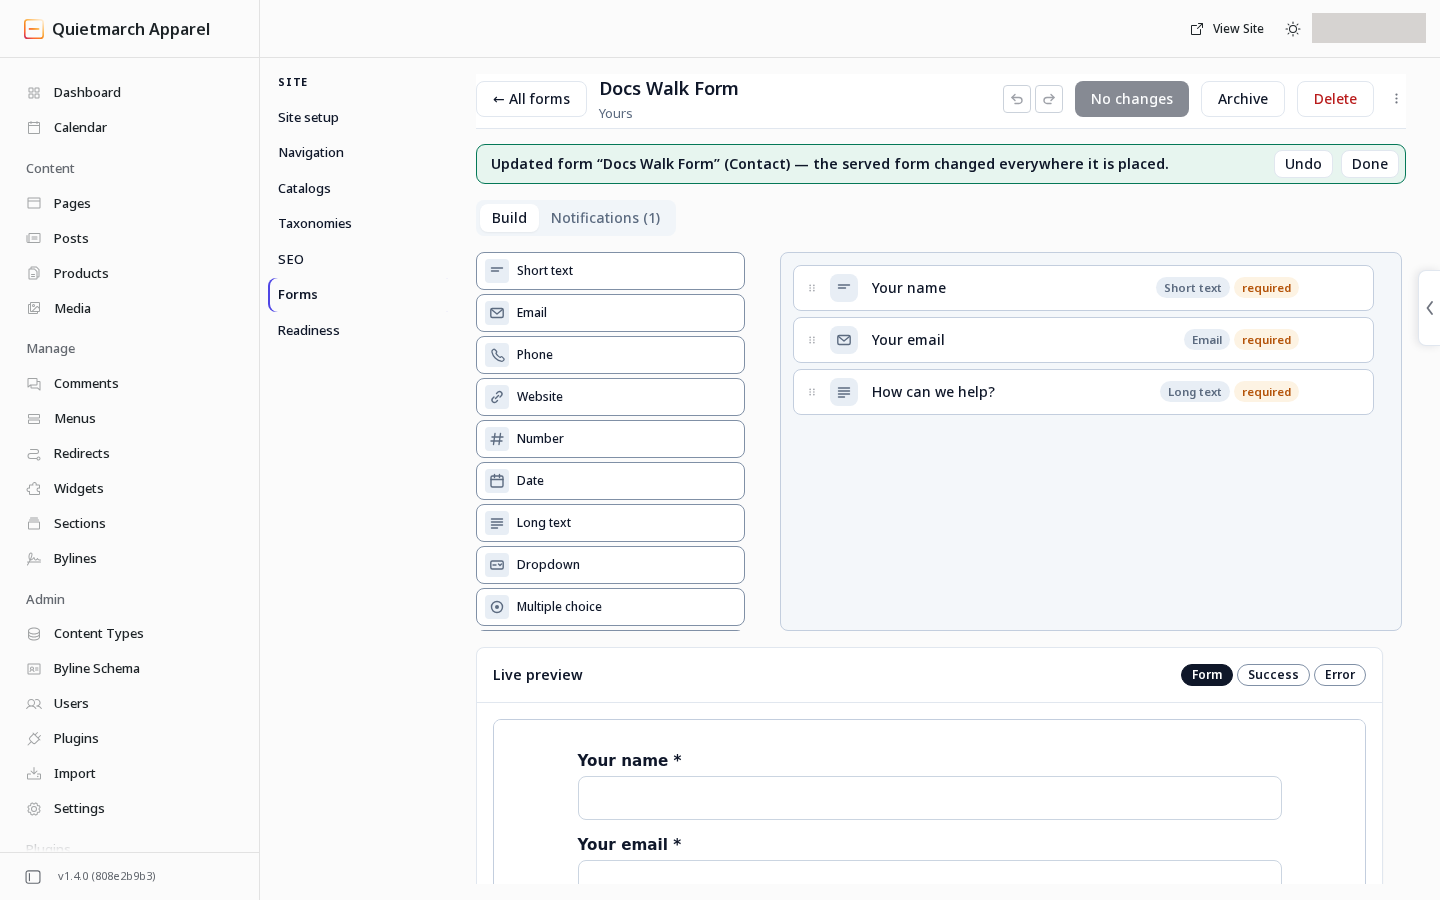
The renamed form is saved, with Undo on its receipt.
Starting with the copilot opens your request in chat. Send it there, then review the resulting form in the builder.
A form created in chat does not save any email address you type. To add one, ask the copilot afterwards and read the recipients on its Update this form? card before choosing Update form. An existing Site admin recipient can remain. If chat adds an address you did not write in the conversation, the approval card flags it for you to check. Your own Create form click in the builder still saves the recipients you enter.
A saved form is shared by its placements. Saving an existing form updates it for every placement, including published pages. Visitors see the change within the hour, usually much sooner. While the site’s server is down, visitors may see the previous version of a page for up to a day. It does not wait for a page to be published. The receipt offers Undo to restore the previous version.
Place it on a page
Section titled “Place it on a page”If a page request makes a new form, its receipt names it and its Activity record names it too. Find it under Forms. It emails nobody until you choose recipients. A reused form keeps its saved recipients; read the plan and receipt for the form being placed.
- Open the page in the Composer.
- Follow Add and arrange content to add a Form section.
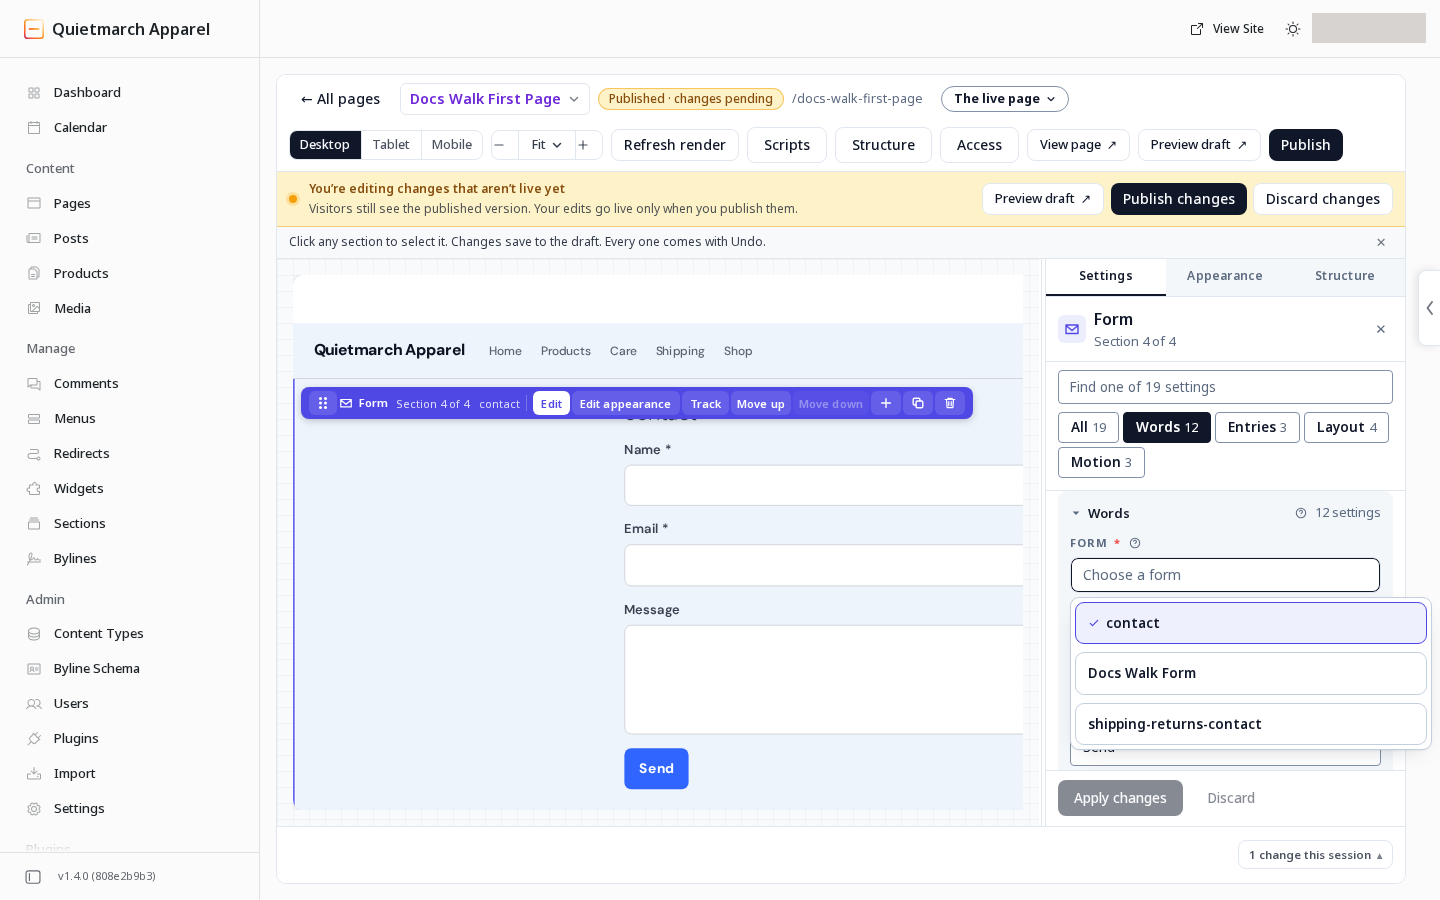
- In Settings, select the saved form by name in its Form picker.
- Choose Apply changes.
- Choose Preview draft on a published page, or Open preview on a draft.
- Follow Review and publish to publish it through the page’s approval card.
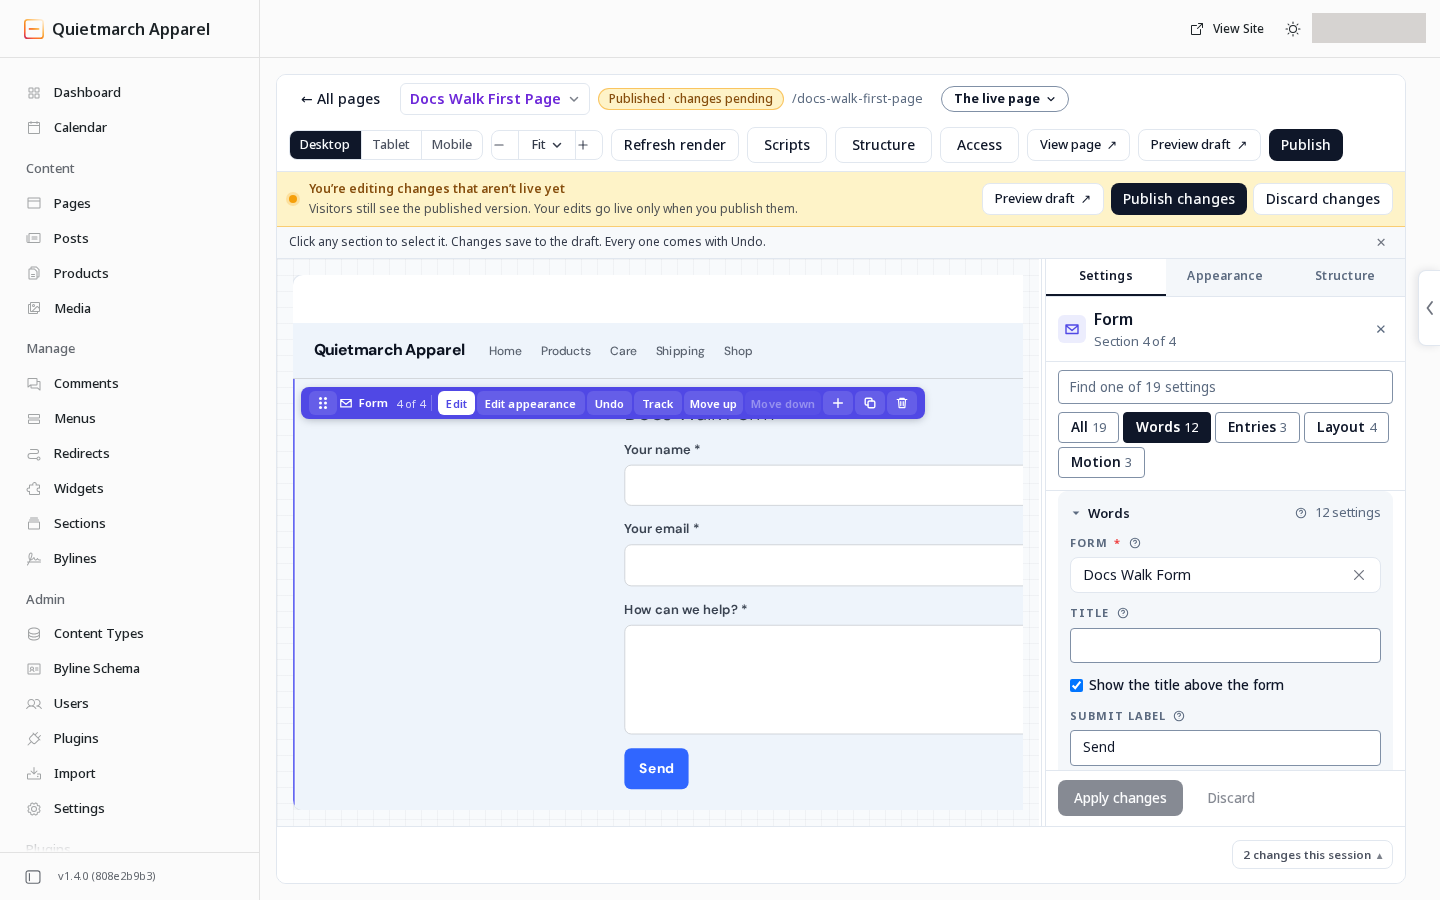
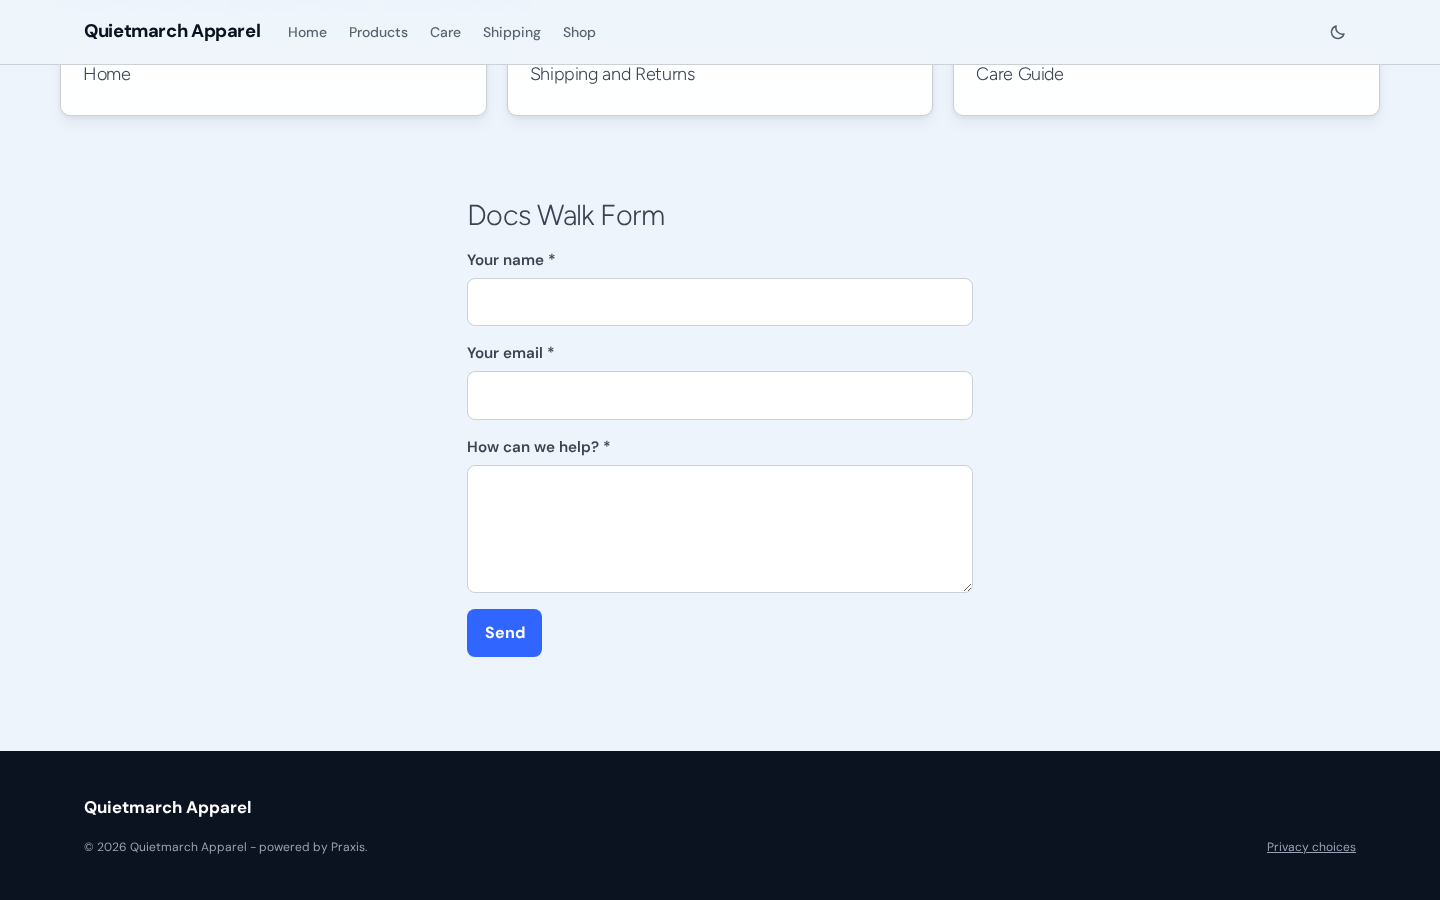
Visitors can enter their name, email and message, then use the Send button.
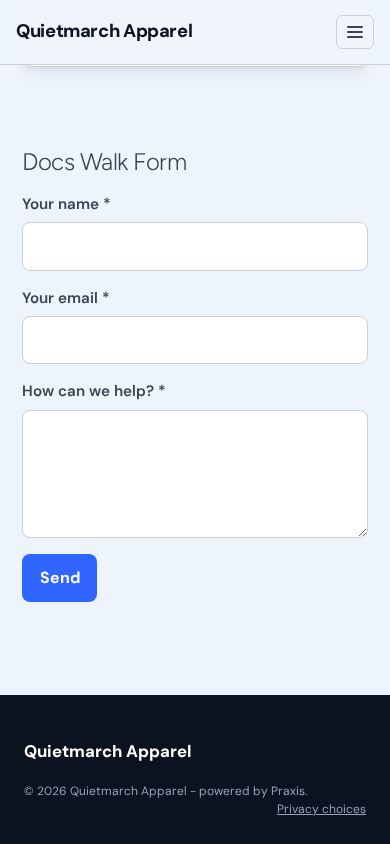
The same fields and Send button fit in one column at phone width.
The form editor’s Placements section helps you find where the form is used.
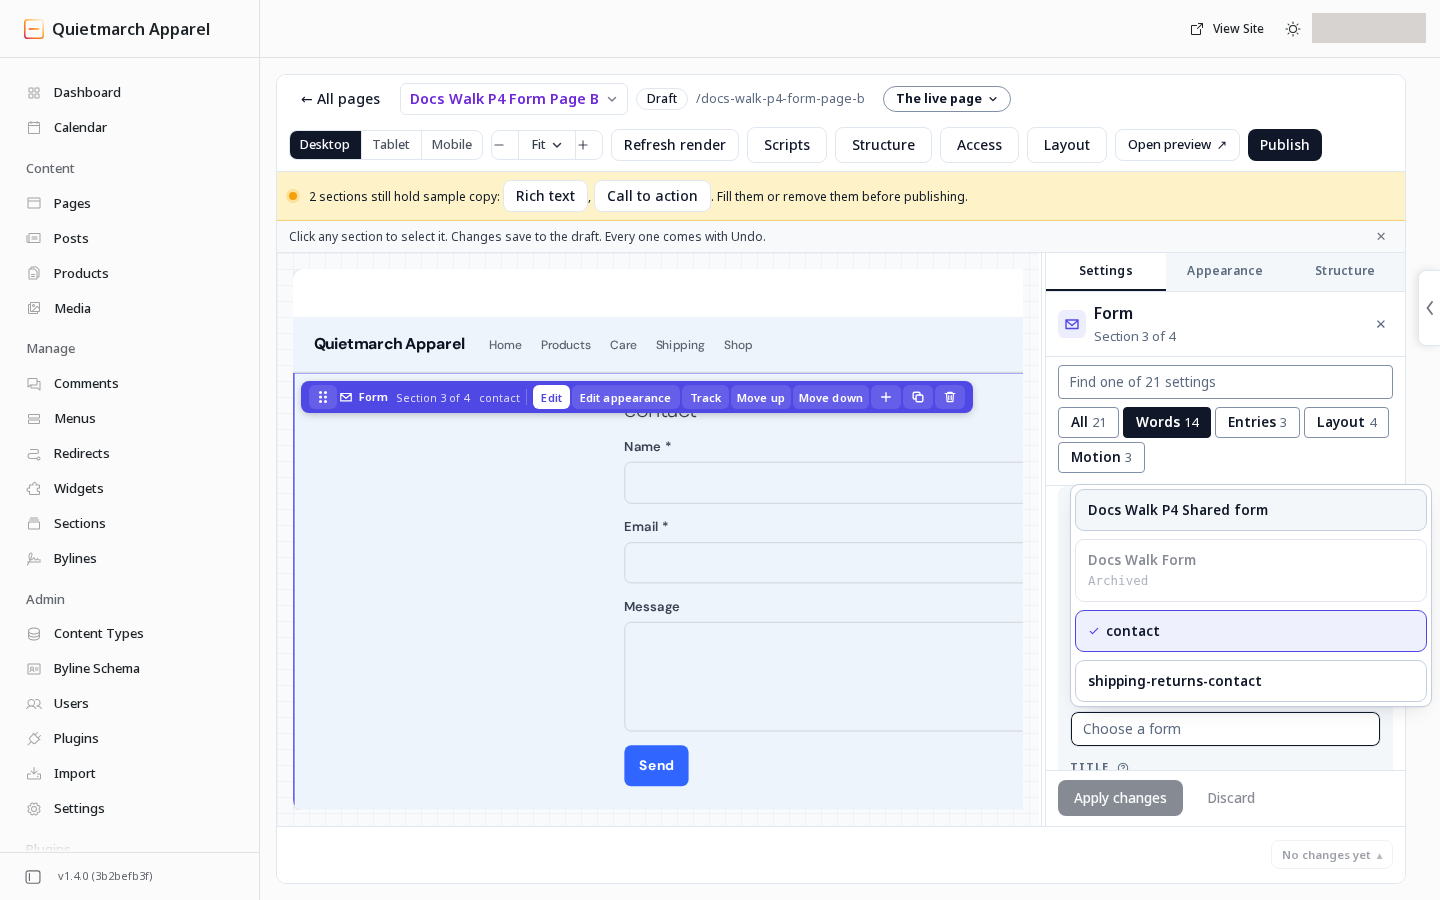
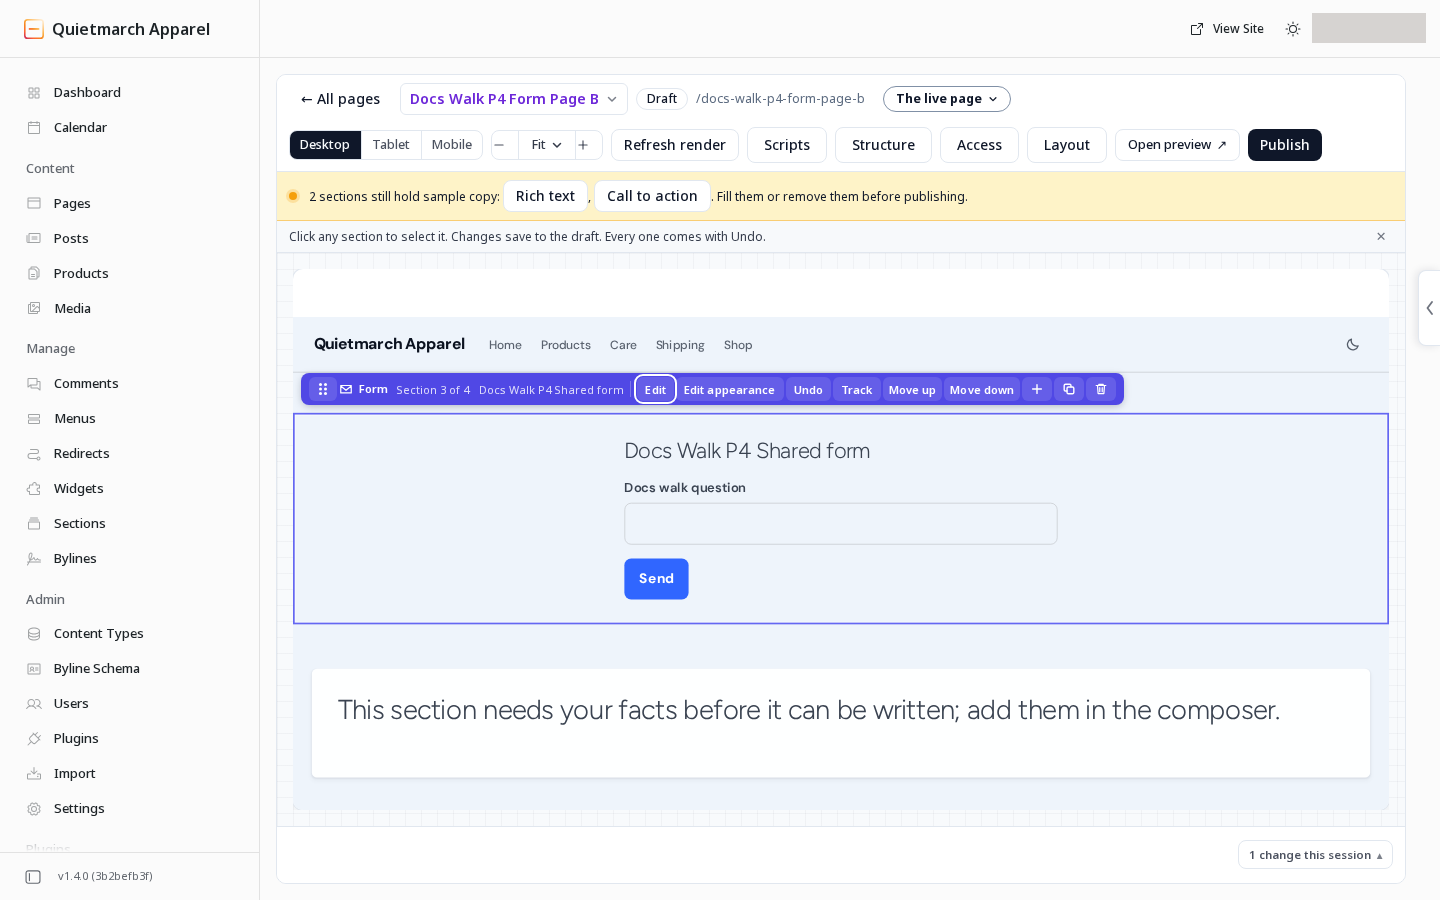
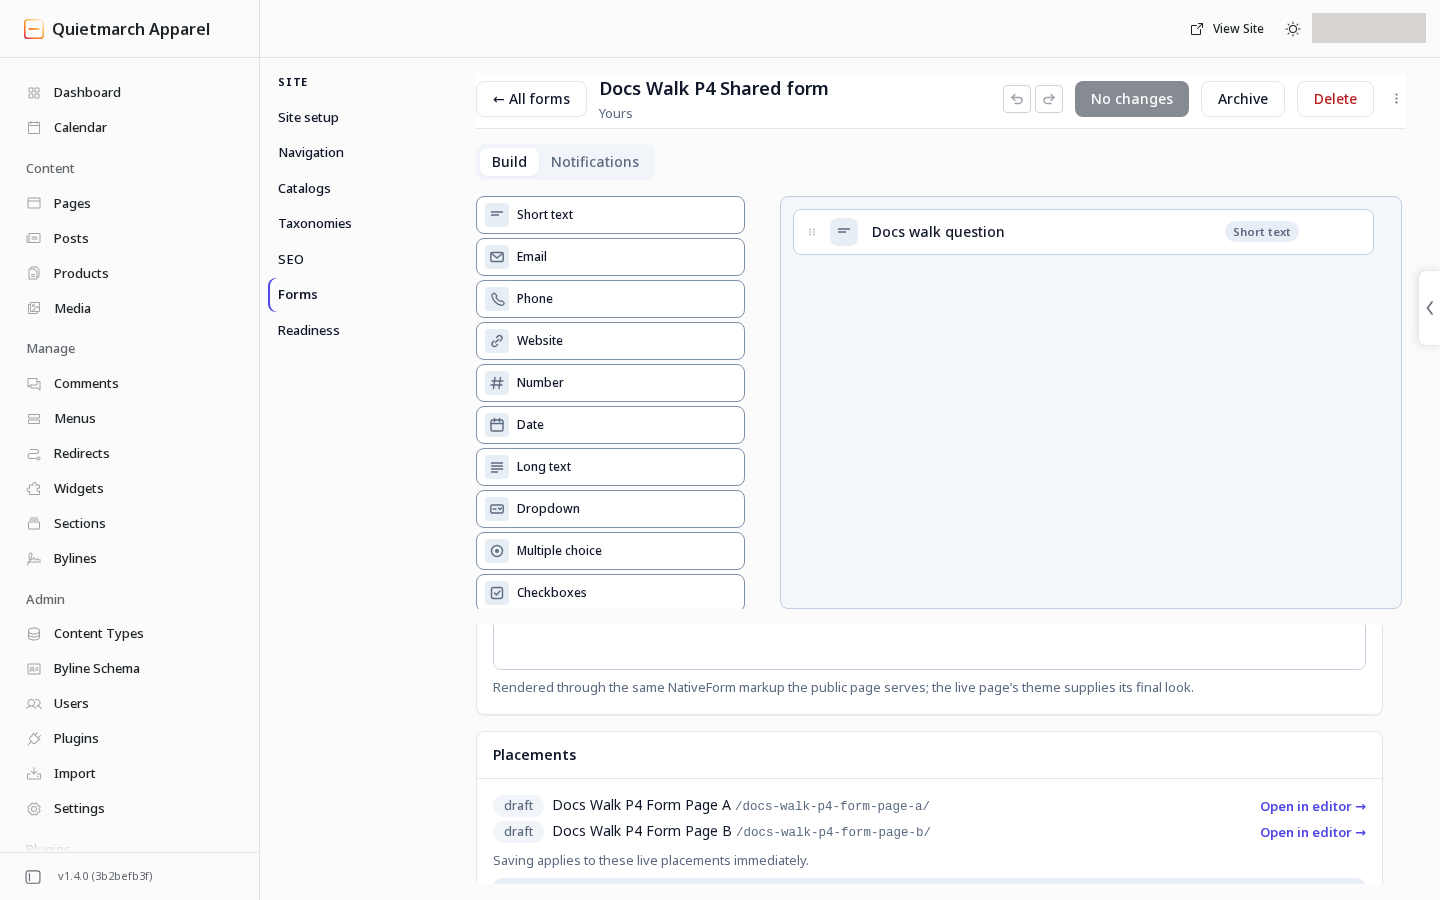
On a site that was not migrated, native forms can adjust field borders and keyboard focus marks for contrast using the theme’s form colours. An author’s painted borders, fills and overlays keep their own styling. Review the real page in each colour mode. The separate help-text and notice adjustments on sites that were not migrated still have their own scope.
Send your first test reply
Section titled “Send your first test reply”Before submitting, review spam protection and notification recipients. A received submission can send email to those saved recipients.
On a site marked as a demo, public test replies are refused. Sign in as a team member of that site to test its form.
- Open the published page. In the Composer, choose View page.
- Fill in the required fields with your own test answers.
- Choose the form’s submit button. Its words are the Submit button label you saved.
- Read the success or error message. Correct any validation error before trying again.
Then return to the admin and read the reply. Check its status in the inbox; a success message alone does not show you whether spam protection marked it as received, spam or unverified.
Read replies
Section titled “Read replies”- Return to Site > Forms in the admin.
- Open Submissions.
- Choose a form.
- Use the status filter to inspect Received, Spam or Unverified entries.
- Open a row to read its submitted fields.
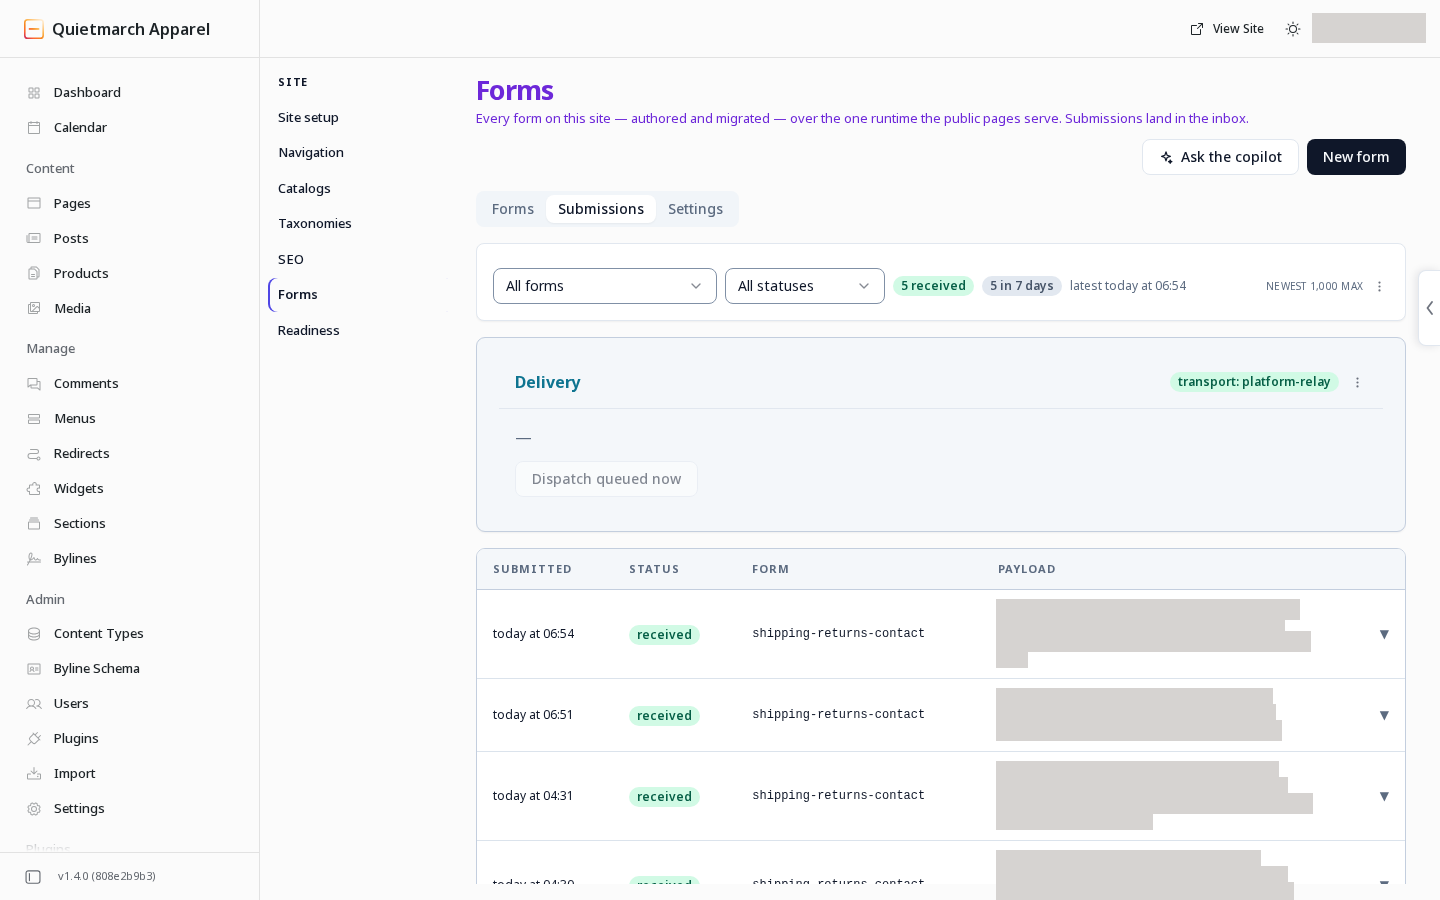
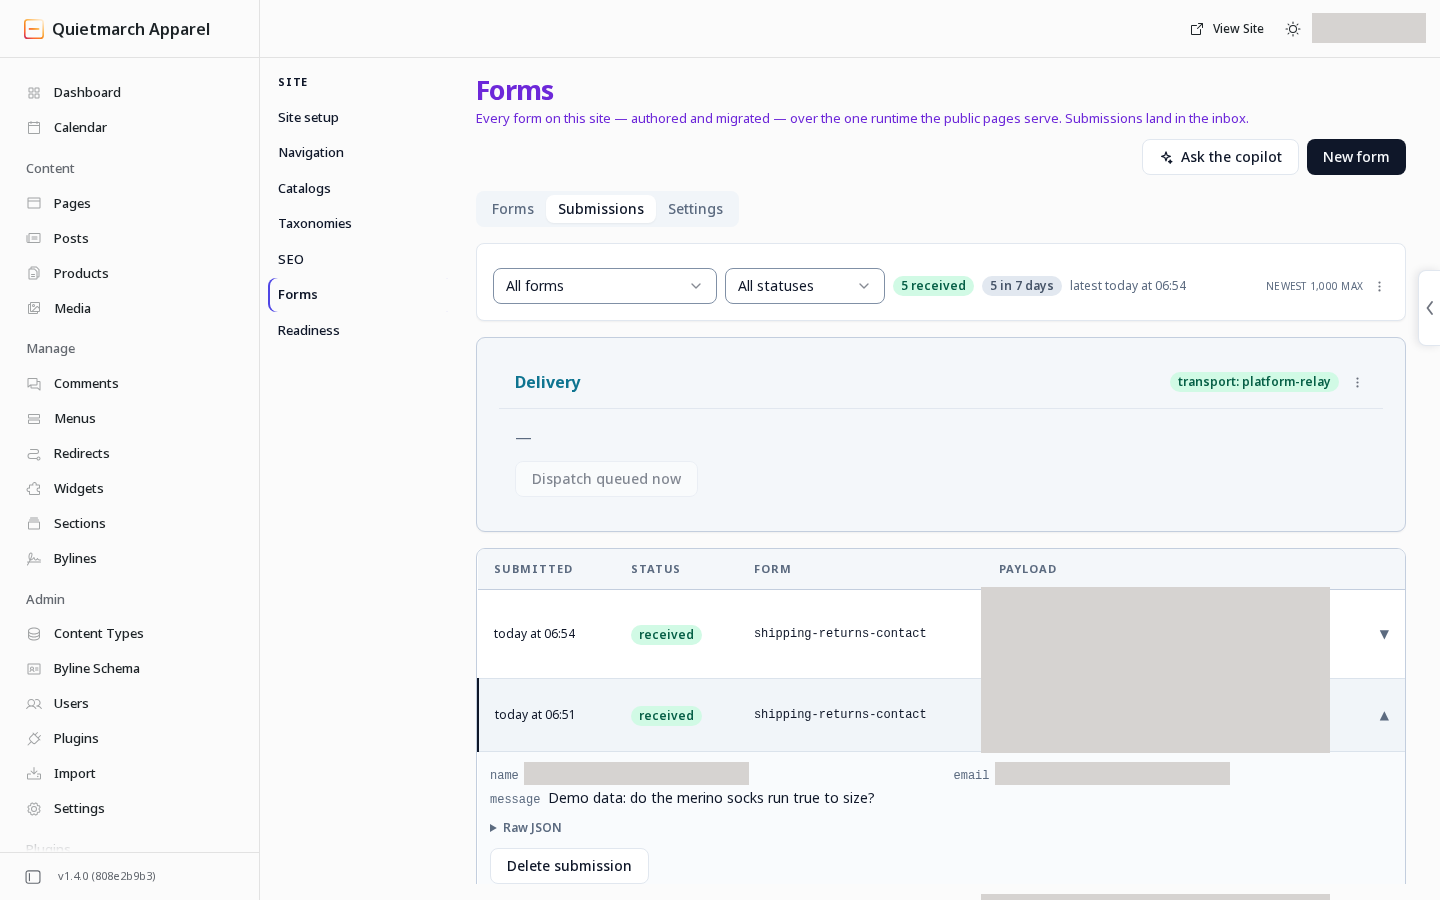
An entry being stored is separate from an email being sent. Check the inbox when you need to know whether a reply arrived.
Spam entries are deleted automatically after 30 days. Delete submission erases an entry permanently once you confirm it, and it cannot be undone.
The inbox also offers export actions for its selected scope. Access to submissions depends on your permissions.
Export form replies
Section titled “Export form replies”Use an Admin account with permission to read submissions. The copilot can prepare a CSV download without putting visitors’ submitted answers into the conversation.
- Open Copilot.
- Ask “Prepare a CSV download of replies to [form name]”. Name a status if you want only received, spam or unverified entries.
- Choose Send. The answer gives a download address, the chosen scope and a limit of 1,000 entries.
- Open that address while signed in to the same site. The server checks your access again before downloading the file.
The file contains the newest 1,000 matching entries at most. It is not a complete export when more entries match. Preparing or opening this download does not erase replies and has no Undo. Once downloaded, the file is outside the site’s access controls; keep it somewhere appropriate for its contents.
See Export a form’s submissions.
Archive a form without losing replies
Section titled “Archive a form without losing replies”Use Archive when a saved form should stop accepting replies. Archiving does not erase existing replies. The form keeps its placements, so archiving does not remove its section from a page.
- Open Site > Forms, then the Forms tab. The list includes archived forms.
- Open the form by its name. Its editor opens.
- Choose Archive. The card asks Archive this form? and names the effect on its placements.
- Choose Archive form to confirm. The editor marks the form archived; new submissions are refused.
Use the receipt’s Undo to reverse that archive. To reopen it later, open the archived form and choose Unarchive. It can accept submissions at its existing placements again, subject to the site’s usual checks. Unarchive runs without another approval card and has its own receipt Undo.
You can also ask the copilot to “Archive [form name]” or “Restore the archived form [form name]”. Forms and replies records each request’s approval and Undo.
Delete a form definition
Section titled “Delete a form definition”Editors and Admins can delete a form’s definition. Prefer Archive above if you only want to stop replies. Deleting the definition stops submissions from pages that still carry it; stored replies and their notification records remain.
A form that unlocks a PDF must first have that gate removed through a separately approved form update. Deleting the definition does not erase personal data in its replies. For that, use the permanent Delete submission action described under Read replies.
Use the form editor
Section titled “Use the form editor”- Open the saved form from the Forms tab in Site > Forms.
- Choose Delete in the form editor.
- Read Delete this form?, including its placements.
- Choose Delete form if those placements should stop accepting replies.
- Read the confirmation that the definition was deleted. Its Undo button restores the definition.
Ask the copilot
Section titled “Ask the copilot”- Ask the copilot: “Delete the definition of [form name], keeping its stored replies.”
- Read Delete this form? and the named placements.
- Choose Delete form only if those placements should stop accepting replies.
- Read the receipt. Its Undo restores the full definition.
Set notification recipients
Section titled “Set notification recipients”- In the form editor, open Notifications.
- Choose Add notification.
- Add recipient email addresses, or select Site admin.
- If you selected Site admin, check the actual recipient address shown beside it.
- Edit Subject template.
- Edit Body template. The available field tokens are placeholders that insert the submitted answers. Leaving the body empty uses the submitted fields.
- Save the form.
- Choose Send test.
- Review the saved recipients. The test uses the saved notification and its saved recipients.
The email actions now prepare a recorded confirmation before sending. Read the card’s saved recipients and scope; cancelling leaves the proposed action unapplied.
- Choose Confirm: send test email only when you want to send that test.
If no notifications are configured, submissions can still appear in the inbox without anyone being emailed.
Check delivery
Section titled “Check delivery”Use Delivery in the Submissions tab to see the current sending state and recent notification records. A hosted site can use its connected sender or the platform’s email delivery service. If no sending path is available, the workspace says so.
- Choose Dispatch queued now.
- Review the confirmation before sending. Confirming sends the site’s queued notifications to their real recipients, and sent email cannot be recalled. The displayed count covers the selected form, but the send covers the site’s queue.
- Confirm only if you intend to send the site’s whole queue.
Limits. If no sender is available, nothing is sent and the queue stays as it was. If delivery remains unavailable, contact support and include the visible delivery message.
Only received entries queue notifications. Spam and unverified entries send no email.
Review spam protection
Section titled “Review spam protection”Use the workspace’s Settings tab for Spam protection. Review the challenge provider, the service used to check whether a submission comes from a person, and what happens when verification fails. A saved form can also use its own spam protection choice.
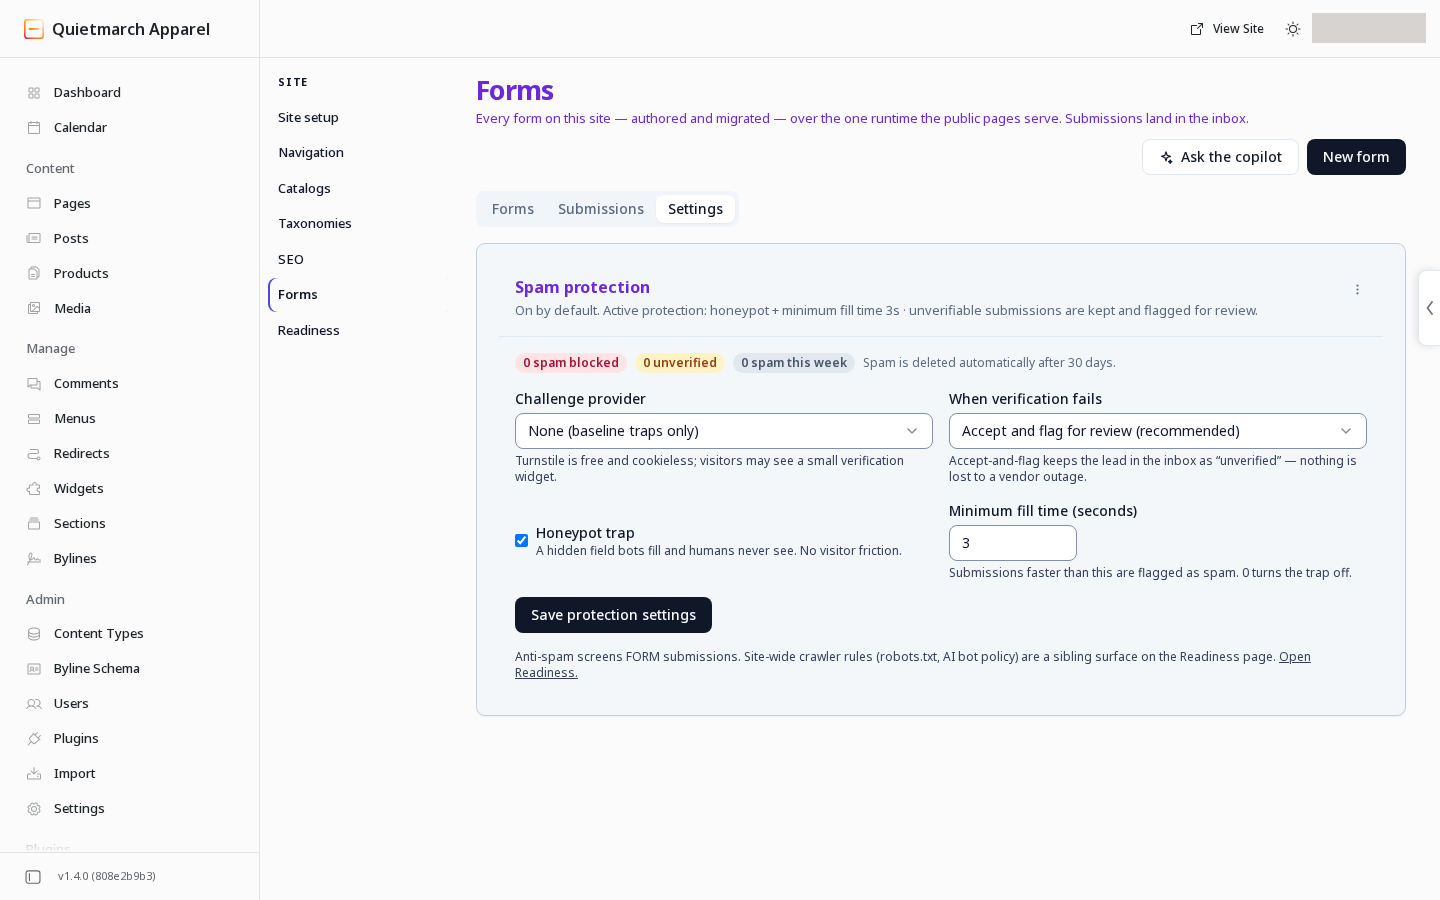
The pictured settings use no challenge provider and accept failed verification for review, which you should check before using the form.
Choose protection for one saved form
Section titled “Choose protection for one saved form”Save the form before choosing its own screening setting. This choice is available in an existing form’s editor, not while creating it.
- Open the saved form from Site > Forms.
- Open Build. In Form settings, find Spam protection.
- Choose Site setting, Always protect or Off for this form.
- Choose Save changes. Read the approval card’s changes.
- Confirm Update form only if the screening choice is the one you intend. The receipt confirms the saved update.
Site setting follows the site’s configured protection. Always protect currently uses that same configured protection; it does not add a missing challenge provider. Off for this form skips all spam screening for this form. Required fields and the other submission checks still apply.
Use the receipt’s Undo to restore the previous form definition. You can also choose the previous setting and save again. The copilot can make the same approved update: “Set spam protection for [form name] to [choice].” See Update a form definition.
Check these settings before relying on the form for real enquiries. After reviewing them, return to Send your first test reply, then check the notification’s delivery result and the receiving inbox.