Checked against the product’s code on 7 November 2026.
Learn how to start your first site, open Composer in the site admin and publish your first page after review.
Praxis is in private preview. You need an invitation to create an account. If you do not have one, Apply to the Lighthouse program.
Create your account
Section titled “Create your account”Read the Terms and Privacy Policy linked on the form before creating your account. The form says that creating an account accepts the Terms and acknowledges that you have read the Privacy Policy.
- To accept your invitation to create a site, open the link sent to you. It opens Create your site with Your email already filled in. The invitation is for that address.
- Fill in Organization name. Your organization is the account your sites belong to, and its name also makes your site’s address.
- Fill in Site name. This is the name shown in your account. You choose the name visitors see when you set up the site.
- Add Your name if you want to.
- Set a password of at least 12 characters.
- Leave Existing WordPress site empty for this tutorial.
- Review the selected Plan.
- Choose Create my site.
The receipt says Check your email to activate your account.
- Open the verification email.
- Follow its link.
Registration alone does not create a live site or activate billing.
If you are moving a WordPress site: if you enter an existing WordPress address, nothing is imported at sign up. After verification, Praxis asks you to connect that site or upload a WordPress export file, and shows what it can bring across before any import starts.
If the email has not arrived, check your spam folder, then choose Send the verification email again on the receipt. If the receipt’s status says the email could not be delivered, write to support.
Open your site
Section titled “Open your site”- Sign in to your account after verification.
- If the account shows Your site is waiting for payment, choose Pay now and start my site. The site starts building once the payment is confirmed.
- In Your sites, select your site.
- Wait for the site to become available.
- Choose Open admin.
While activation is pending: Open admin stays unavailable and the account explains the next step. Payment is needed only if your selected plan requires it.
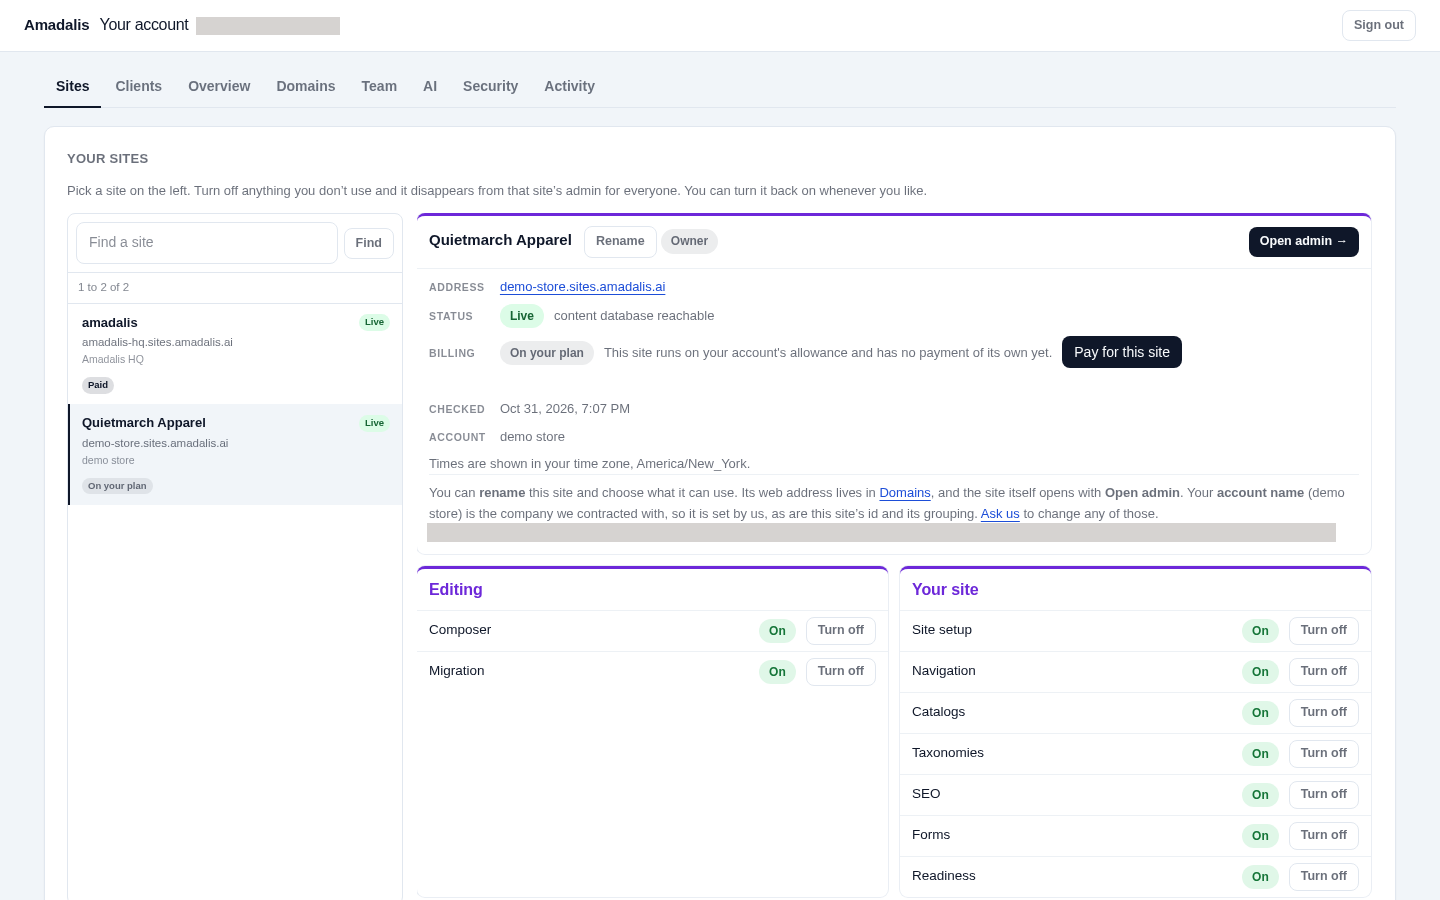
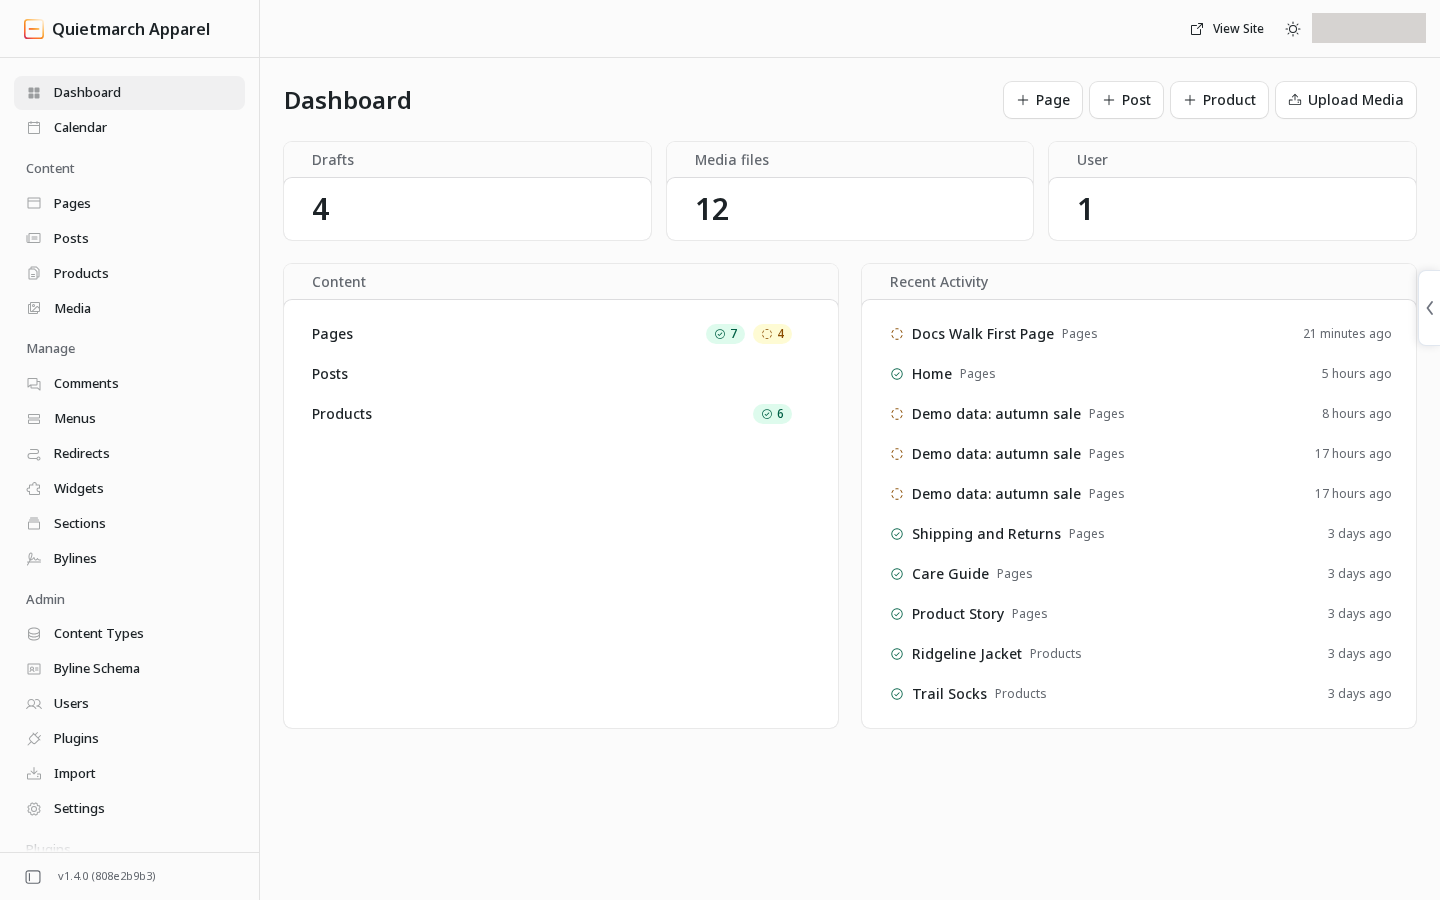
The admin includes EmDash’s content screens, such as Pages and Media. Praxis adds workspaces including Composer, Copilot and Site.
Create a page
Section titled “Create a page”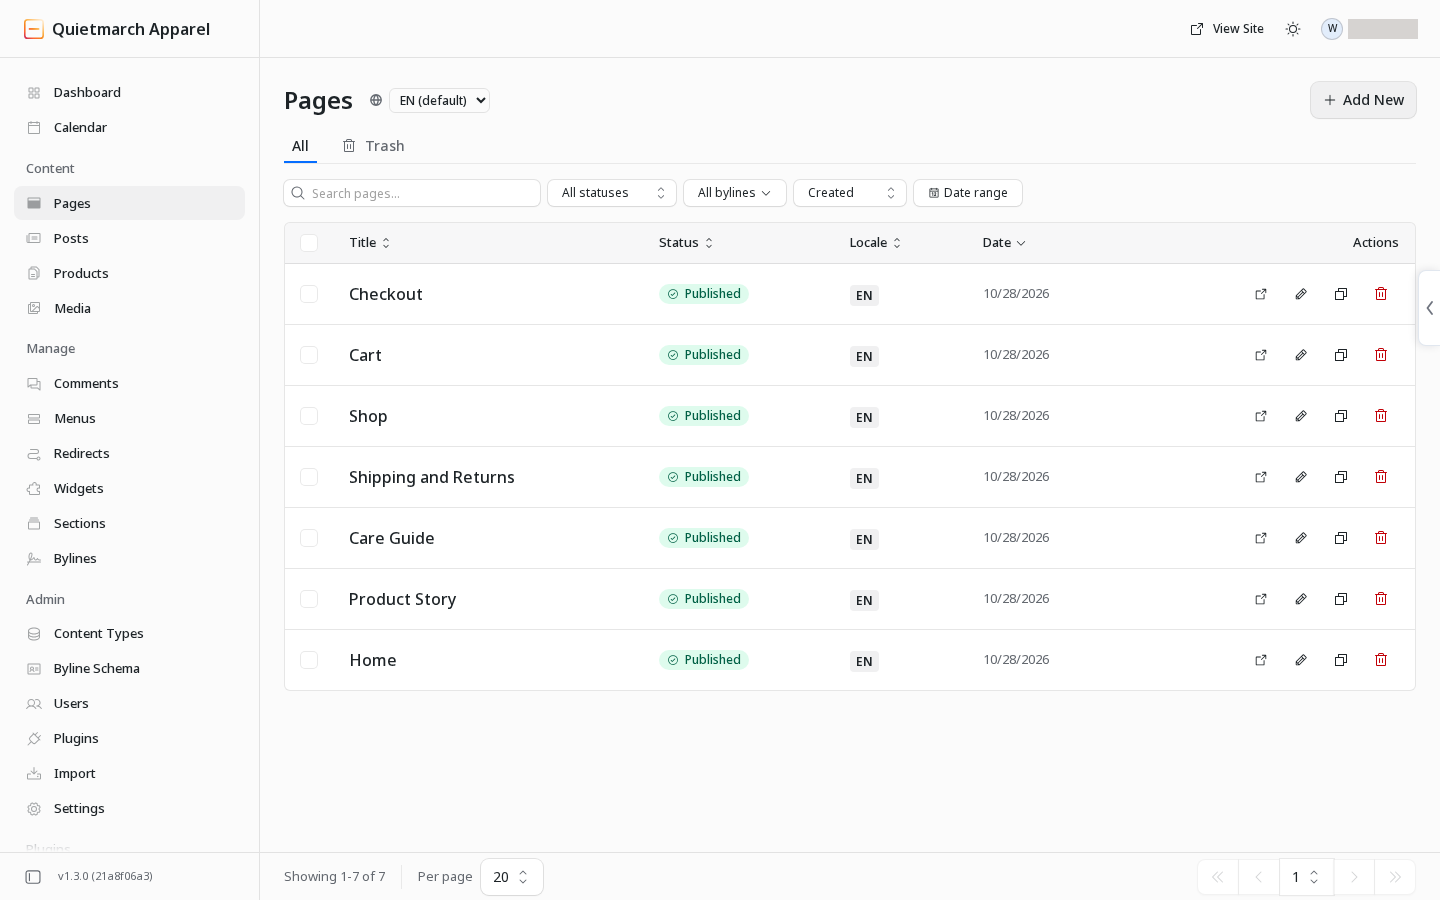
-
Open Composer.
-
Choose New page.
-
Enter a Title, such as “About our studio”.
-
Choose a Page type from the gallery. Filtering is optional.
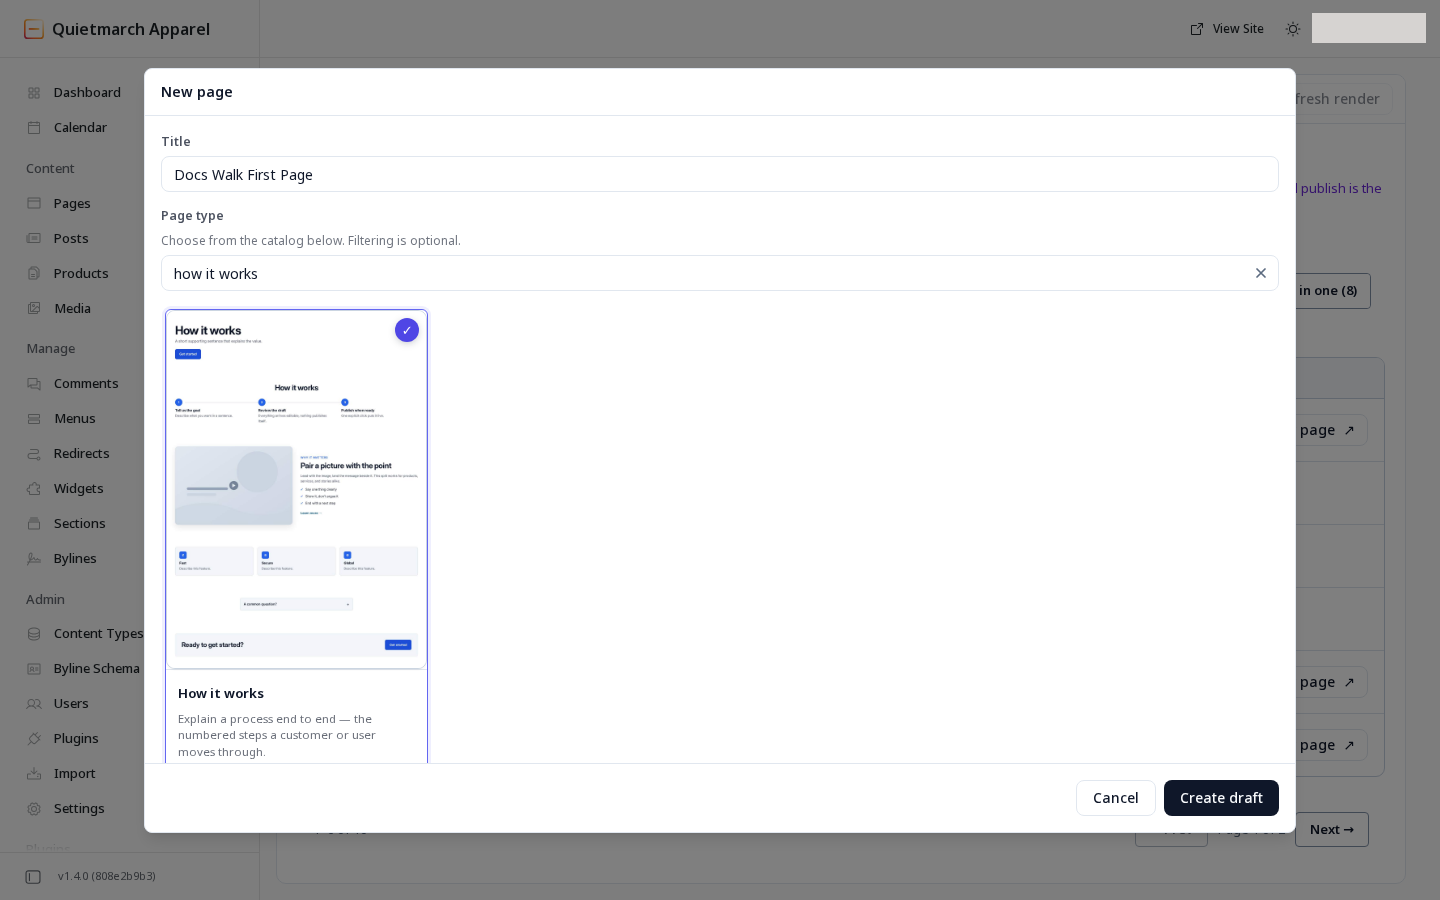
Add New opens the Composer's New page dialog: give the page a title and choose its page type. -
Choose Create draft.
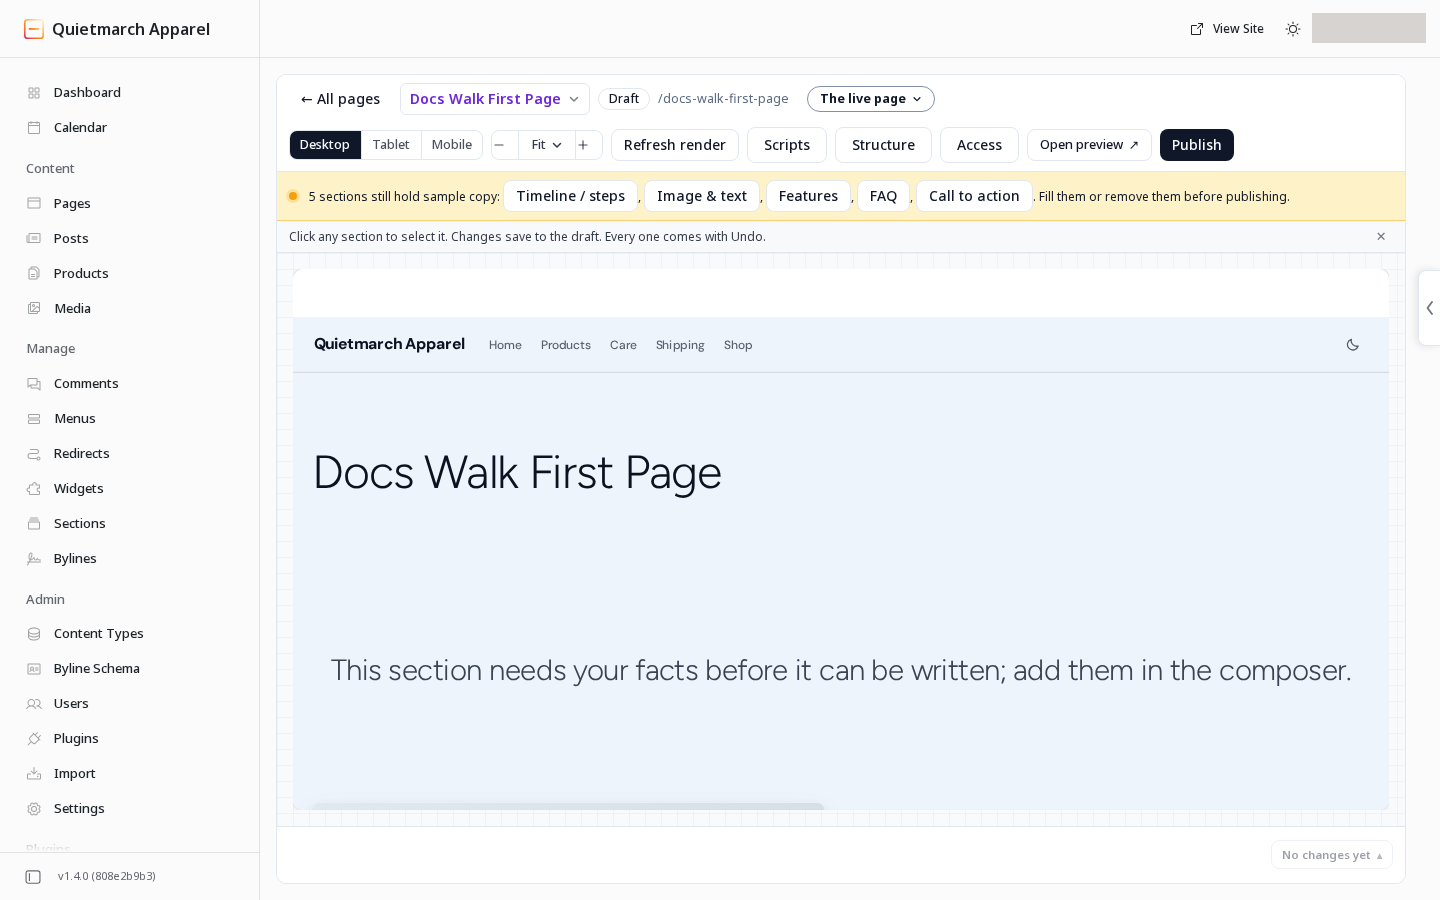
Your page opens with the selected type’s starter sections. It is a draft. Visitors cannot see it yet.
Make it yours
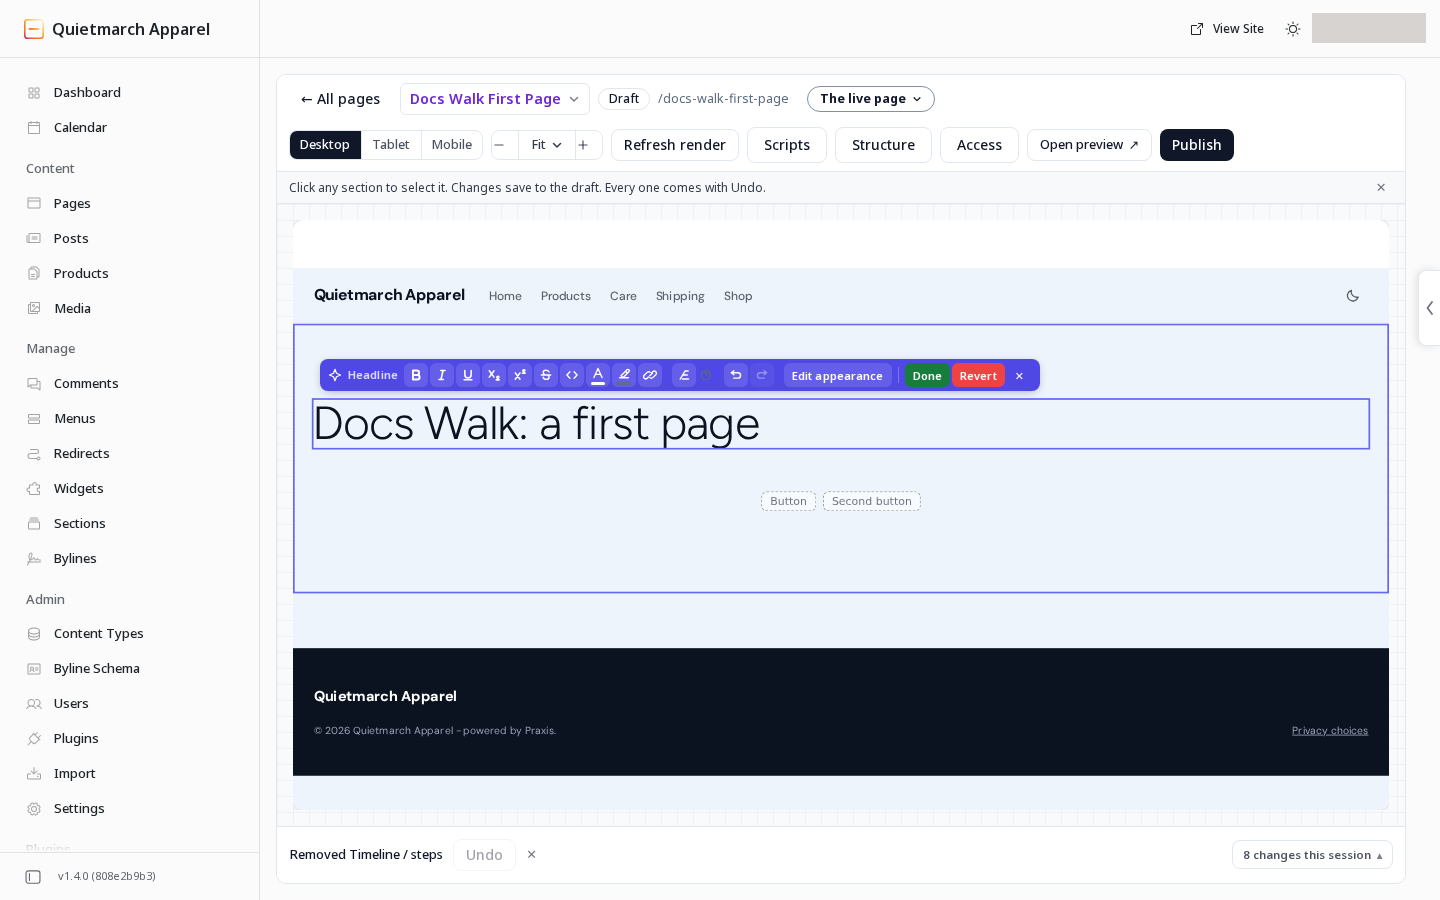
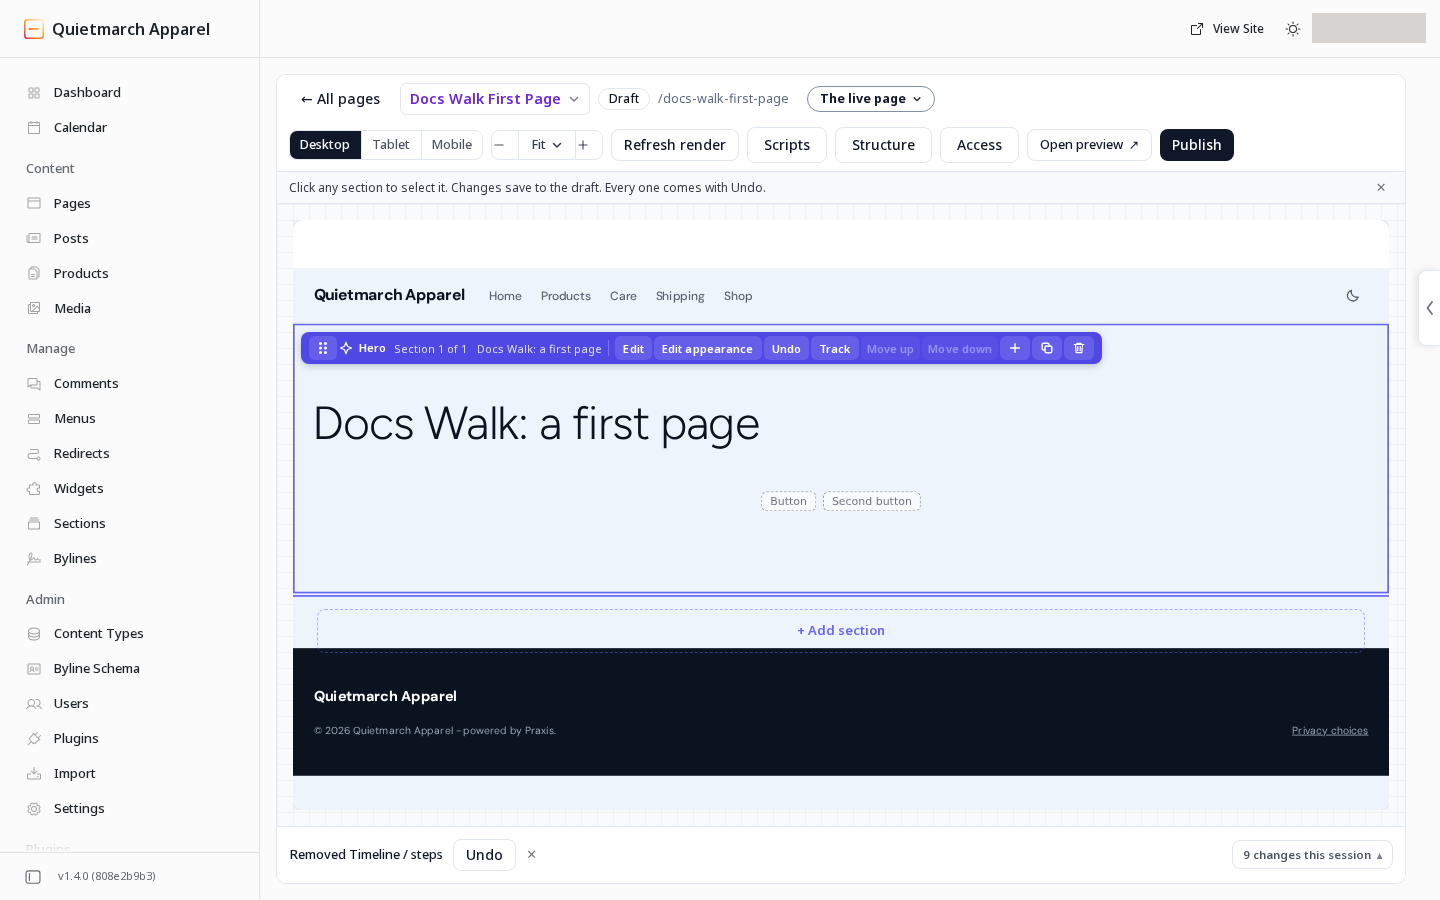
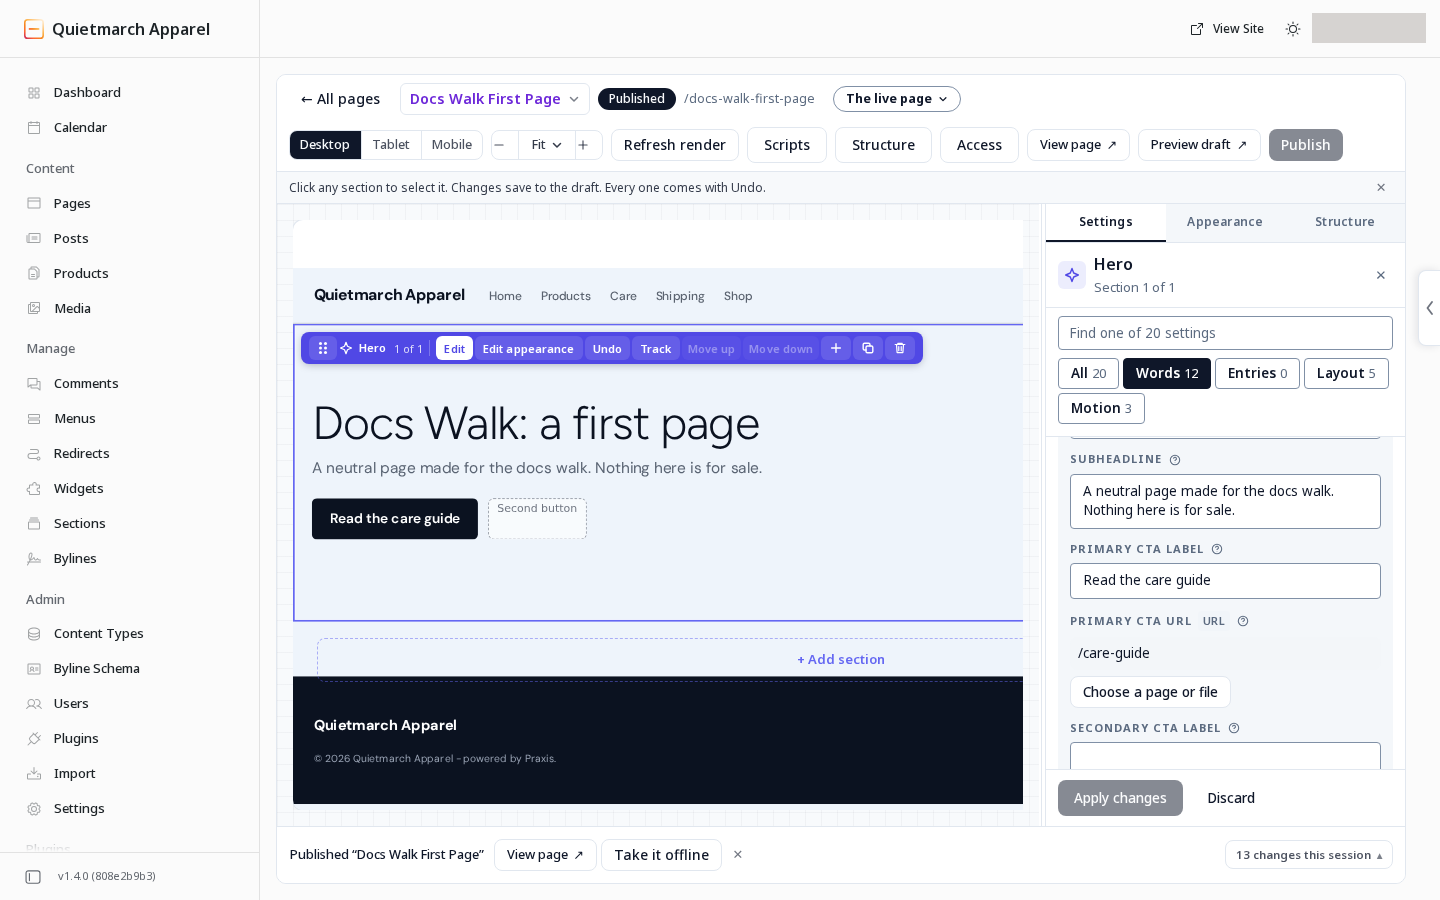
Section titled “Make it yours”- Click a section to select it.
- Where Edit text is offered, choose it or double click the words.
- Change the words on the page.
- Press Escape to apply that text edit to the draft.
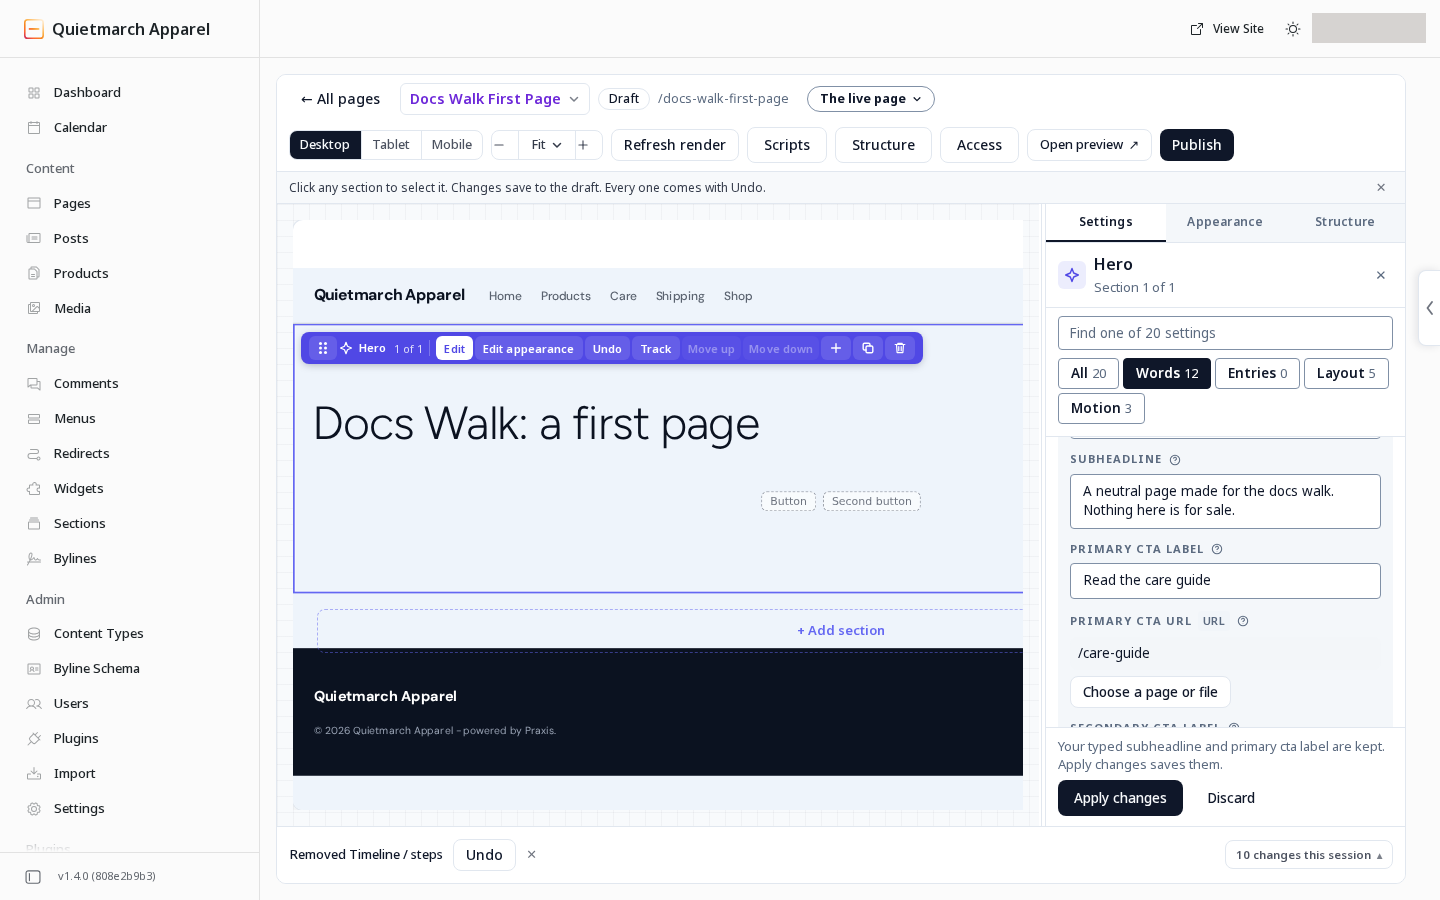
For other fields:
- Open Settings for the selected section.
- Change the field you need, such as a button’s destination.
- Choose Apply changes.
Replace sample text, check images and give each button a real destination. Use Structure to find a section that is hard to select on the canvas.
- Check the preview at desktop width.
- Check it at tablet width.
- Check it at phone width.
- Choose Open preview to review the draft in its own tab.
If you prefer to start with a request, Describe it to the Copilot opens the same page creation work through the copilot. Give it the facts the page needs. See The copilot.
Publish when you are ready
Section titled “Publish when you are ready”-
Choose Publish.
-
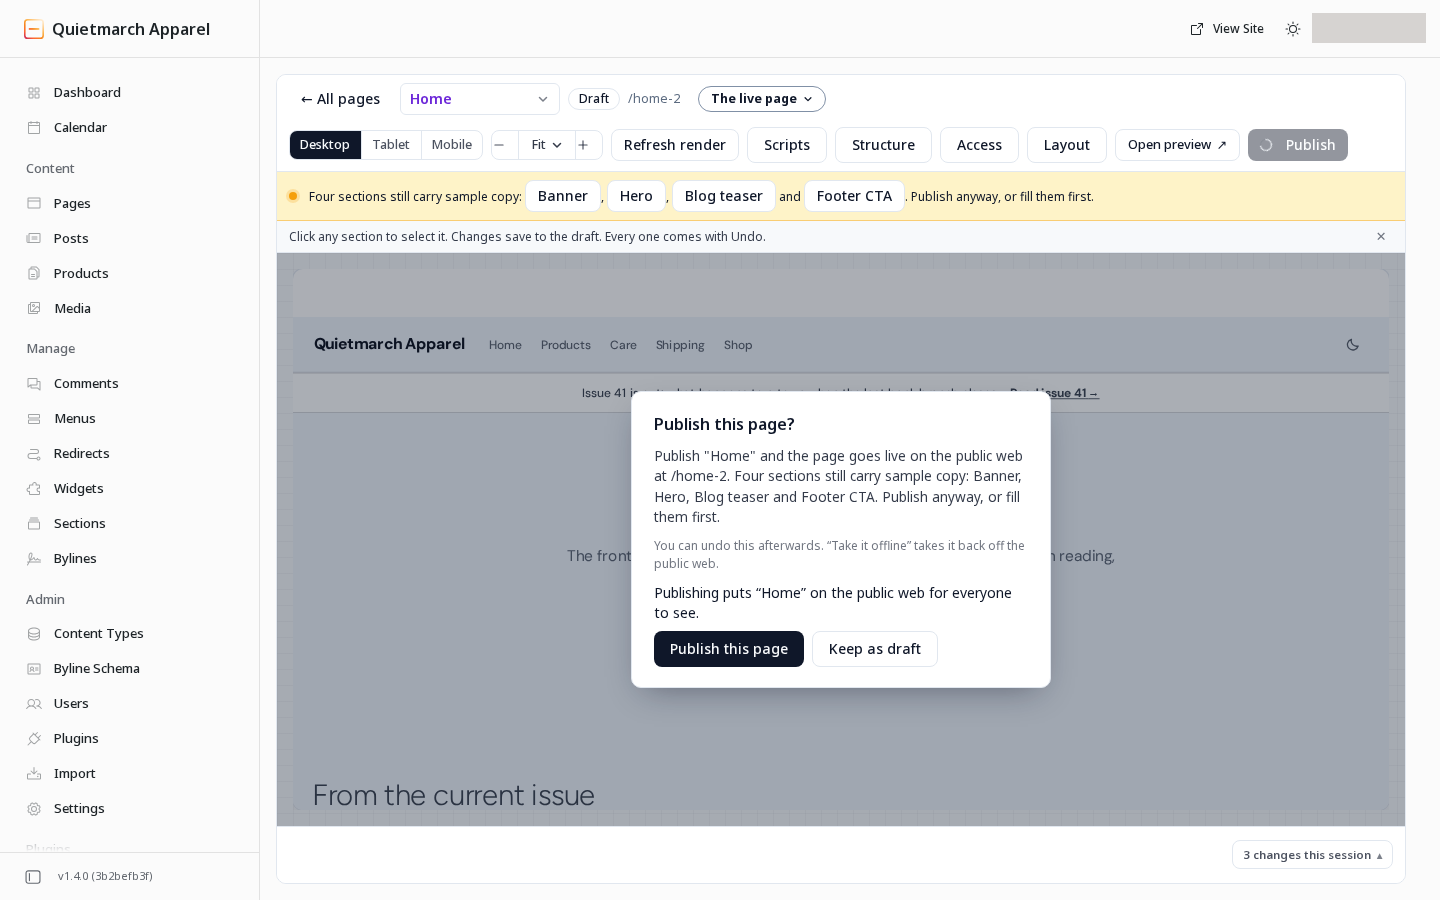
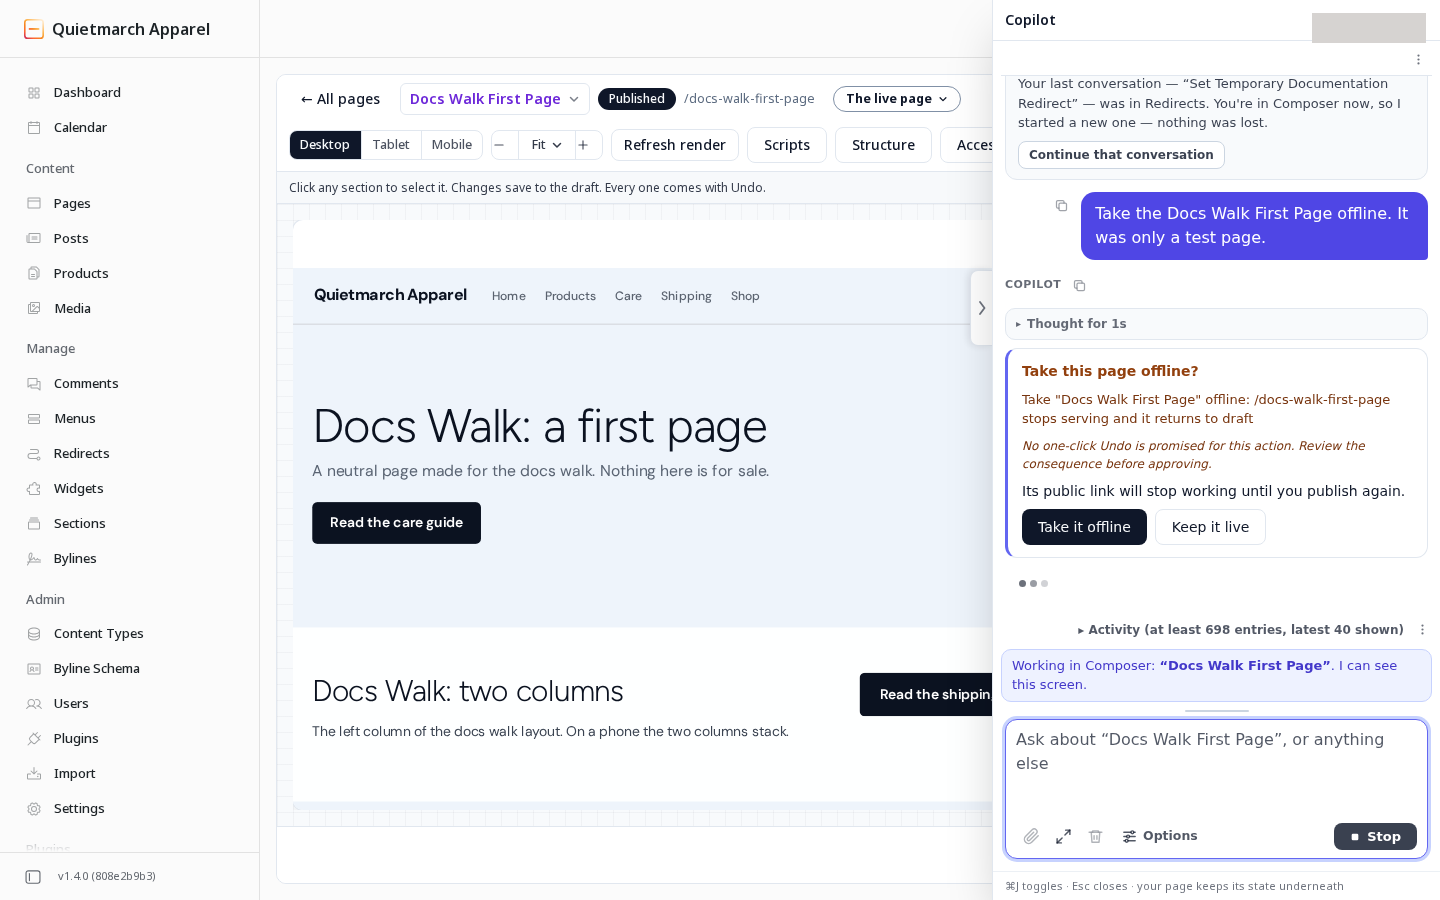
Review Publish this page? Check the page name, public address and any notes about the content.
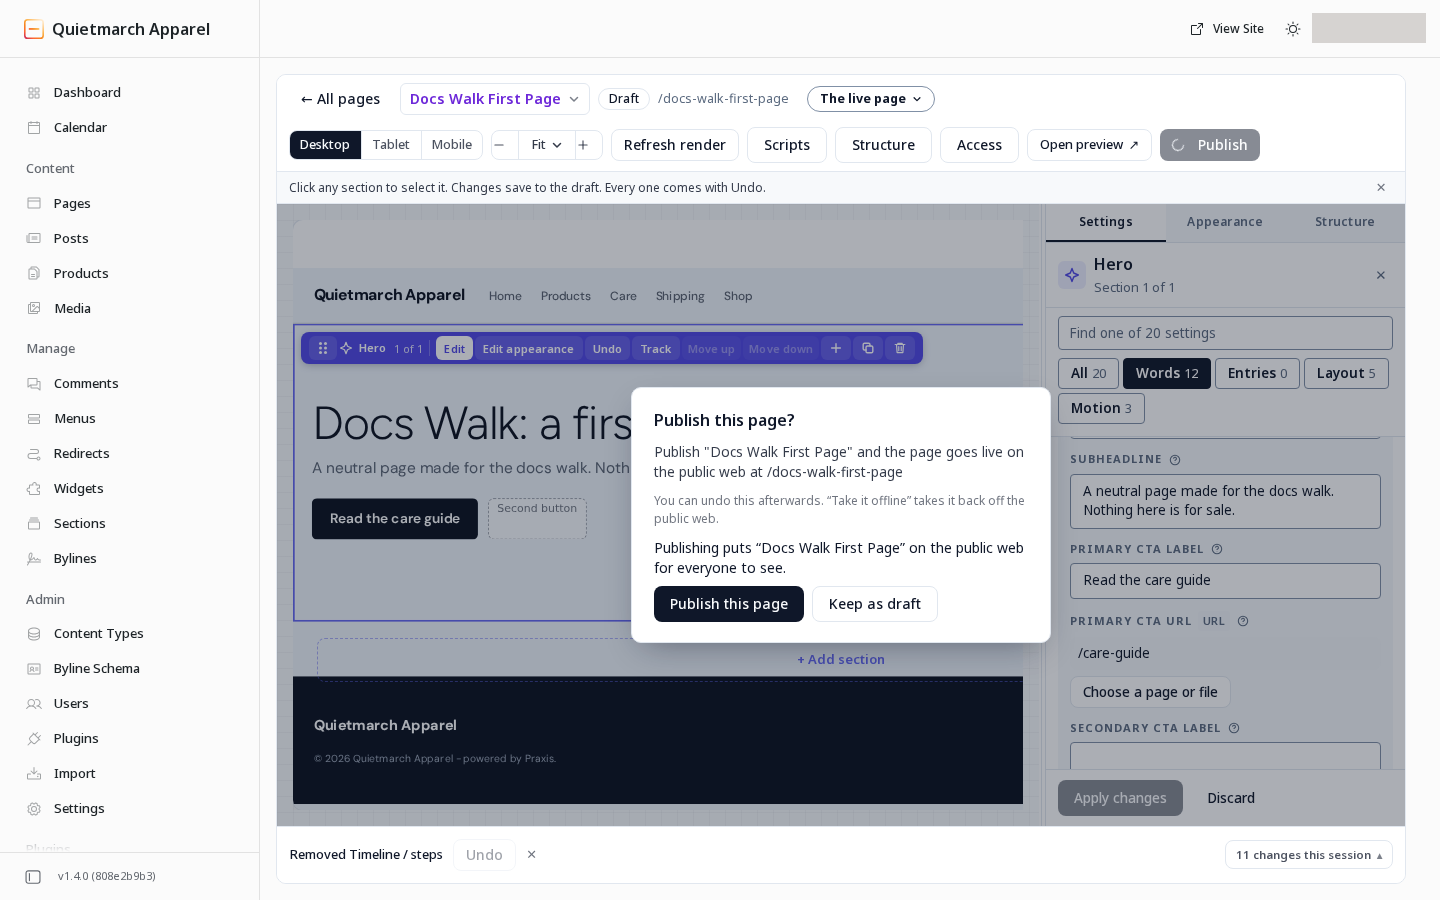
The approval card names the exact page and address before anything goes live. -
Choose Publish this page to make it public, or Keep as draft to leave it unpublished.
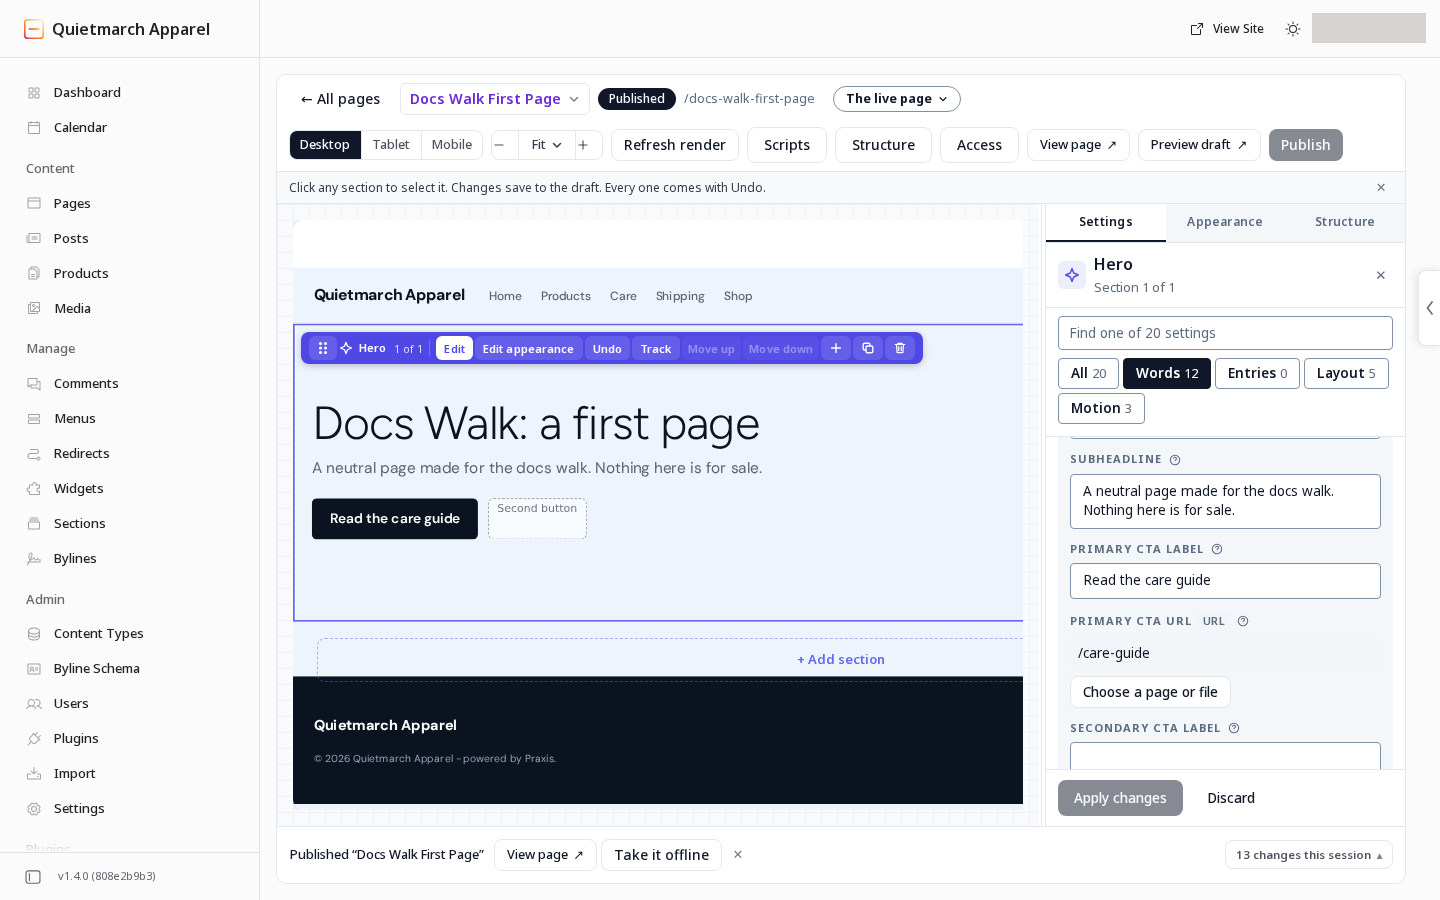
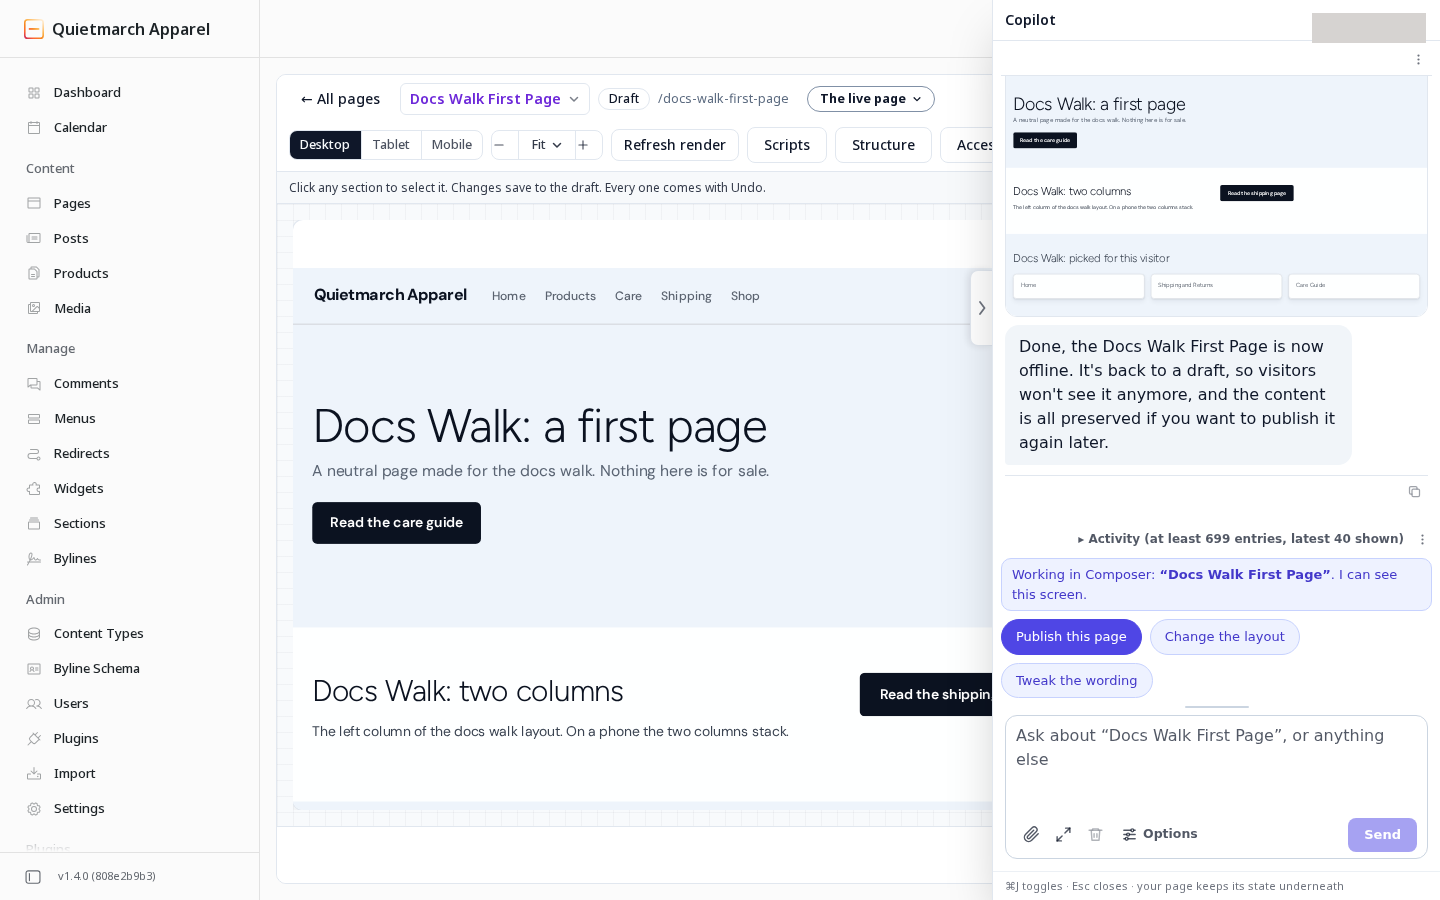
After approval the page is live, and the receipt offers to take it offline. -
After publication, choose View page to open the page at its own public address.
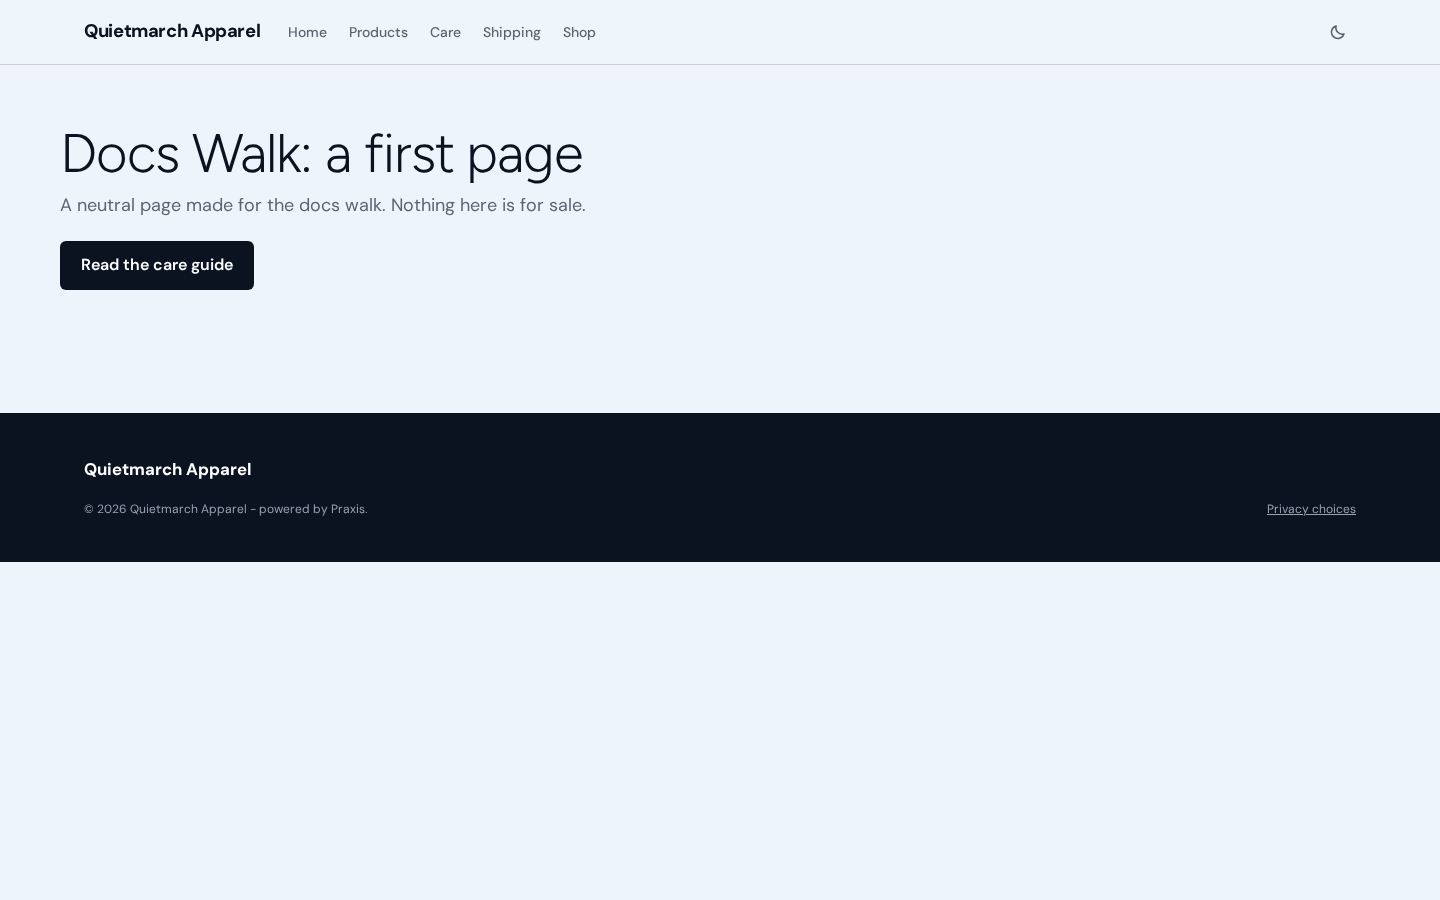
The published page at desktop width. The published page shows the heading “Docs Walk: a first page” and the button to read the care guide.
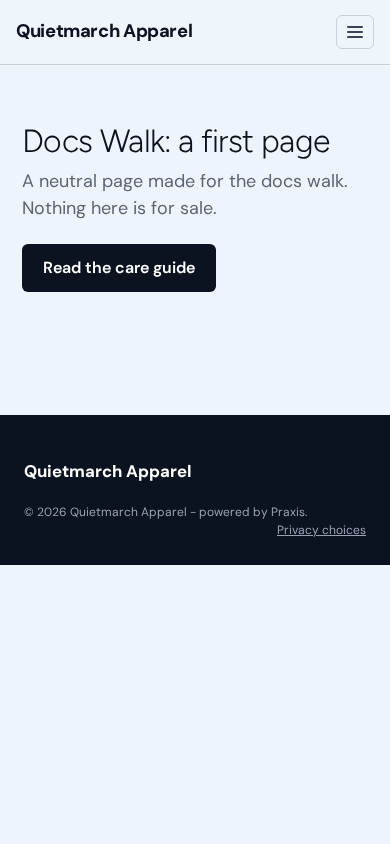
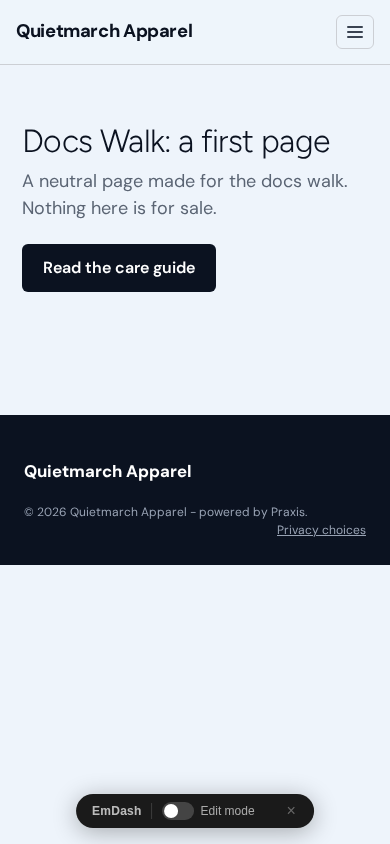
The same page on a phone. At phone width, the header has a menu button and the same page heading, introduction and care guide button fit below it.
If publishing is refused, read the named problem and correct it before trying again. For example, a section waiting for your facts or a button without a destination can prevent publication.
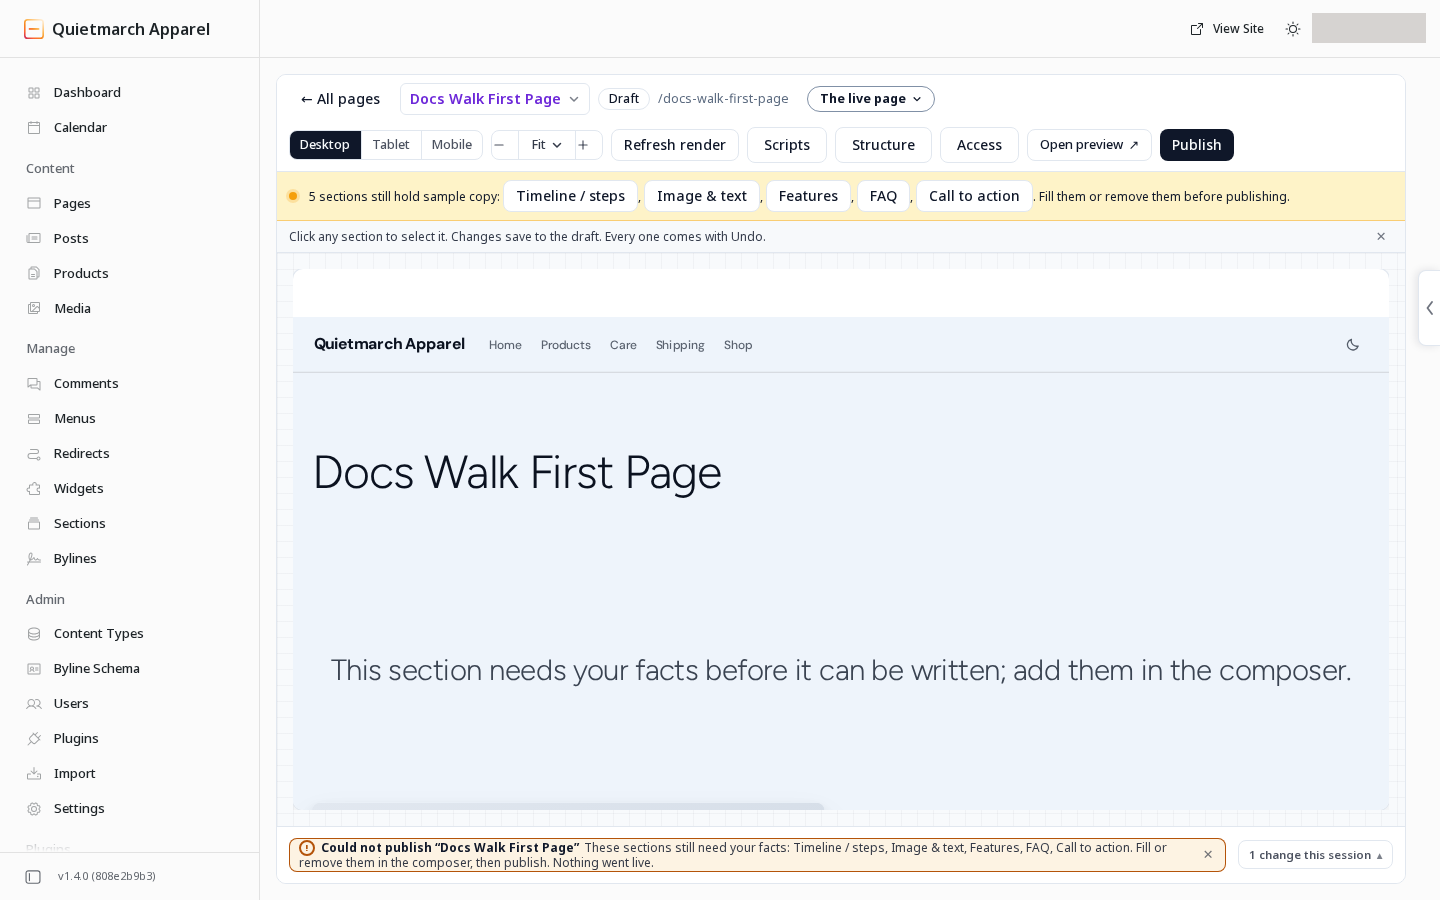
Example words and missing facts are different. The Composer names sections that need your facts separately. Fill those notes or remove those sections before publishing. Other sample words remain advisory: review them in the Composer and on the publish card.
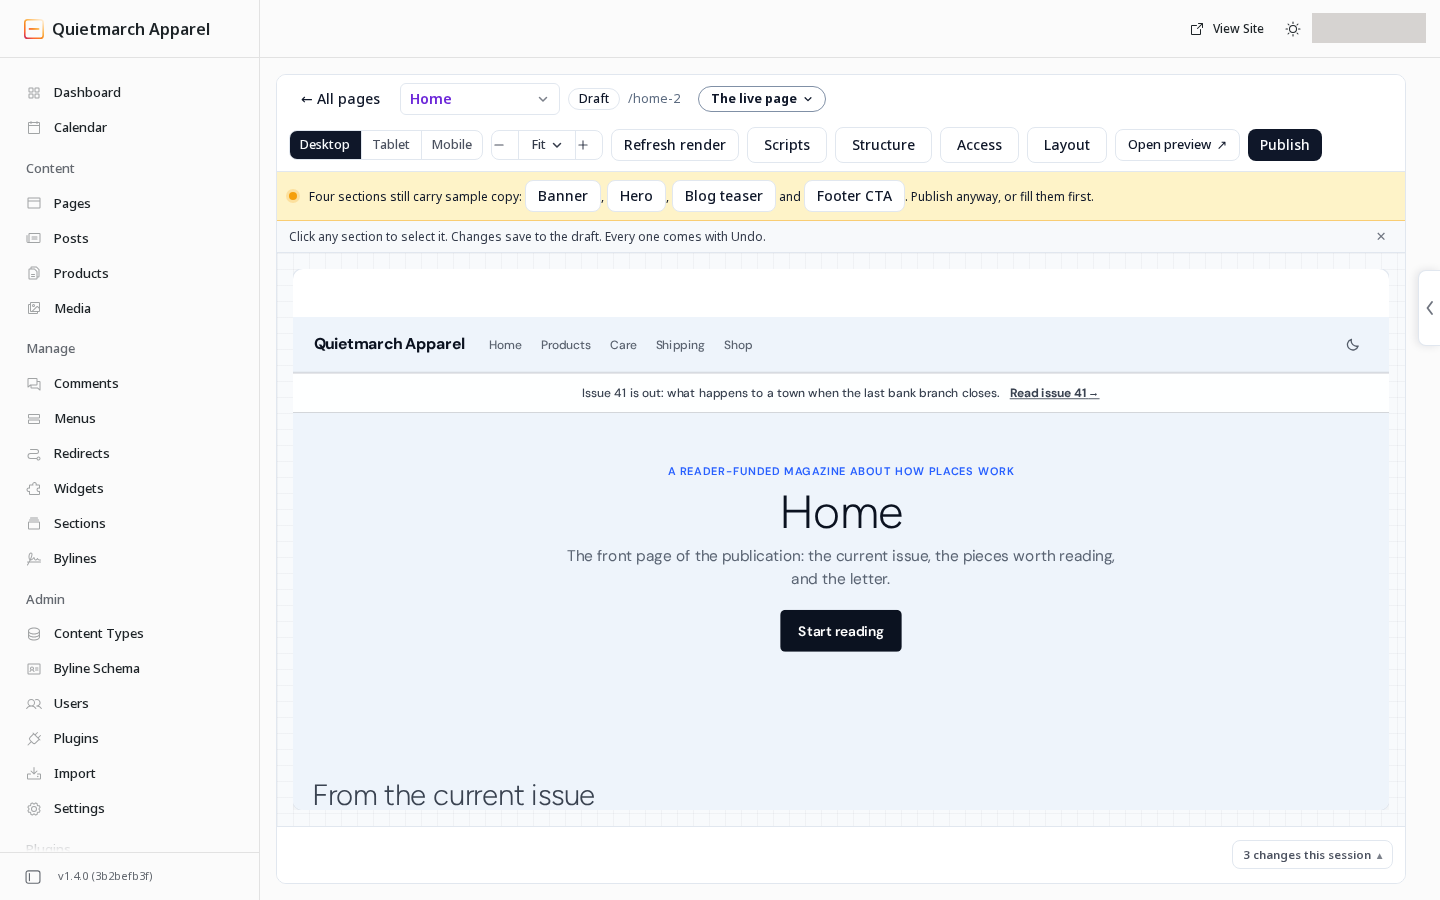
Editing a published page creates unpublished changes. Visitors keep seeing the published version until you approve the next publish.
Take a publish back
Section titled “Take a publish back”After a first publish, the Composer offers Take it offline. Elsewhere, Unpublish also returns a published page to draft. After publishing changes to an existing live page, the receipt’s restore action puts its previous published version back and keeps the newer changes unpublished. If that earlier version is no longer kept, the same control takes the page offline instead, so read the receipt afterwards.
Continue with The Composer and Themes and tokens. To receive your first reply, follow Forms and replies.