Checked against the product’s code on 7 November 2026.
Learn how to show a different banner to returning visitors, or other content to an audience, in Optimization > Audiences and Personalization > Targeted content in the site admin. For returning visitors, use the built-in returning audience and follow Create targeted content; you do not need a new rule. Consent and Holdback % still apply.
An audience defines who qualifies. Targeted content defines what those people see. Creating an audience alone does not change a page.
Build a rule audience
Section titled “Build a rule audience”-
Open Optimization.
-
Open Audiences.
-
Choose + New audience.
-
Choose Build a rule.
-
Enter the audience’s name in the first field.
-
Choose its conditions from the available fields.
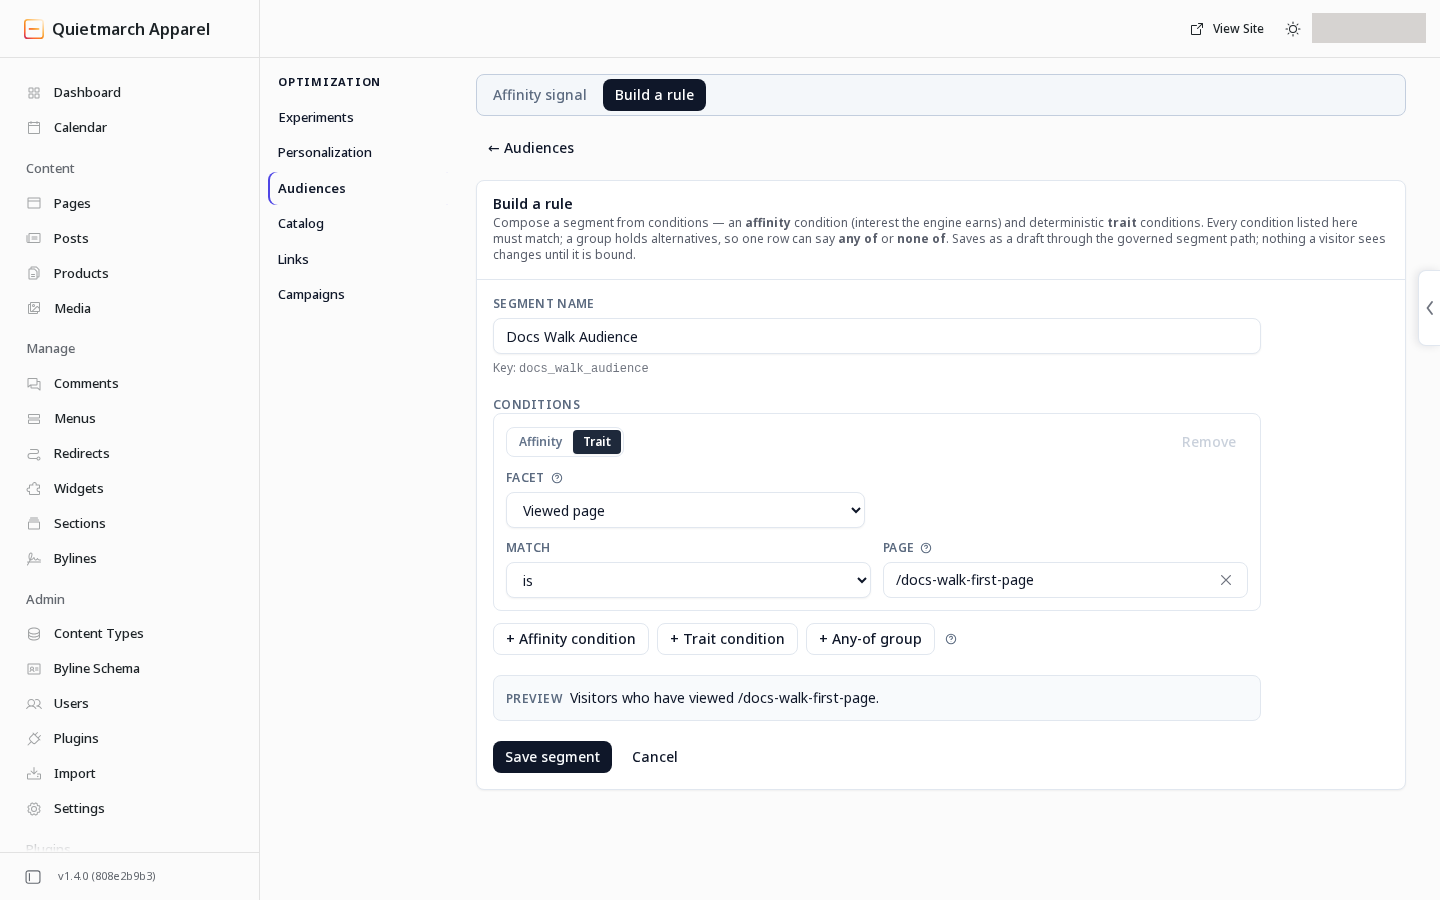
Name the audience and add a condition. The preview says it in plain words. 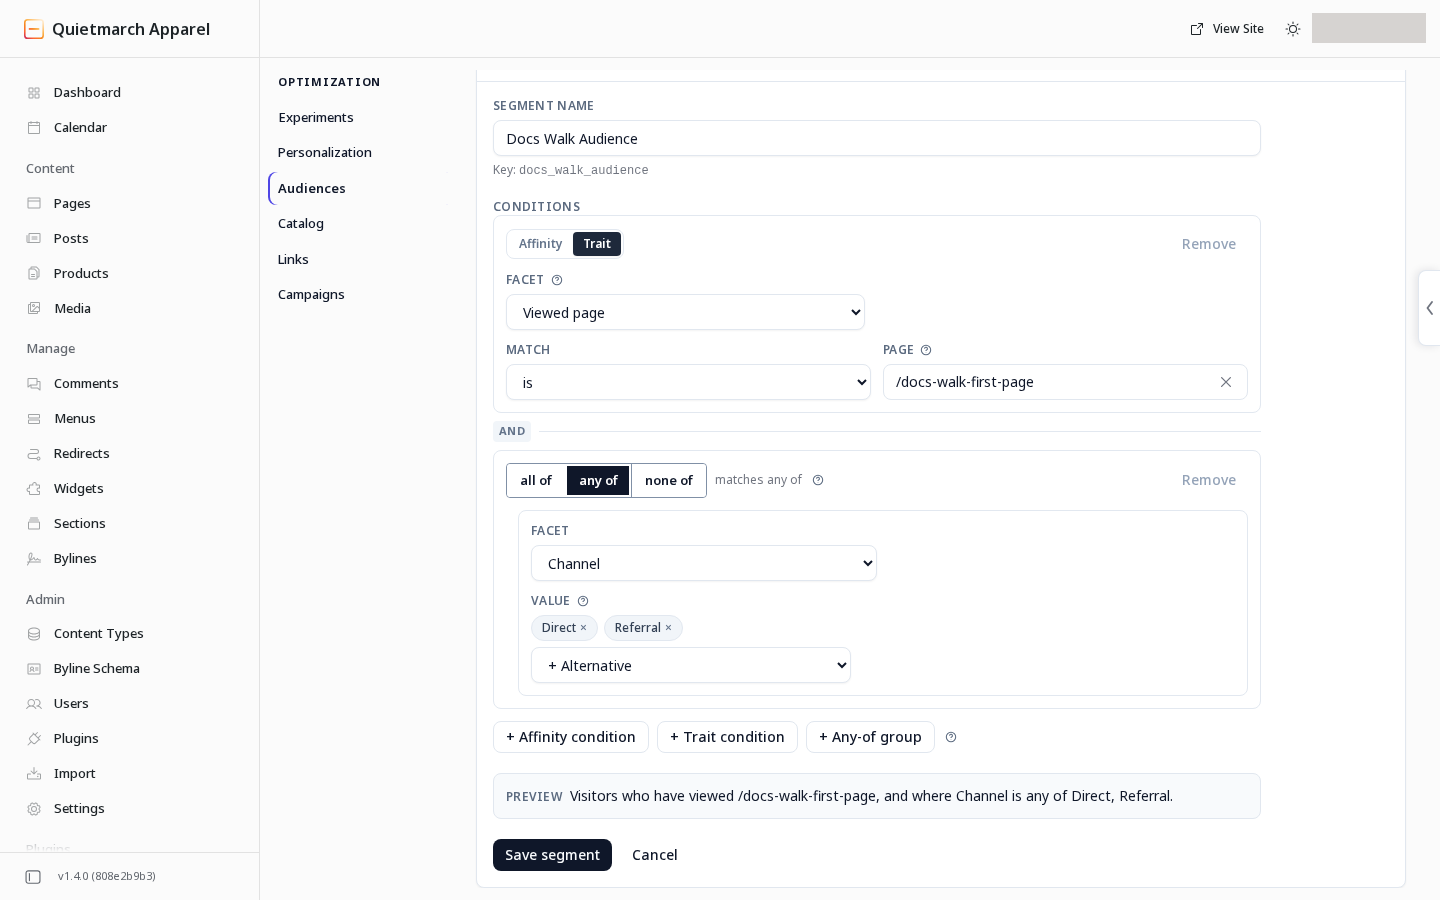
A group holds alternatives: any of, all of or none of. -
Review how the conditions are grouped.
-
Use the form’s save control. A new rule is saved as a draft.
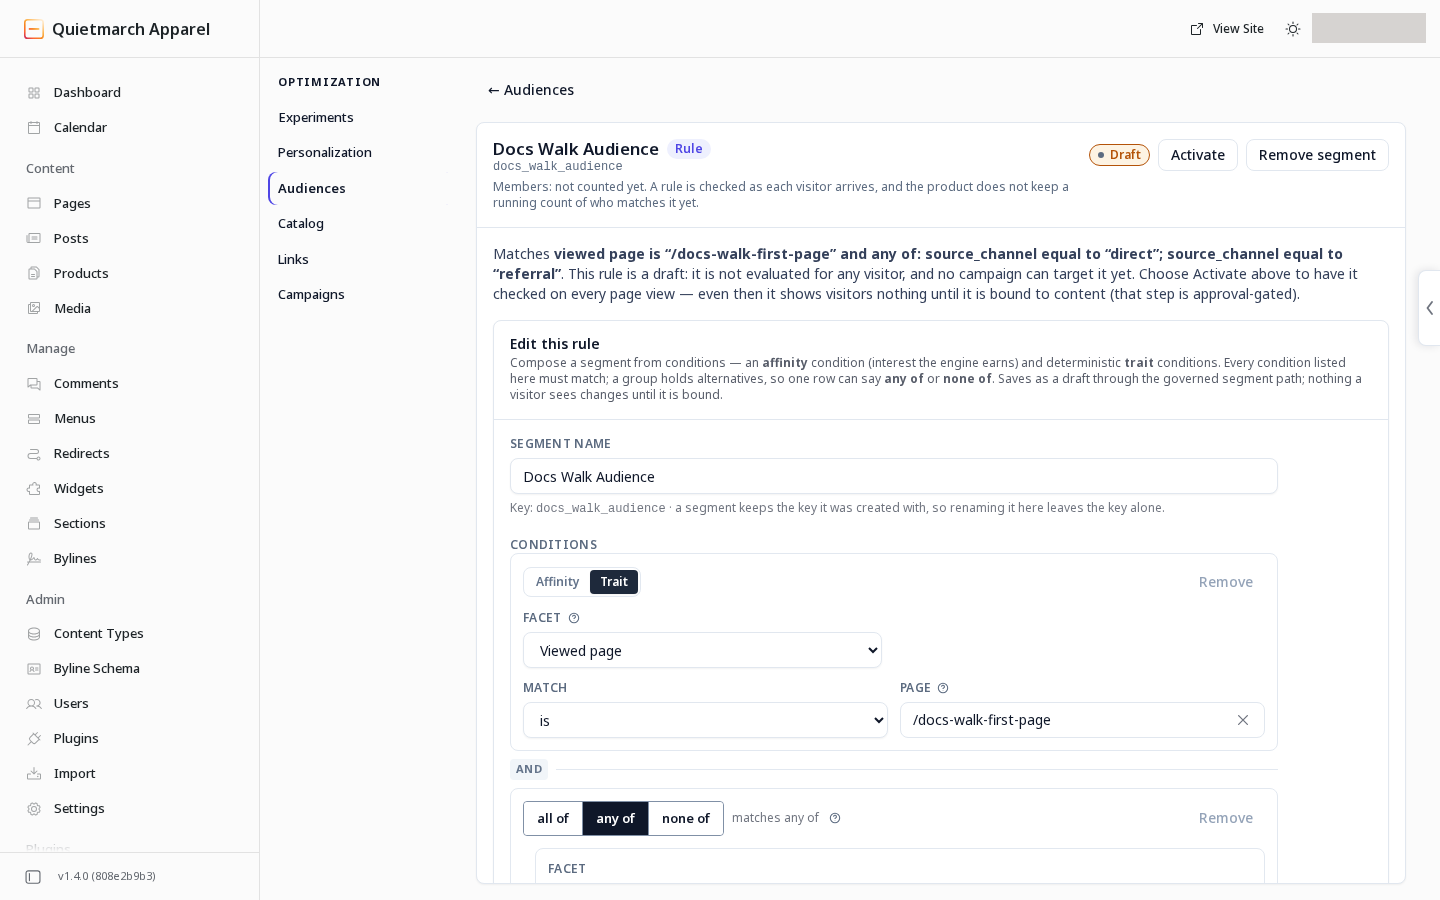
A saved rule starts as a draft and checks nobody. -
Open the saved audience.
-
Choose Activate.
-
Read Turn on this audience?
-
Choose Turn it on or Leave it off.
Deactivate turns it off again.
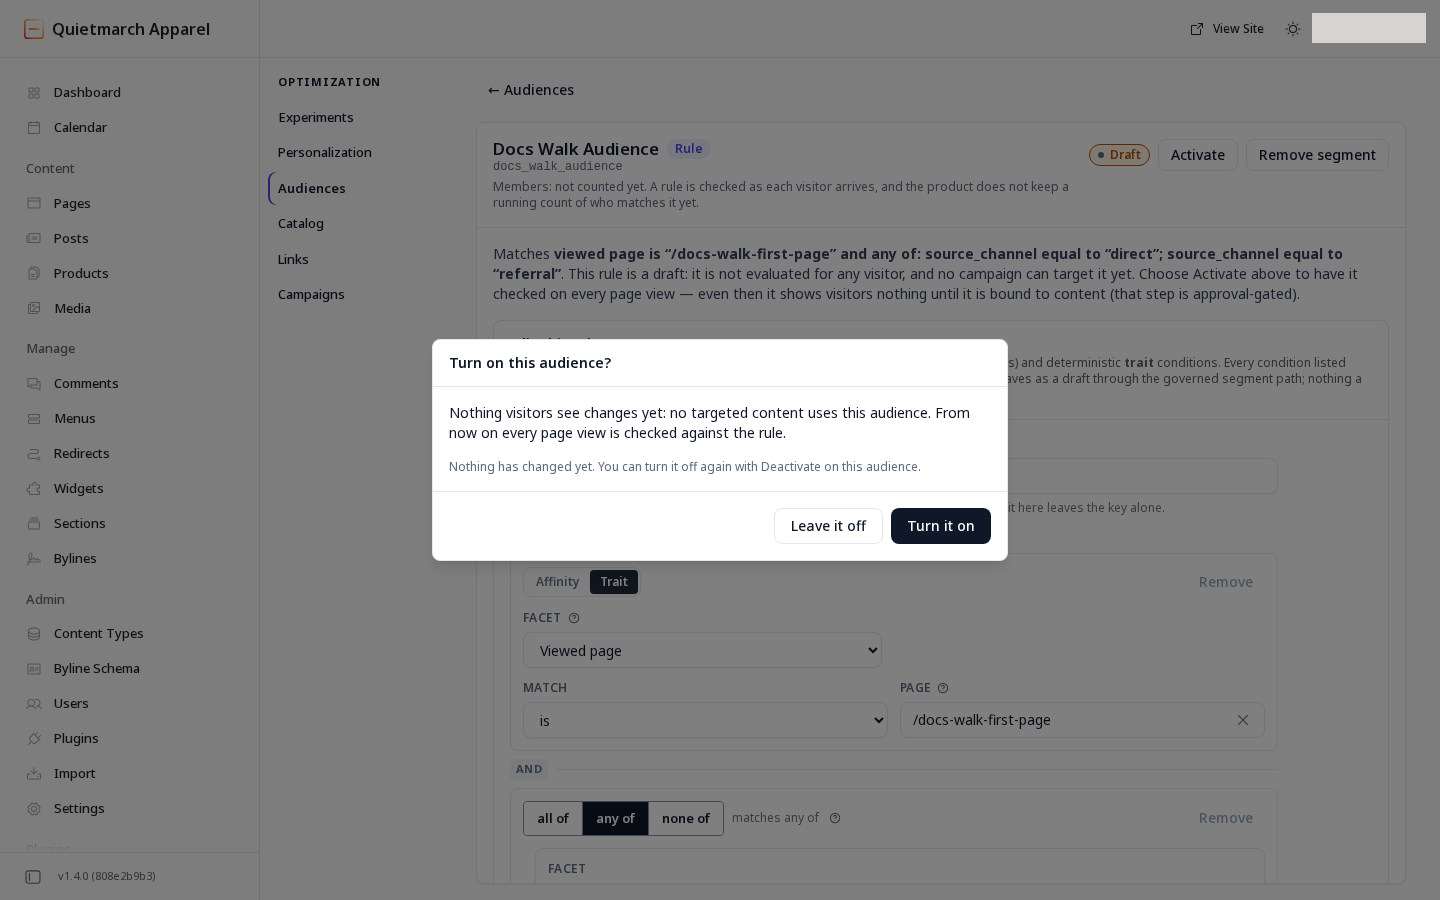
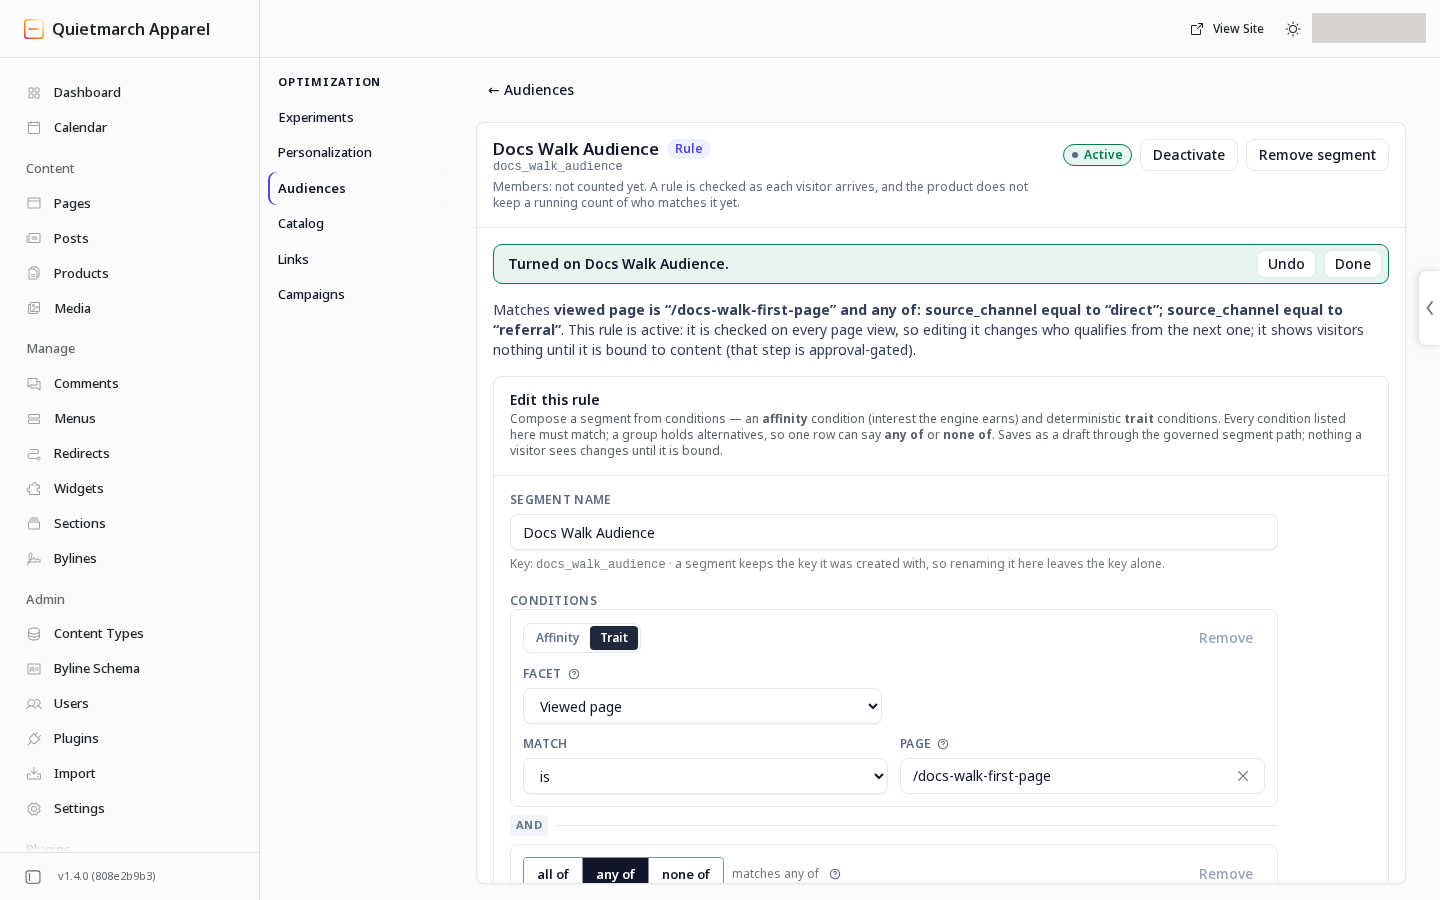
A draft rule is not evaluated for visitors. An active rule is checked on every page view. It shows visitors nothing until targeted content uses it. Editing an active rule changes who qualifies on later page views.
Conditions outside a group must all match. Choose + Any-of group to add a group, then set it to any of or none of. An any of group needs at least one matching condition. A none of group needs no matching condition in that group. Choose fields and values the product actually offers rather than assuming a visitor fact exists.
Region and City come from the request itself, and are read only for visitors who allowed personalization. Enter a region as its code, such as US-MA. A rule with City also needs Country or Region, because many places share a city’s name. A city comes from the visitor’s network location, which is often wrong on mobile and office networks.
Understand the audience list
Section titled “Understand the audience list”The list includes rule audiences and audiences based on affinity signals. Choose Affinity signal when the audience should come from a scored interest. That path needs the affinity engine’s setup and relevant activity first.
A rule’s member count can say not counted yet. The product checks the rule on page views and does not keep a running count for every rule. That message is not a count of zero people.
Affinity audience details offer Definition, Members & why and Analytics. Use the definition and membership reasons to understand that audience before targeting it.
Create an affinity audience
Section titled “Create an affinity audience”Editors and Admins can create an audience from a real catalog interest. First complete the affinity engine’s setup and check the relevant catalog attributes. Membership comes from recorded interest as it rises and fades, not visitor identifiers you type in.
- Ask the copilot: “Create a draft affinity audience for visitors interested in [existing catalog attribute and value].”
- Read the saved draft and condition. Creating it needs no approval; a draft has no members.
- Ask: “Activate [audience name].”
- Read Change this audience’s status?, including the effect on content already targeted to it.
- Choose Change audience status if that is intended.
- Open the audience and read Members & why before using it for targeted content.
To stop using that affinity audience, ask to archive it and review the same status card. A status change can affect live targeting. Its receipt’s Undo restores the previous status only while the audience has not changed again. Creating the draft also has receipt Undo. See Affinity audience requests.
Create targeted content
Section titled “Create targeted content”- Open Optimization.
- Open Personalization.
- Open Targeted content.
- Choose New targeted content.
Choose the kind of change:
| Choice | What it changes |
|---|---|
| Content swap | Different content in one section for an audience. |
| Arrangement | The order of sections on a page for an audience. |
| Time-boxed offer | A live offer triggered during a visit, with an expiry. |
For a first change, use Content swap:
A section field name identifies one editable value, such as its headline. Use the exact name in the linked section reference when creating a content swap. The readable field label and its code name can differ.
-
Enter a name in the field at the top of the form, such as
studio-hero. This is required.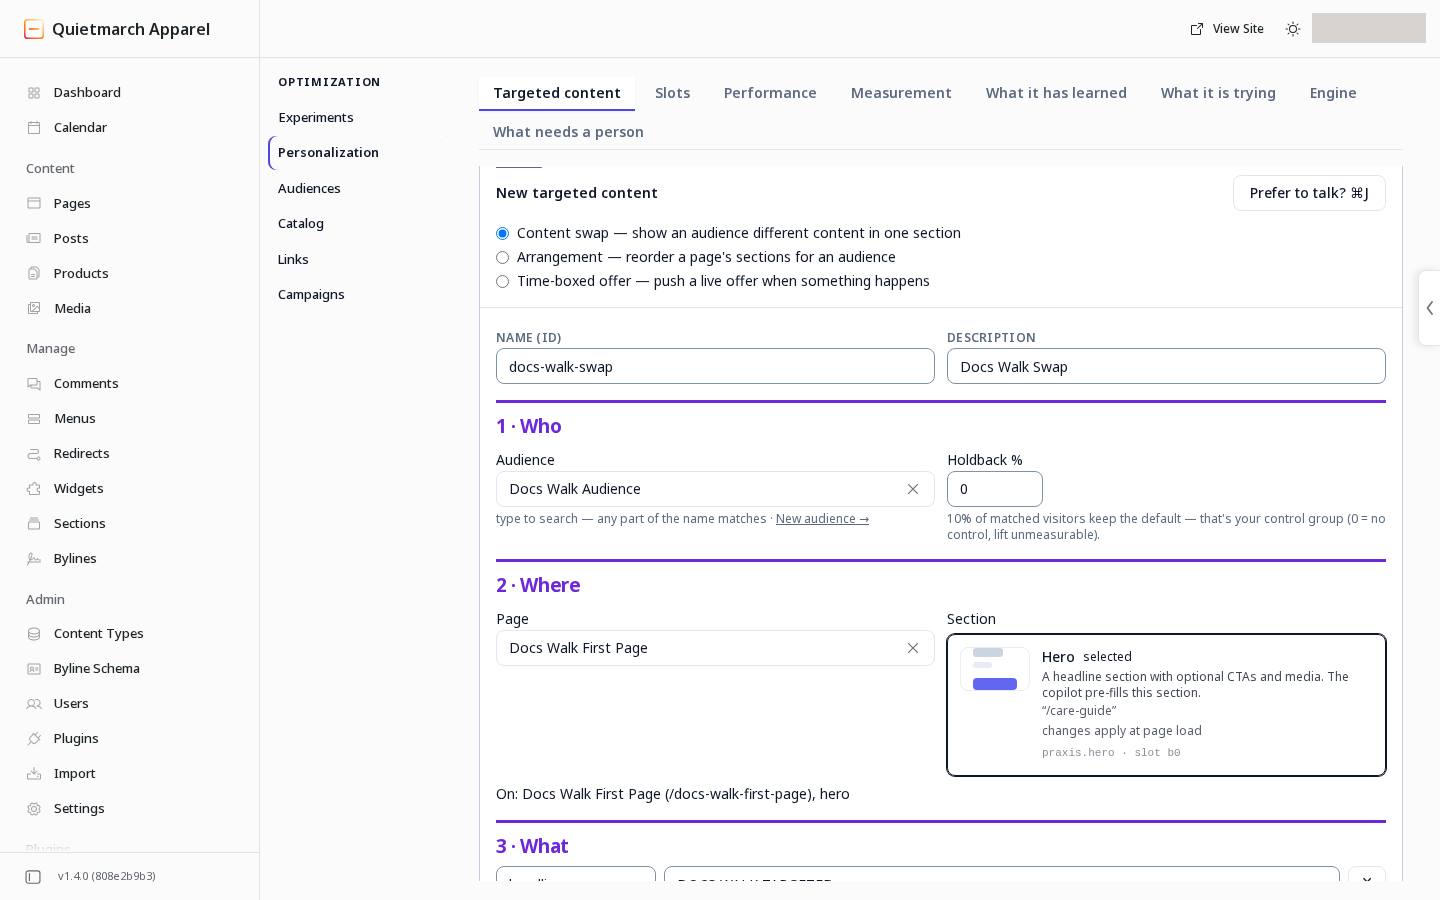
Choose Content swap and name it. -
Choose the Audience. It starts on the built-in returning audience, so change it unless that is the audience you want.
-
Choose the page where the change belongs.
-
Choose its Section.
-
Under 3 · What, type a field name on a row. The form does not list the section’s fields. Find the exact names in the section reference. Each name must match one of that section’s fields, or the value is not shown.
-
Type its new value.
-
Use + add a field for more, repeating the name and value steps.
-
Review Holdback %. It starts at 10, so 10 percent of matching visitors keep seeing the default as a comparison group. At 0 nobody is held back and the lift cannot be measured. The nearby hint keeps showing the initial percentage, so read the number in the field after editing it.
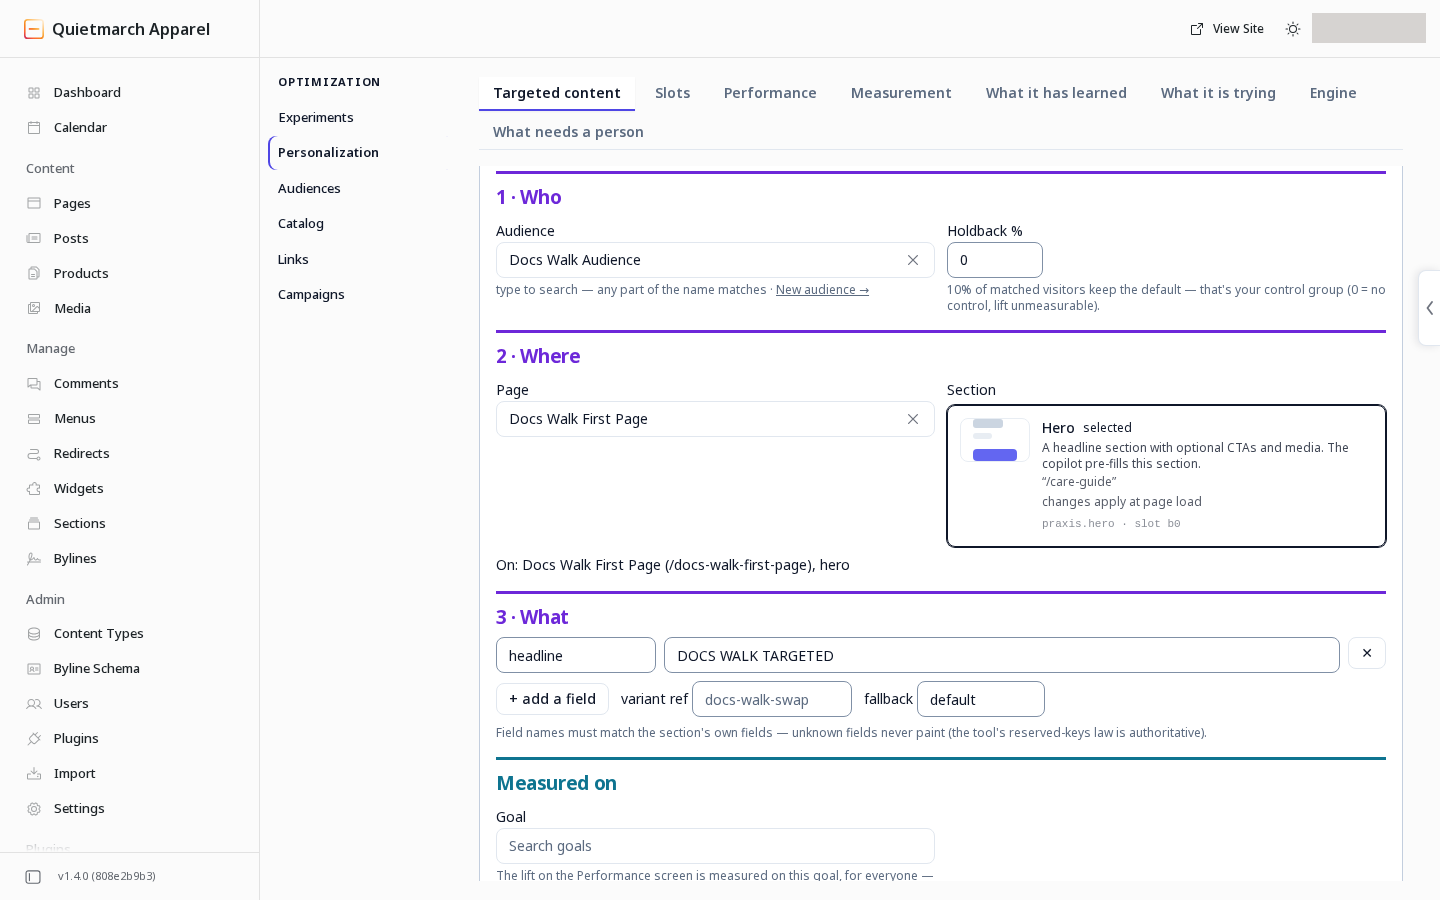
Pick the audience, the page and section, and the field to change. -
Choose a goal under Measured on if you want to measure an outcome.
Choose one route:
-
Save as draft leaves it unpublished.
-
To review the proposed change:
- Choose Preview change.
- Read the consequence card.
- Choose Approve & make it live or Keep as draft.
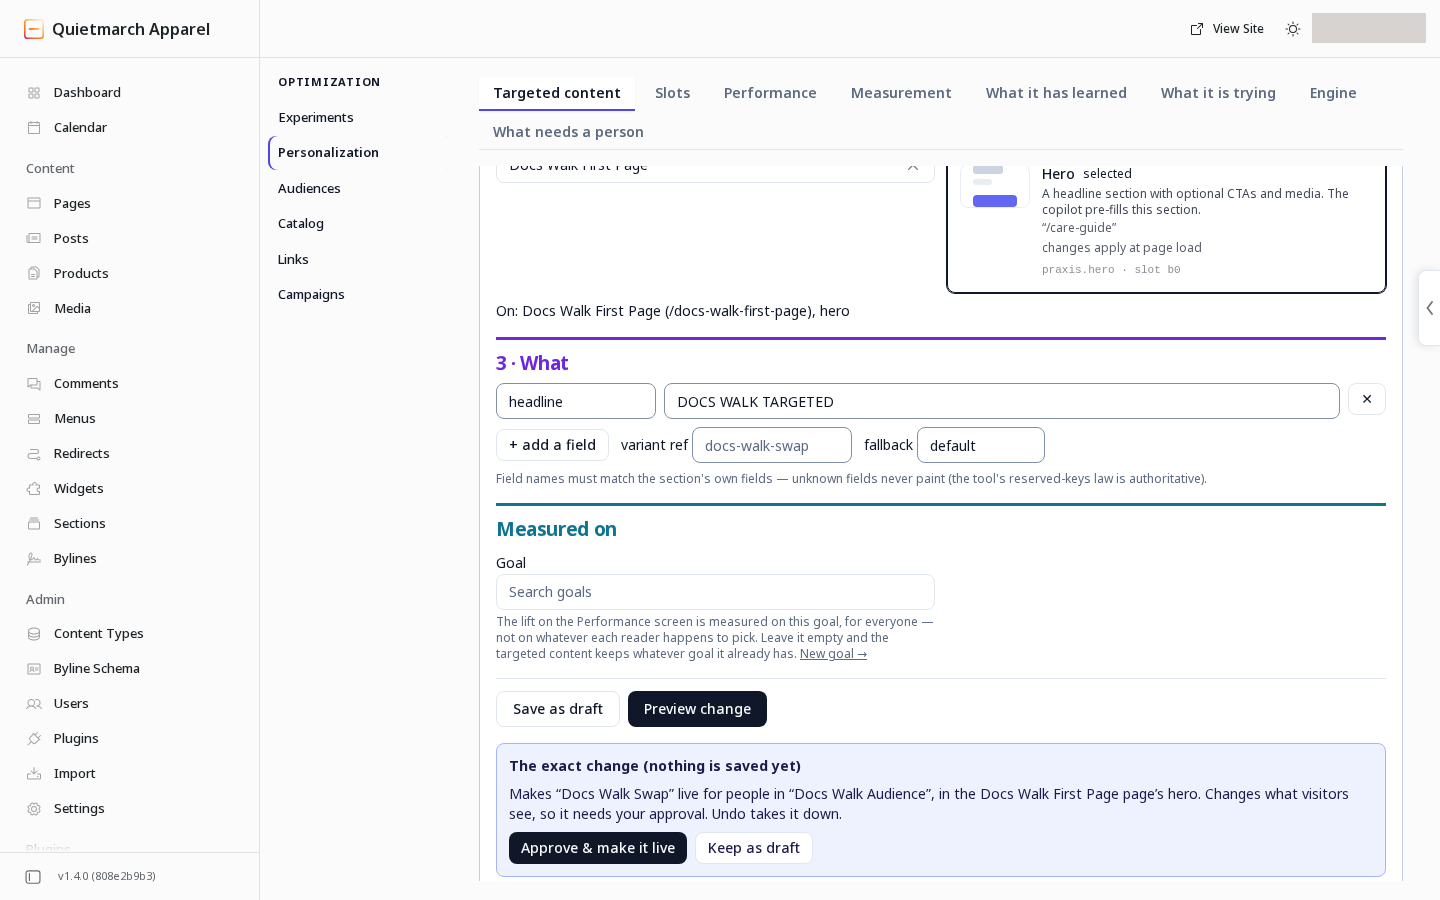
The exact change is shown before approval. 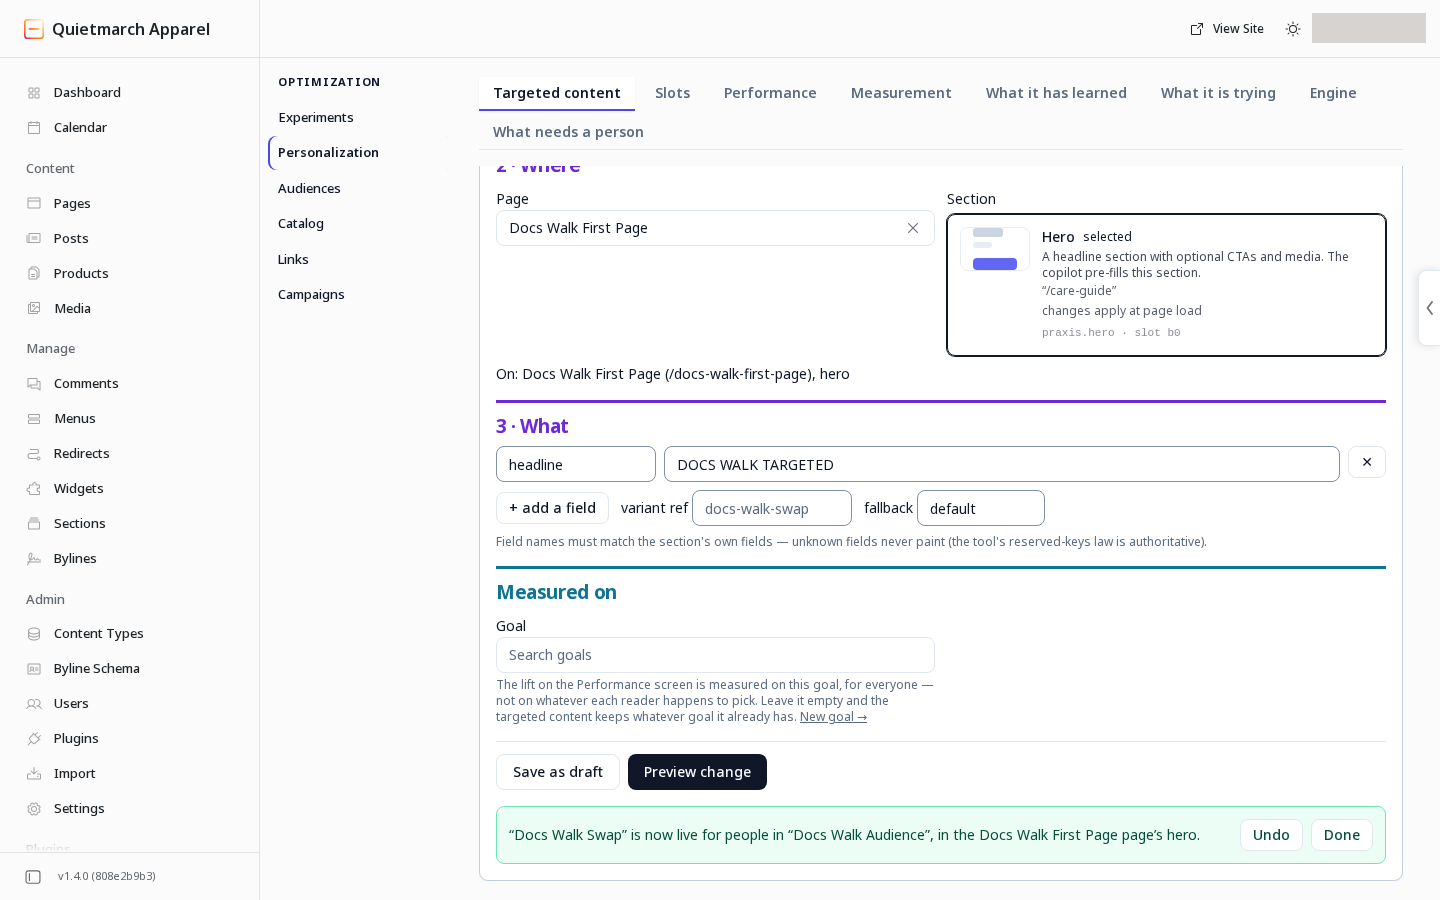
Live, with Undo.
A draft audience cannot be targeted. Save as draft and Preview change stay off until you activate that audience or choose another one, and the form names the first missing choice beside them.
Targeted content on a page that is not published yet serves nothing until that page is published.
Keep a useful default
Section titled “Keep a useful default”The page’s default content remains necessary. Visitors who do not qualify, visitors held back for measurement and visitors for whom personalization is unavailable can see it.
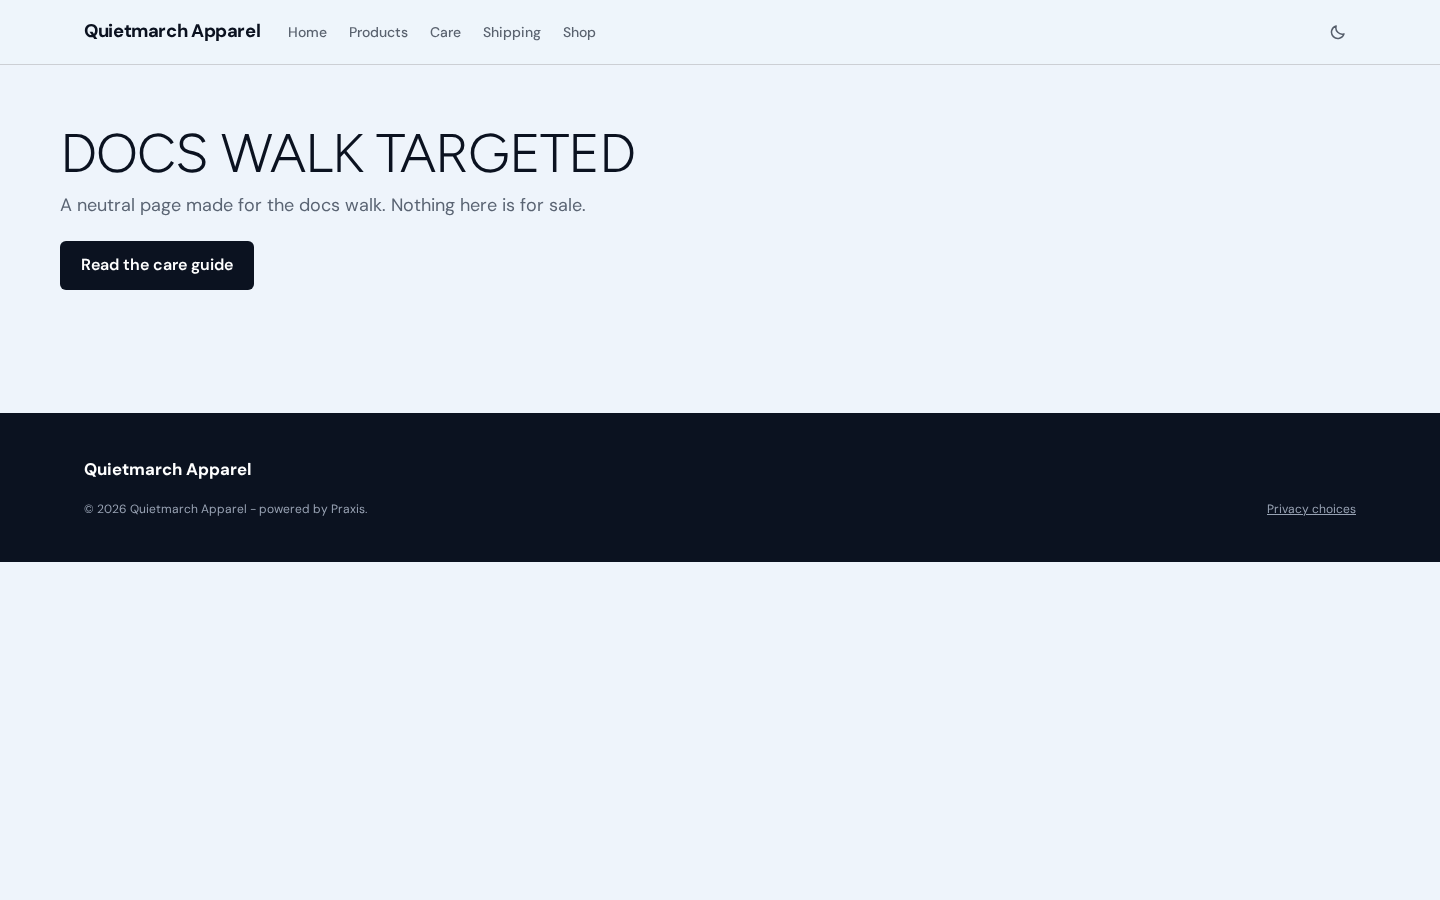
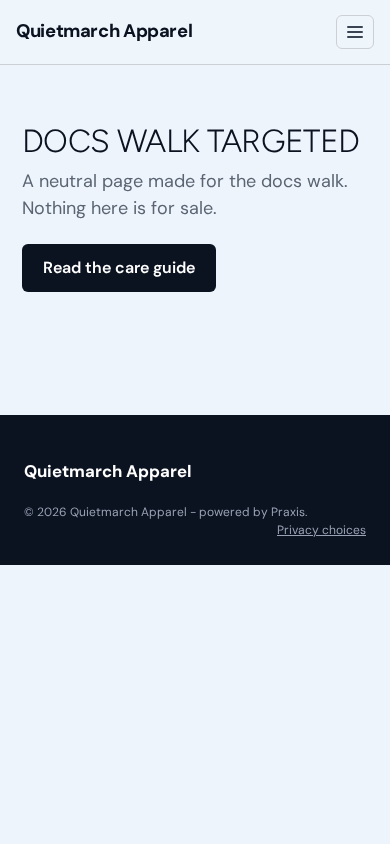
The matching visitor sees “DOCS WALK TARGETED” as the headline at phone width.
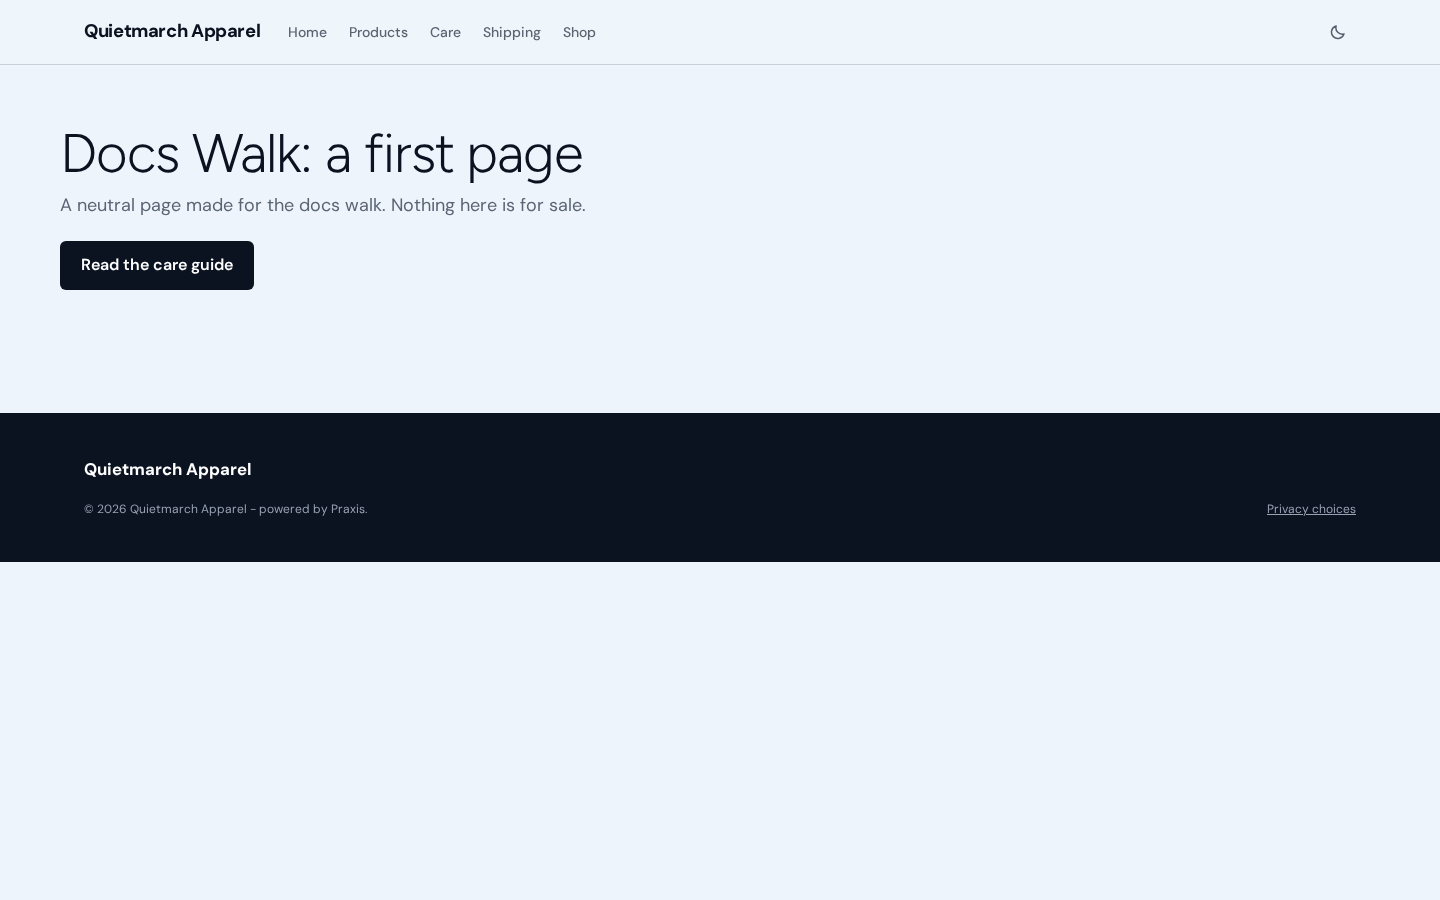
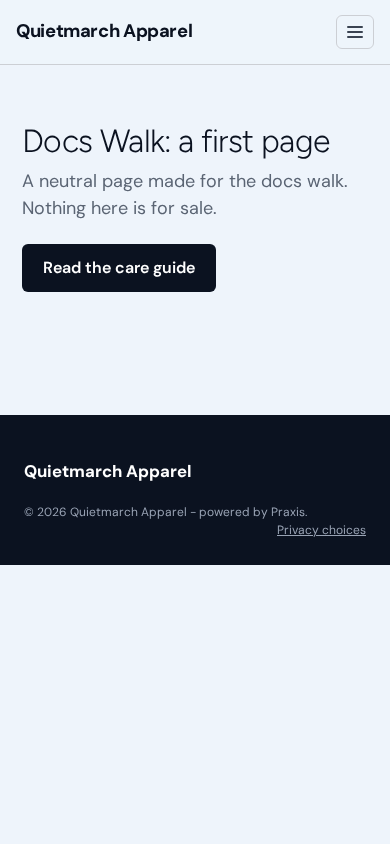
The default visitor sees “Docs Walk: a first page” as the headline at phone width.
Visitor consent and Global Privacy Control govern whether personalization may run. An audience rule does not bypass those choices.
Audience rules decide whether someone qualifies for personalised content. To stop a targeted item for its whole audience, open its record in Personalization > Targeted content and choose Pause.
Review what happened
Section titled “Review what happened”The targeted content’s receipt offers Undo when available. You can Pause live targeted content and Resume it later. Archive stays off while the item is live, so pause it first, and it asks Really archive? before it proceeds.
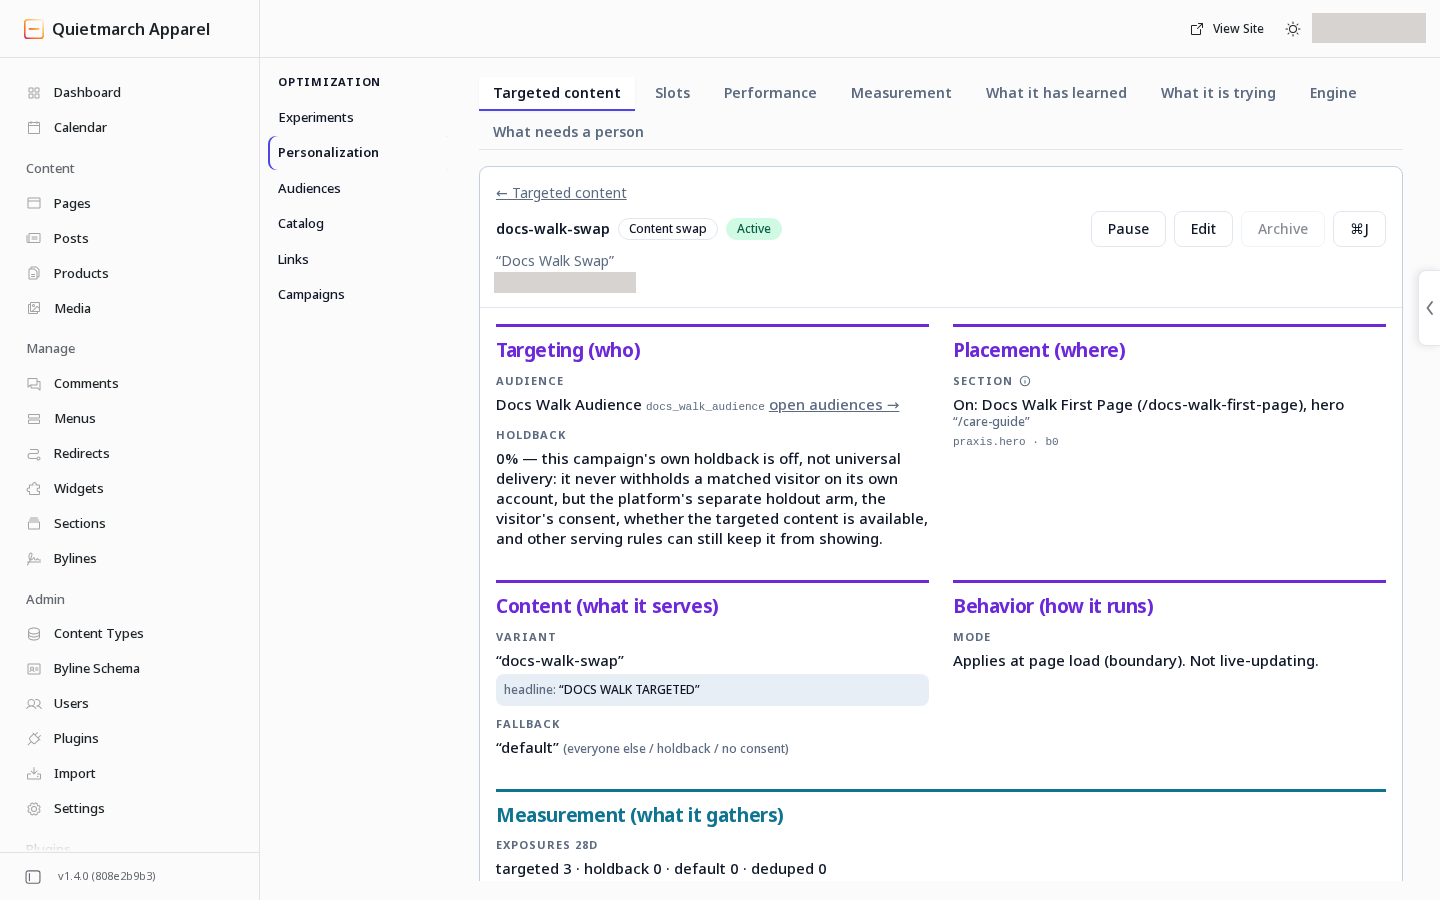
The targeted item is Active, with Pause, Edit and Archive beside its audience and page placement.
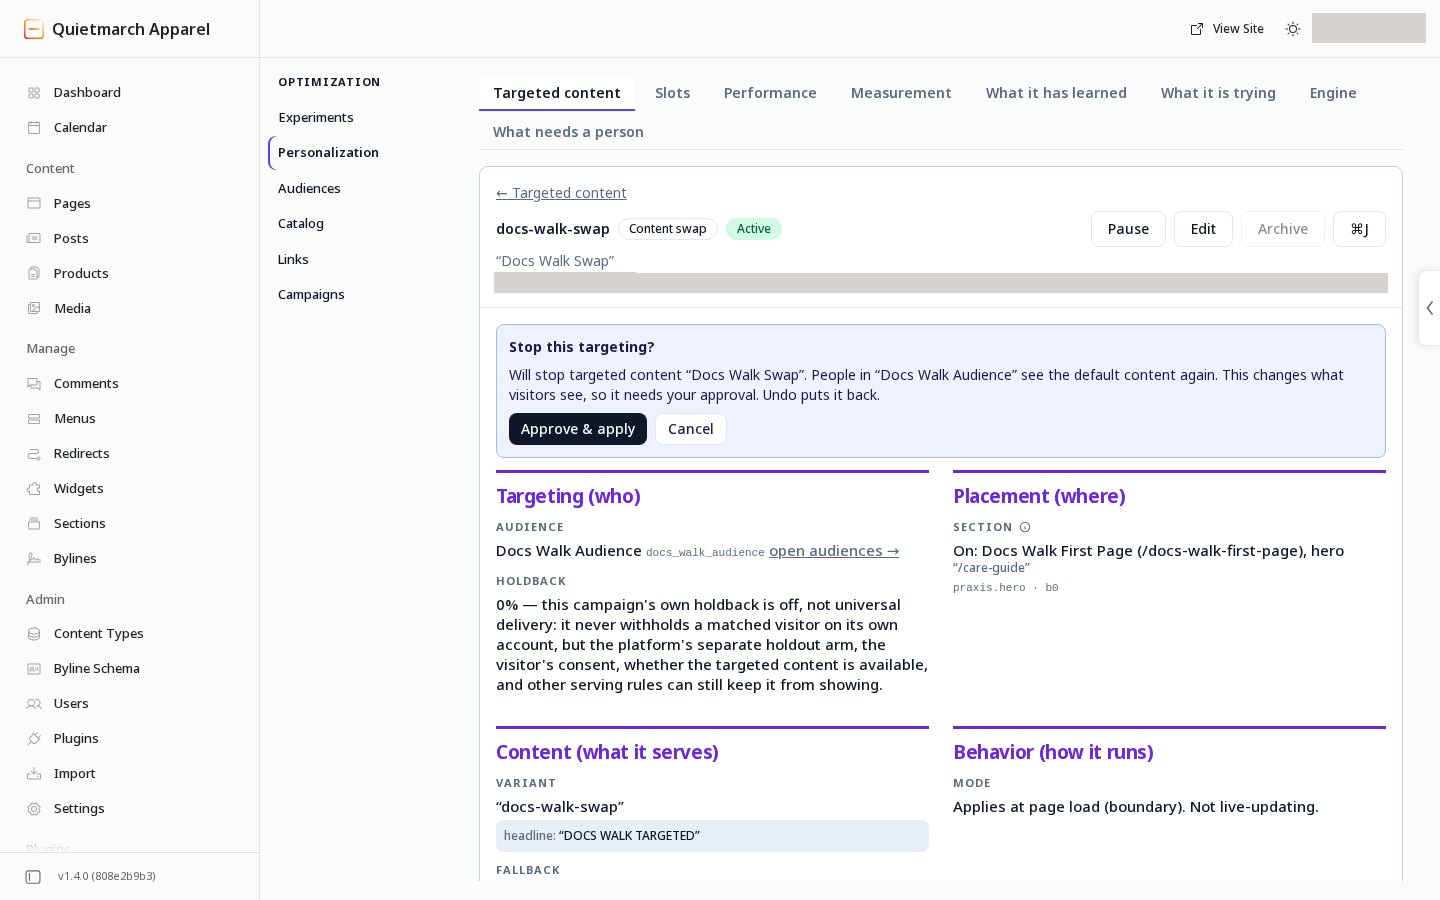
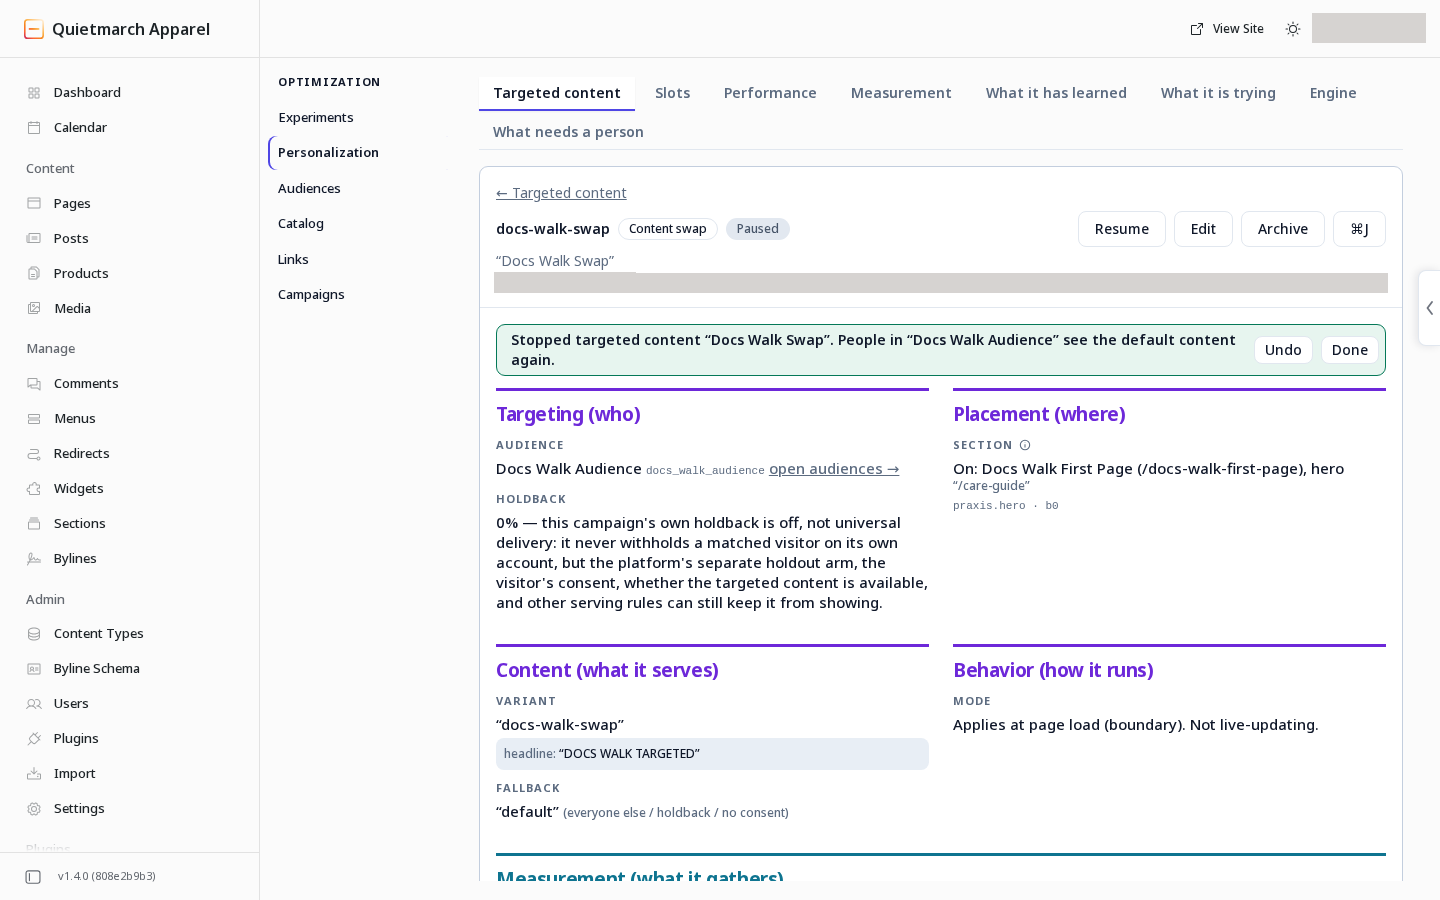
Use Performance to compare targeted and held back visitors on the chosen goal. A positive difference based on too little activity or unfinished outcome periods is not a final result. Read the report’s messages about who was counted and whether enough results are available.
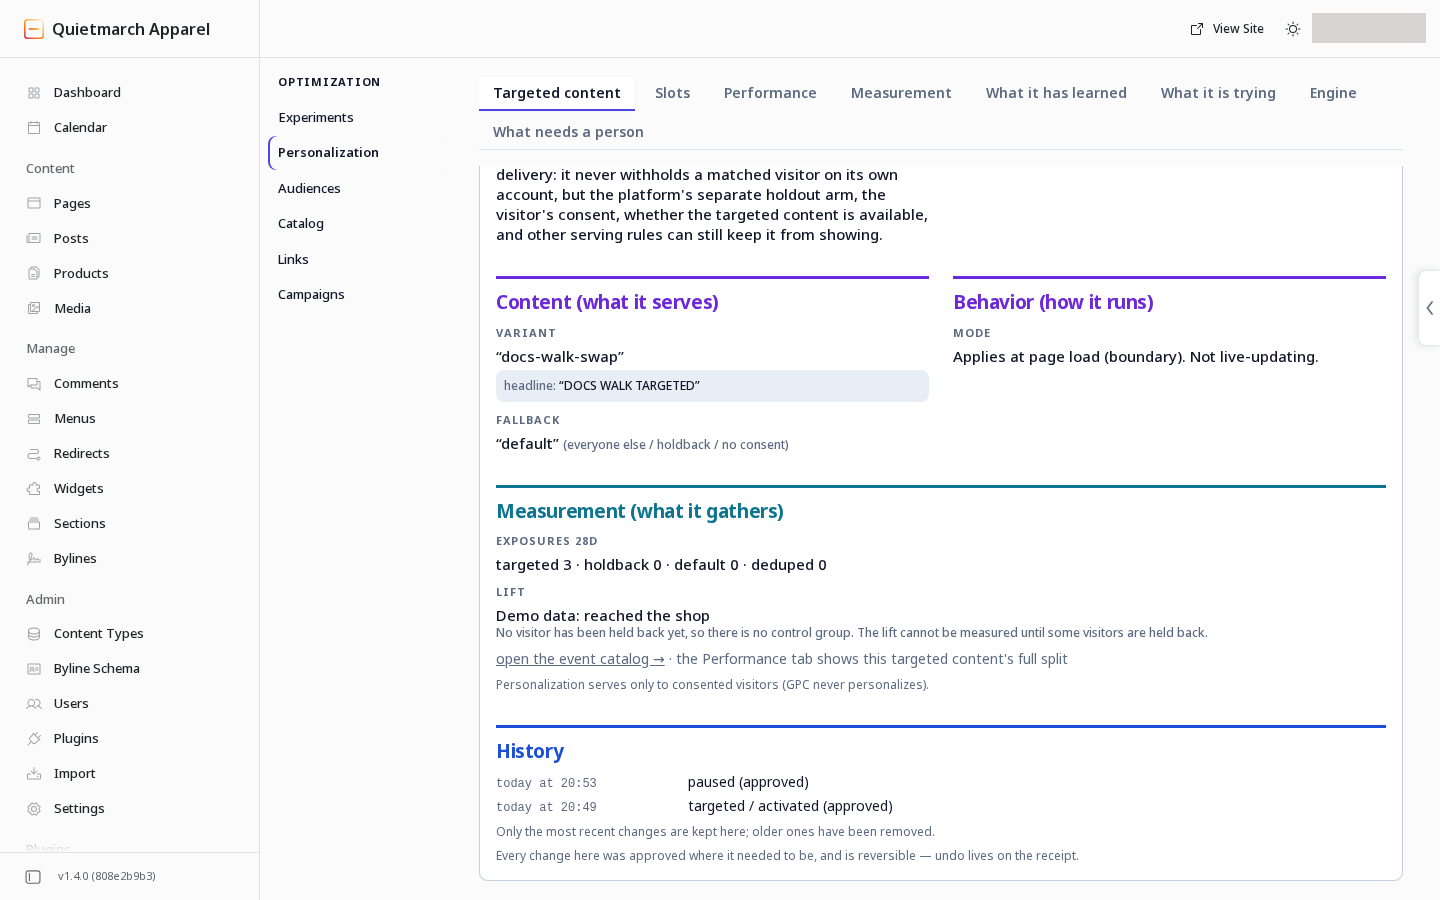
The record has three targeted exposures and no held back exposures, so it cannot yet compare the targeted result with that group.
You can also ask the copilot to explain a named campaign’s recorded decisions, or compare its targeted and held-back results. A campaign with no held-back visitors cannot supply that comparison. The explanation request can inspect your own marked test browser; it does not inspect a real visitor’s personal record. See Targeted content requests.
For interest scores, decay and recommendations, continue with The affinity engine, explained. A rule audience does not require every visitor to have an affinity score.
Mark your own test browser
Section titled “Mark your own test browser”Editors and Admins can mark their own browser to check personalization. Use this site’s own admin. The mark creates a fresh visitor identity; it cannot be applied to someone else’s visitor record. Personalization must be allowed in this browser. If the site asks first, or you declined it earlier, allow it on the site’s cookie banner before marking. If the site offers no way to allow it, read the refusal instead. A browser sending Global Privacy Control cannot be marked.
- Open Personalization.
- Open Targeted content.
- In Test visitors, type a label such as “My laptop” in the label field.
- Choose Make this browser a test visitor.
- Find the new row marked this browser and read its expiry date.
A label can have 1 to 40 characters. The mark lasts 30 days, with at most ten active test visitors per site. To remove it, choose Remove on its row, then Remove this test visitor. This removes the mark, not the browser’s recorded visitor history.